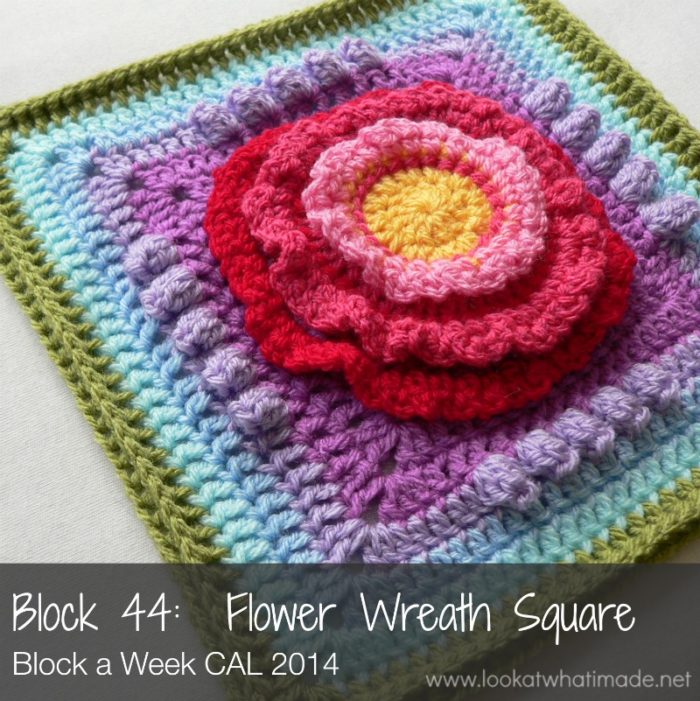
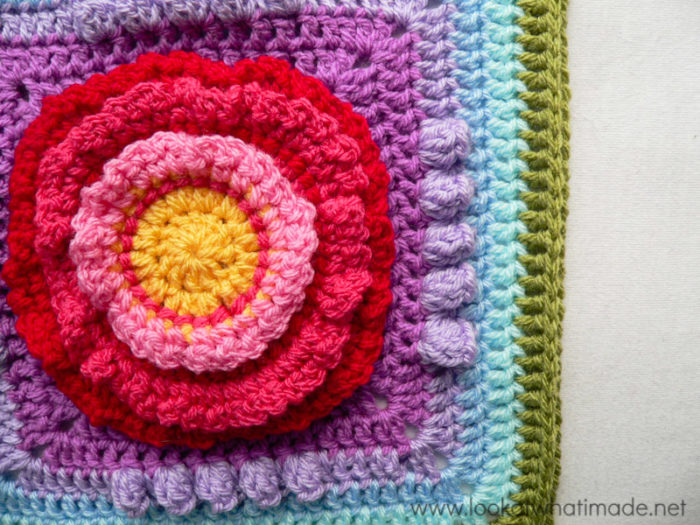
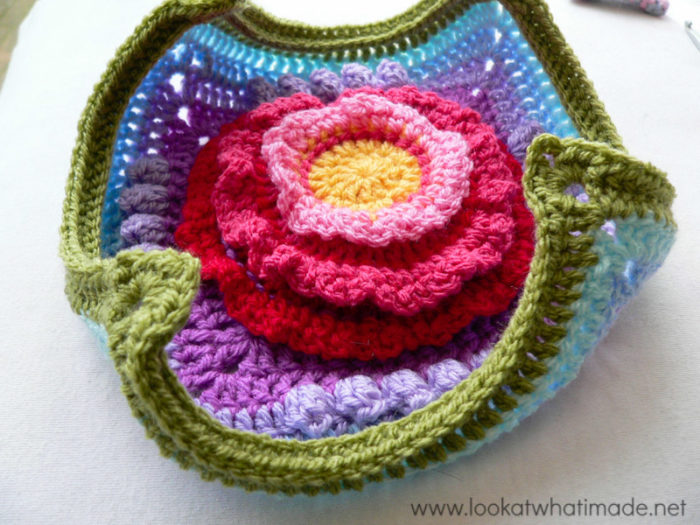
Block 44 of the Block a Week CAL (hosted by Kimberly Slifer) is Aurora Suominen’s Flower Wreath Square. I love the ruffled central flower. My mind was spinning a mile a minute thinking of all the beautiful things I could use it for. And the rest of the square is straightforward and easy, so just some gentle hand-holding this week, not a full-blown tut.
If you are using the same hook and yarn for all your squares, they will not all come out the same size. I have now added a post outlining the extra rounds I added to each square to get them to the size of Block 1, which was the biggest. You can find that here.
Flower Wreath Crochet Square
{Pattern © 2011 Aurora Suominen. Photo tutorial done with kind permission}
Pattern
Please remember that you need the actual pattern to follow this tutorial. You can find it HERE on a web archive. Add to Ravelry Queue
Suggested Materials
- 5 mm Clover Amour Crochet Hook (US H/8 UK 6)
- Worsted weight yarn
Size
- Using the hook and yarn specified, your square should be a nice even 12″ when you are done.
- Using a 4 mm crochet hook (US G/6 UK 8) and double knit yarn, as I have done, your finished square will be between 8″ and 8.5″ big (depending on how harshly you block it).
My Yarn and Colour Choices
I am using Stylecraft Special DK.
- Saffron (Rounds 1 and 2)
- Fondant (Round 3)
- Pomegranate (Rounds 4 – 6)
- Lipstick (Rounds 7 – 9)
- Magenta (Rounds 10 – 12)
- Lavender (Round 13)
- Cloud (Round 14)
- Sherbet (Round 15)
- Meadow (Rounds 16 and Optional 17)
Notes
US Crochet Terminology used. (See this comparative chart if you need help transcribing from US to UK)
Flower Wreath Square Photo Tutorial
This photo-walkthrough is NOT the actual pattern and should not be used instead of the pattern, but rather in conjunction with it.
Thank you very much to Aurora Suominen for giving us permission to do this photo-tutorial for her Flower Wreath Square. And a special thank you to Kimberly Slifer for letting me do these tutorials and for obtaining the necessary permission.
Round 1
You can start this round with a magic ring instead of the initial ch-4.
Magic Ring Instructions for Round 1
Into a magic ring: ch 3 (this counts as your first dc). Dc x 11 into the ring and pull the ring tight. Join to the top of the beginning ch-3 with a sl st.
If you are not familiar with working into a magic ring, this video tutorial from Moogly is clear and easy to follow.
Please remember, when working into a magic ring you HAVE to work away your initial tail very well. If you just cut it, your whole square might unravel!
Stitch count: 12 dc’s
Round 2
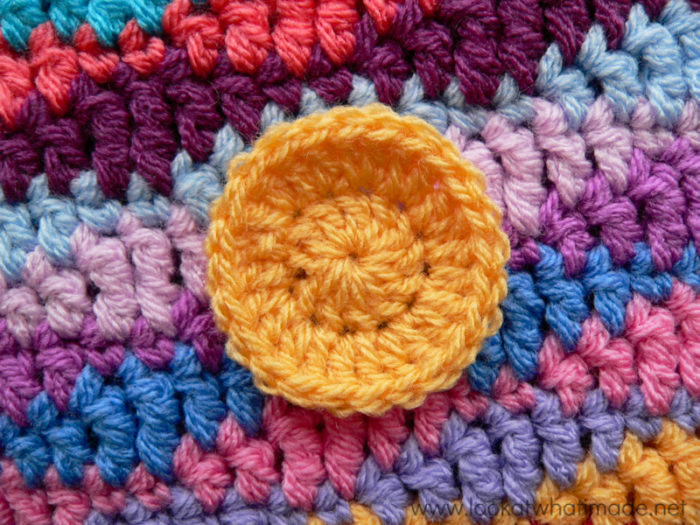
As written in the pattern.
If you feel like practising the invisible join, feel free to use it at the end of this round instead of the sl st join. Make sure that you understand which stitch to join to if you do use it!
The multi-coloured background is my Lazy Waves Blanket.
Stitch count: 24 dc’s
Round 3
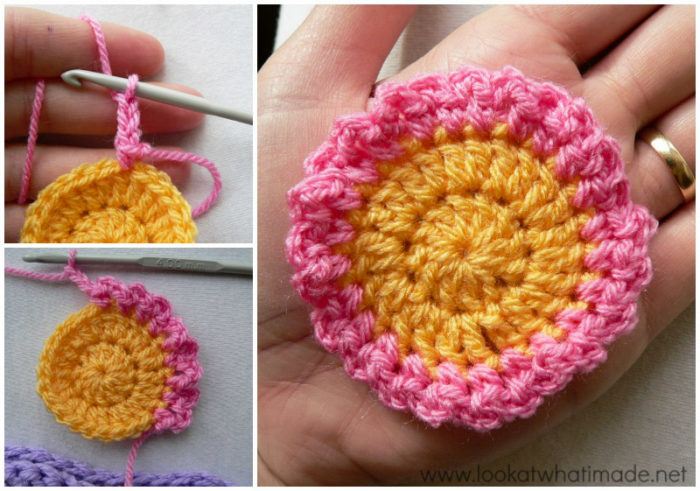
As written. If you are using a new colour, start with a standing single crochet, instead of the initial (ch, sc), in any stitch around.
You want to end up with a (sc, ch 3) in each of the 24 st’s.
Stitch count: 24 sc’s and 24 ch-3 loops
Round 4
As written.
You will be working around the posts of the dc’s from Round 2. Leave Round 3 alone!
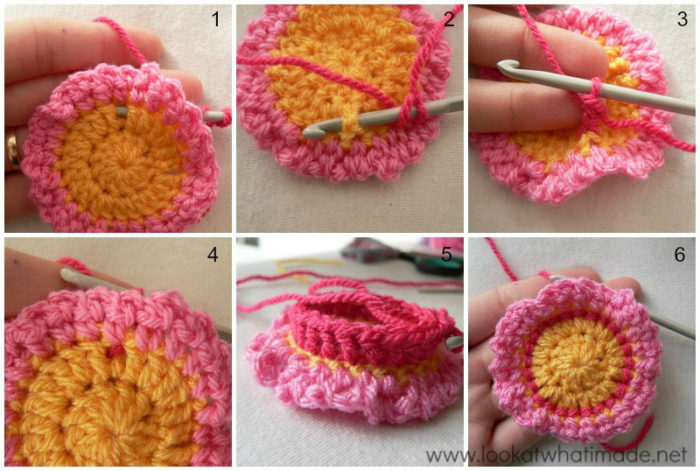
If you are using a new colour, join your yarn by making a standing double crochet around the back post of any dc around.
Photos 1 (front) and 2 (back) show the hook inserted from back to front to back again around the post of one of the dc’s from Round 2. Photos 3 (back) and 4 (front) show the standing double crochet completed.
At the end of this round your stitches will make a little “dam” on the back of your work (Photo 5). Don’t worry about this. They will flatten out in the next round.
Stitch count: 24 bpdc’s
Round 5
As written.
Stitch count: 48 dc’s
Round 6
As written. This round is the same as Round 3, but with more (sc, ch-3) repeats.
Stitch count: 48 sc’s and 48 ch-3 loops
Round 7
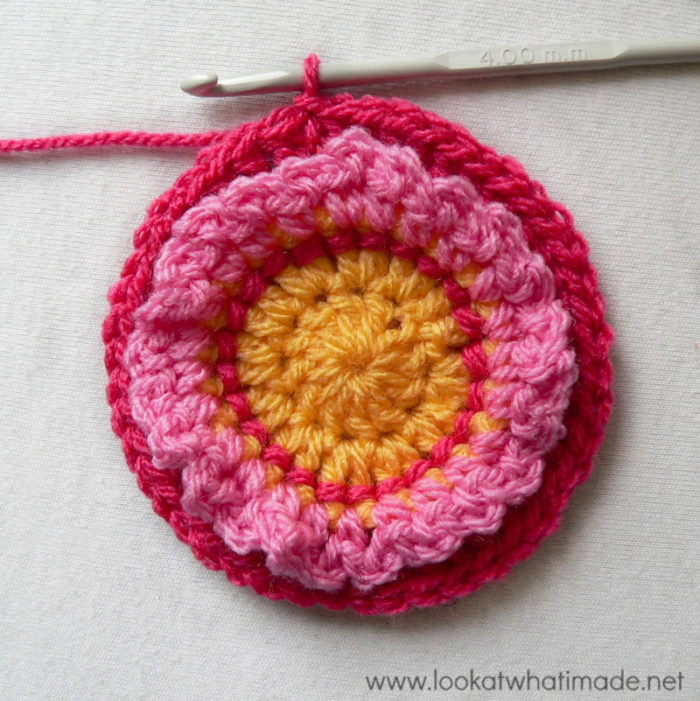
As written. This round is the same as Round 4. You will ONLY be working around the posts of the dc’s from Round 5, leaving the sc’s and ch-3 loops of Round 6 alone.
Stitch count: 48 bpdc’s
Round 8
As written.
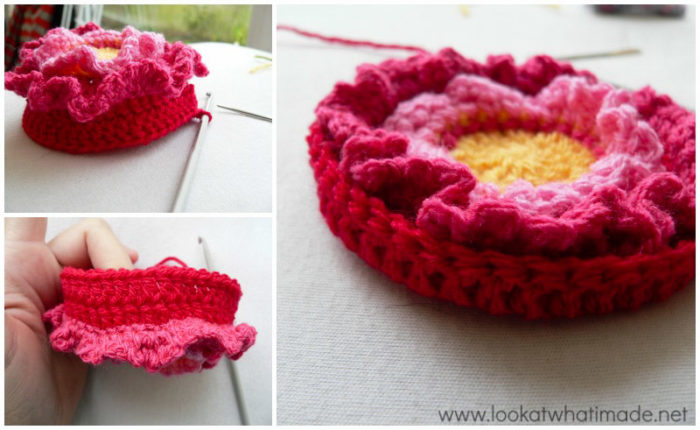
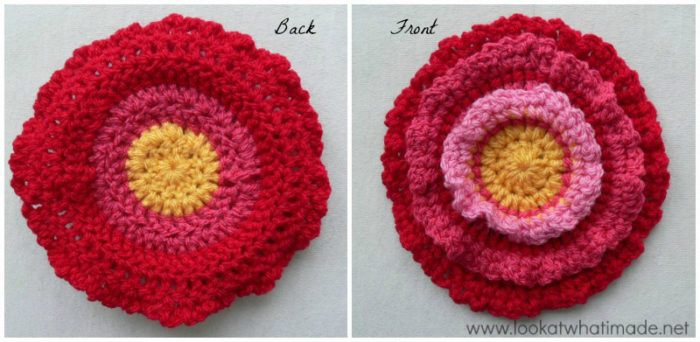
Am I the only person that thinks this would make a gorgeous little baby hat if you kept on repeating Round 8 for a few rounds? At this point I must admit that I had a little stressy moment. “How is this flower ever going to flatten out?” But it does flatten out in the next few rounds.
Stitch count: 48 dc’s
Round 9
As written. This round is exactly the same as Round 6, right down to the stitch counts :)
Stitch count: 48 dc’s and 48 ch-3 loops
Round 10
As written.
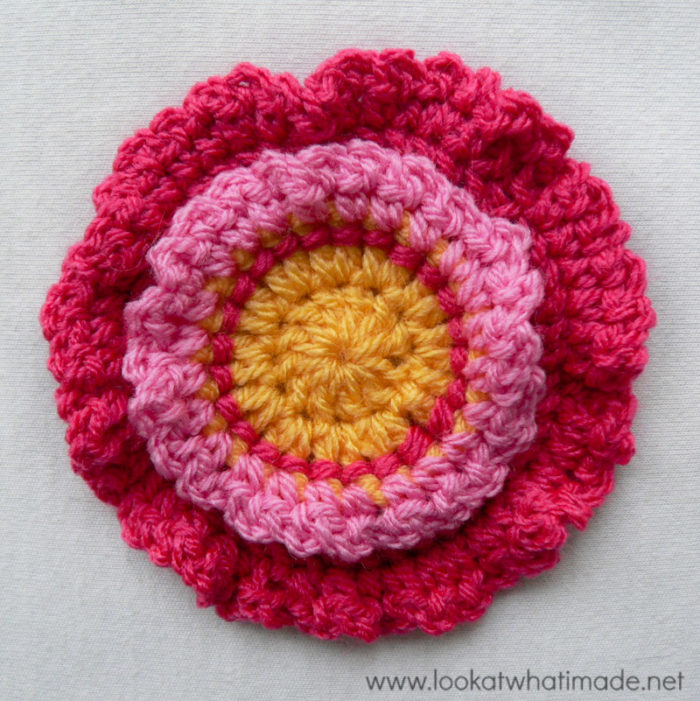
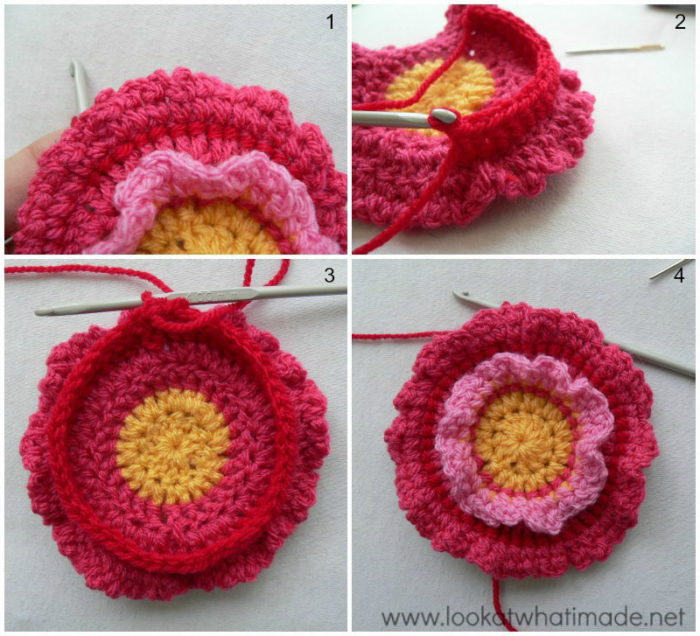
This round is worked around the posts of the dc’s from Round 8…same story as before. I just want to say, I have never seen a square where 5 subsequent rounds have the same stitch count!!! The fact that this works out so well has tickled me pink!
Stitch count: 48 bpdc’s
Round 11
As written.
When told to “make a corner”, remember that the “corner” is defined at the start of the pattern as: (2 dc, ch 2, 2 dc) in the next stitch/ch-2 corner space.
Stitch count: 60 dc’s and 4 ch-2 corner spaces {15 dc’s per side}
Round 12
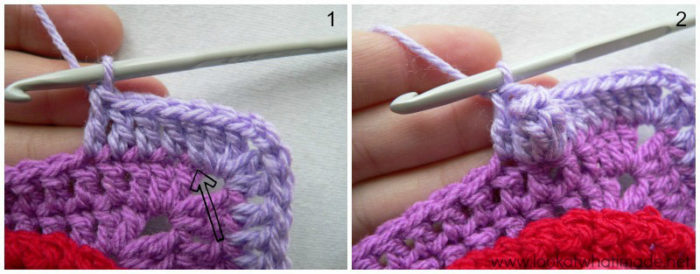
As written. Remember not to accidentally skip that first (hidden) stitch after the corner. See the arrow in Photo 1 of Round 13 below.
In this round and subsequent rounds, the beginning corner is made in the following way:
- If you are using the same colour, sl st into the ch-2 space. (Ch 3, dc, ch 2, dc) into the same ch-2 space.
- If you are using a new colour, join your yarn by making a standing double crochet in any ch-2 corner space around. (Dc, ch 2, 2 dc) in the same ch-2 space.
Stitch count: 76 dc’s and 4 ch-2 corner spaces {19 dc’s per side}
Round 13
As written.
Remember not to accidentally skip that first (hidden) stitch after the corner (indicated with an arrow in Photo 1).
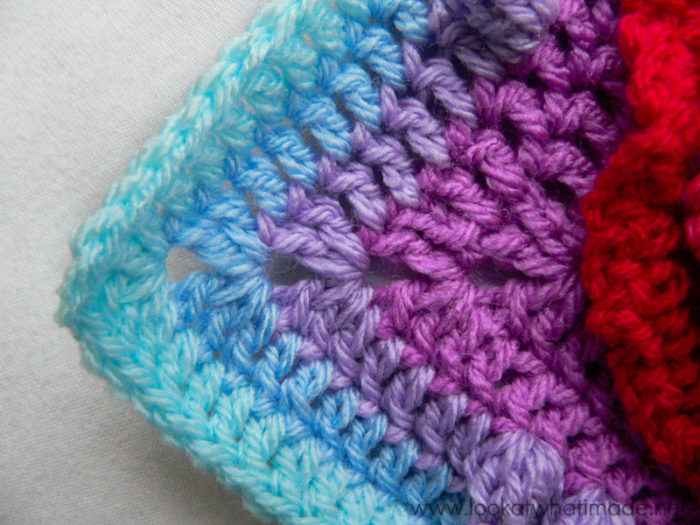
When you make the popcorn stitches they will partially hide the next stitch to be worked into. Make sure that you don’t accidentally skip a stitch when making the dc’s between popcorns (Photo 2).
Stitch count: 72 dc’s, 20 popcorns, and 4 ch-2 corner spaces {18 dc’s and 5 popcorns per side}
Round 14
As written.
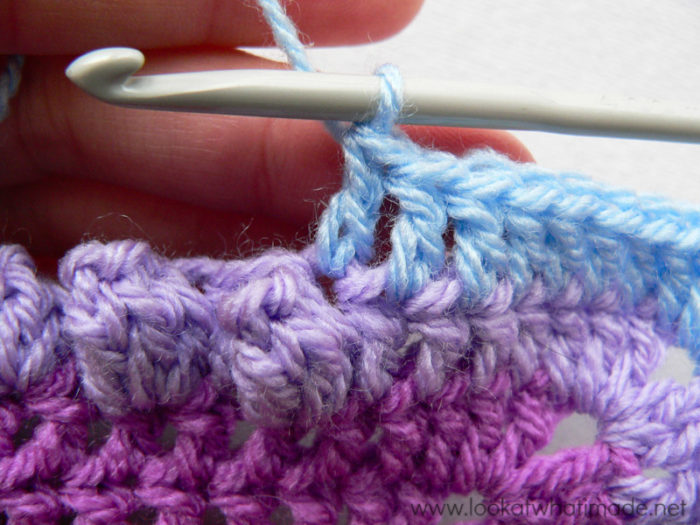
When making the dc into the top of the popcorn stitch it can be a bit tricky identifying the top of the popcorn stitch. Some people insert their hook into the actual center of the popcorn stitch. I insert my hook into the first dc of the popcorn, which has the last dc of the popcorn pulled through it. You will find this stitch immediately to the right of the popcorn (left if you are left-handed). See Photo below.
The loops that lie just to the left of the popcorn stitch (right if you are left-handed), and slightly on top of it, belong to the next dc.
Stitch count: 108 dc’s and 4 ch-2 corner spaces {27 dc’s per side}
Round 15
As written.
Rounds 15 and 16 are a repeat of Round 14 (with more dc’s per side).
Stitch count: 124 dc’s and 4 ch-2 corner spaces {31 dc’s per side}
Round 16
As written.
Stitch count: 140 dc’s and 4 ch-2 corner spaces {35 dc’s per side}
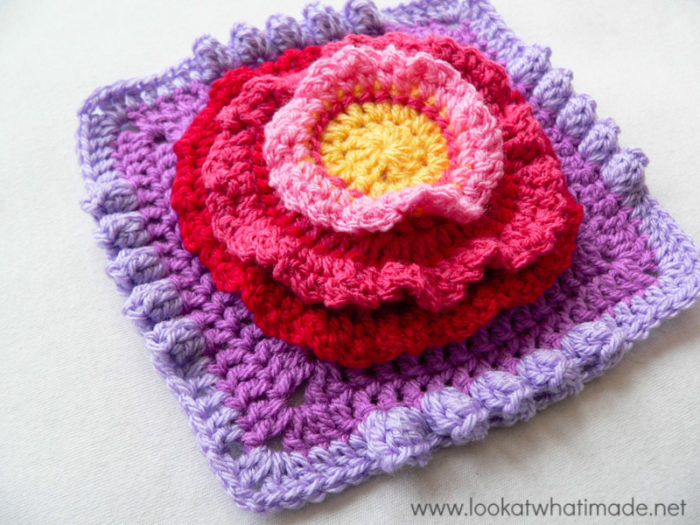
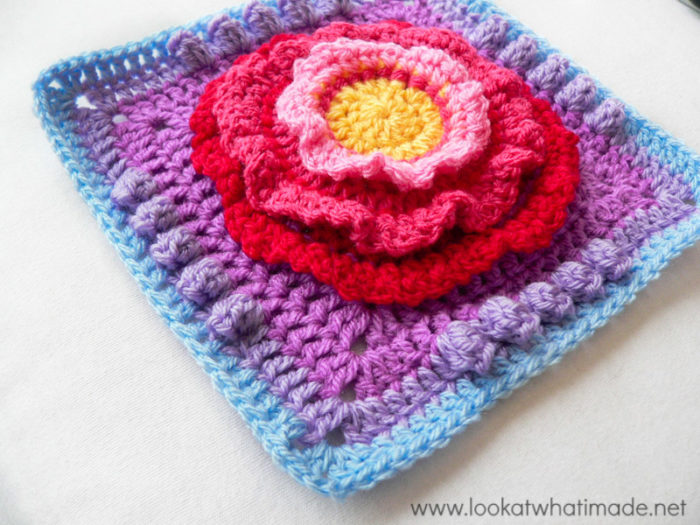
At this point your square will be as big as the other squares once blocked. This square is very elastic and it will stretch quite a bit (if you want it to) without distorting the design, so you do not need to add any extra rounds.
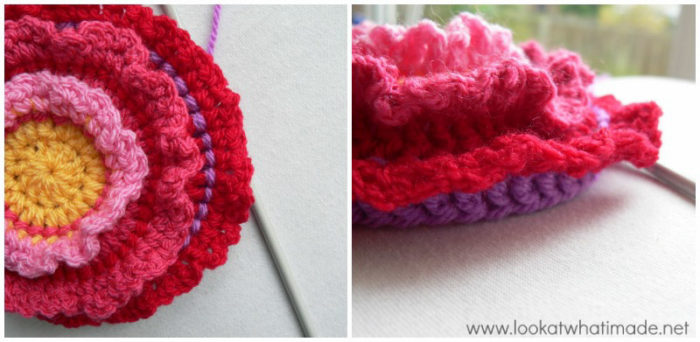
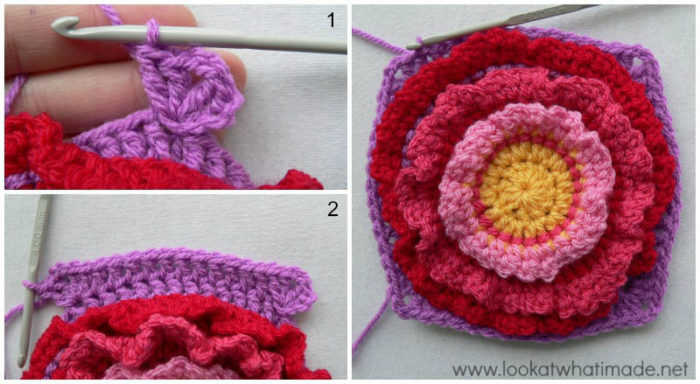
However, by this time you probably know that I have added extra rounds to the other squares to get them all to a final-round stitch count of 164 or 168 st’s. As this square only has 140 st’s in the last round, I have added a skinny optional round to get the stitch count to 164. This made the curling worse for the unblocked square…
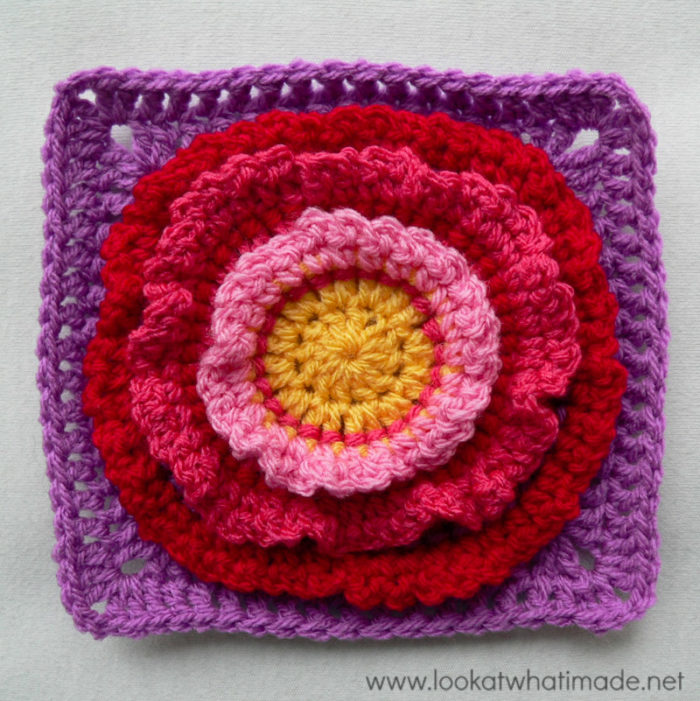
…but after blocking the square is perfectly flat again (as evidenced in the featured photo). You can find the instructions for the optional extra round HERE.
Join the Block a Week CAL
If you would like to be part of the Block a week CAL on Facebook, please join the Official CCC Social Group (you must be logged into Facebook to do so) so that you can access and utilize the support and encouragement of all the lovely ladies on there.
You can also join the Block a Week CAL Flickr Group so that you can inspire others and be inspired yourself.
For those of you who do not like Facebook, you can always follow along with me here. I will be posting the blocks every week.
Remember to subscribe to my Weekly Newsletter if you would like to be kept in the loop. You can also like my Facebook page or follow me on Bloglovin, Google+, Pinterest, Twitter, or Instagram.
More Blogs Following the CAL
- San from Loopsan – using Stylecraft in sophisticated Parchment, Denim, Mocha and Meadow
- Lou Mander from Tea, Crochet and Me – using Stylecraft in White, Mocha and Raspberry
- Wendy from Little Wendy Crochet (Dutch photo tutorials)

This blog post contains affiliate links. I only link to products I personally use or would use. All opinions are my own.



Phillipa Godfrey says
Would you be able to send me the instructions for the final row of this block. I think I can follow the photo tutorial for the remainder of the pattern.
Many thanks
Phillipa
Dedri Uys says
Hi Phillipa,
I’ve gotten in touch with the designer about the pattern for this square. I’ll update the post as soon as I have a resolution.
Jo Ann says
I wrote on 11/11/2014 asking about the yardage, for each color, to make the entire afghan. I can’t find my question or an answer. I look forward to your answer. Thank You, Jo Ann
Dedri Uys says
Hi Jo Ann. I cannot see your question either. Once we have finished the final square I will do a post outlining roughly how much of each colour I have used (including joining and border). When I started I didn’t think that people would want to know how much yarn I used for my colour combinations, so I did not keep a record. I am having to rely on a friend of mine to supply me with the yardages per colour (as she is using the same colours as me). I can tell you, thought, that you will need about 17 balls of 100g double knit yarn to complete the blanket, providing you use every scrap of every colour.
I will be sure to contact you once the post about the colours goes up.
Dedri
Carolyn says
This is a favorite, Dedri! I love it. Thank you for all the help. You are amazing as always! – Carolyn
Dedri Uys says
Thank you for commenting, Carolyn :) It is such a huge pleasure to do these tutorials and I hope that you know I think of you every week when I’m doing the tut. Don’t know why I think of you specifically, but I do.
Pat says
Beautiful square, with an amazing colour choice!
Dedri Uys says
thank you, Pat :)
Carrie says
This one is quite interesting in the way it’s made! Interesting in a good way – it’s very pretty! ;)
Thanks for doing the tutorials, Dedri!
-Carrie
Dedri Uys says
Lol, Carrie…I’m glad you clarified. I actually really loved making this one. Just enough fussing and just enough monotony x