Here you will find my favourite 2 home-made glue recipes: Tacky Gelatin Glue and Corn starch glue/paste.
I have used corn starch glue quite a bit and have really liked the results. But my new favourite is gelatin glue! It is a bit more of a hassle to use once it has cooled down, because you have to reheat it (easily done under running hot water) and keep reheating it as you go.
I have used both of these to make my paper straws and they both work very well. If I had to choose between the two, though, I would choose the Tacky Gelatin Glue. But then, I’m not a vegetarian…
Both these glues are perfect for Making Your Own Paper Drinking Straws. They stick hard and fast, they are edible and they are cheap!
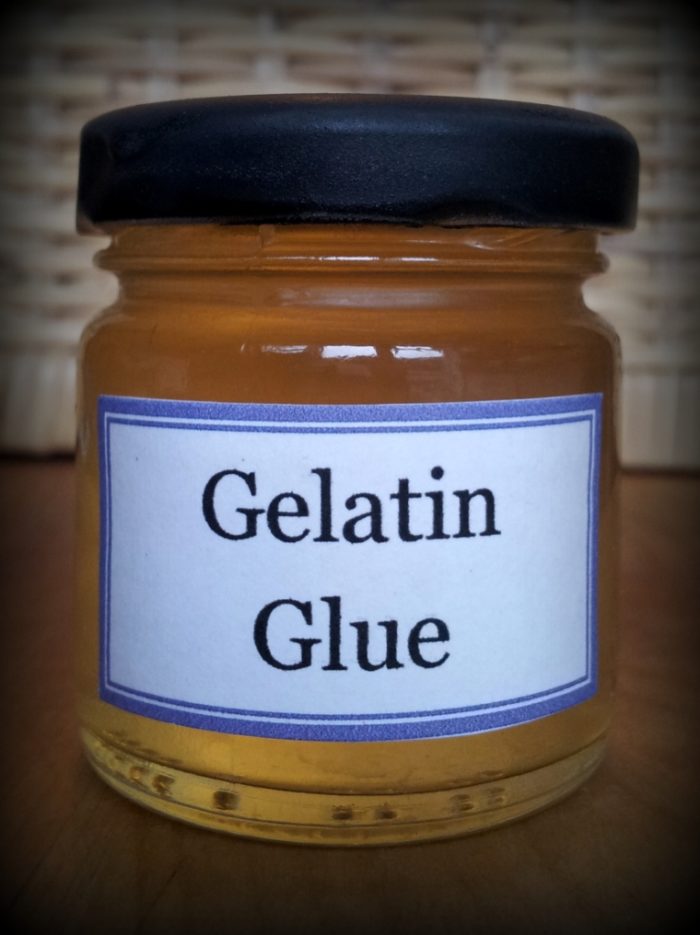
Tacky Glue (Gelatin Glue)
This glue dries clear(ish). You will notice a very slight yellow tinge. But this doesn’t matter when using it for labels or stickers, does it :)
Ingredients
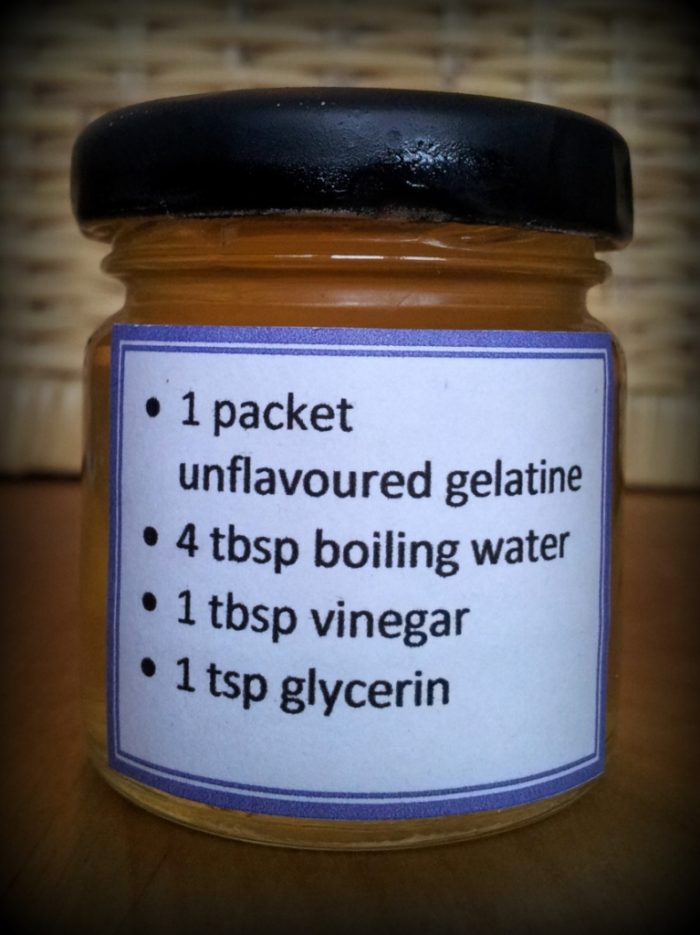
- 1 packet of unflavoured Gelatin** (I recommend Knox, available HERE from Amazon)
- 4 tbsp water (3 of which should be boiling)
- 1 tbsp white vinegar (you can use malt vinegar, but you’ll get brownish glue)
- 1 tsp glycerin
** 1 packet of Gelatin is equal to 7 g, 1/4 oz, or 1 tbsp
Method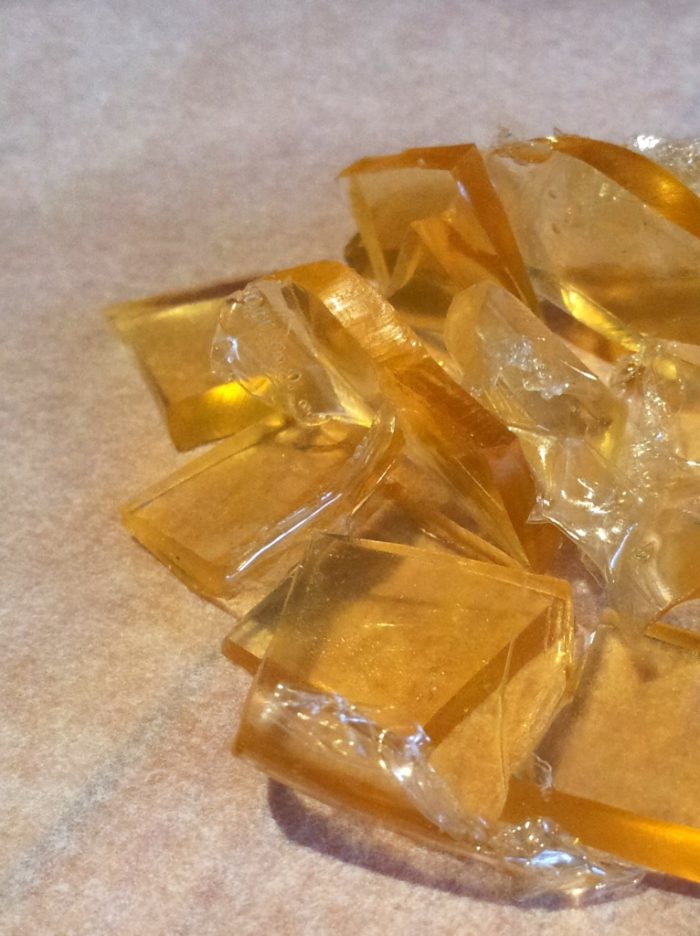
- Let gelatin bloom in 1 tbsp cold water
- Add 3 tbsp boiling water, vinegar and glycerin and stir to dissolve. I found that a few 5 sec blasts in the microwave helped this along. You could also put it in a pot on the stove if you felt it needed a bit of help.
- Once made, store in an airtight container.
“Oh no! My glue has become a solid lump!”
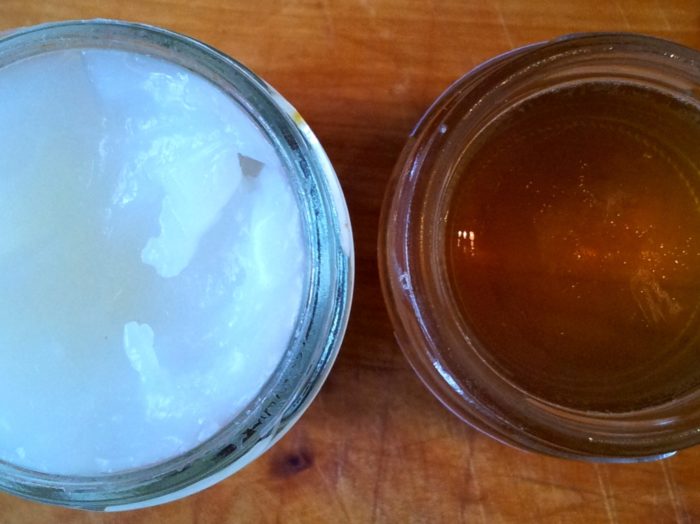
It’s ok. That’s what gelatin does. To get the glue gloopy again, place the whole container under hot running water or zap in the microwave (without a lid) for a few seconds. It will become nice and runny again.
If you want to save yourself some hassle, just leave the gelatin in the pot/cup (whatever you used to make it in) to set. Once set, remove from the pot and cut up with a pair of scissors. When you need to use some of it, just place a few shards and a few drops of water in a microwavable bowl and blast for 5 sec at a time until melted. Waaaay easier than getting the whole pot wet every time. Especially if you go to all the trouble of putting on a label.
This glue is AWESOME for labelling as it keeps the label stuck on, but also peels off super easily when you want the label gone. And if you decide that you didn’t actually want the label gone, just lick the glue side and stick it back on. Apply a little bit of pressure and you’re set. I’ve repeated the whole process 5 or 6 times with my little glue label and it is still sticking strongly after being removed and re-applied that many times.
Uses
- Stick labels to glass jars semi-permanently
- Make stickers by printing out pictures/cutting them from magazines and coating the back with this tacky glue. Let dry and lick when ready to use. (Takes about 24 hours to dry completely, but can be lick-and-sticked before then.)
- Stick paper to paper/cardboard/wood quite thoroughly!!!
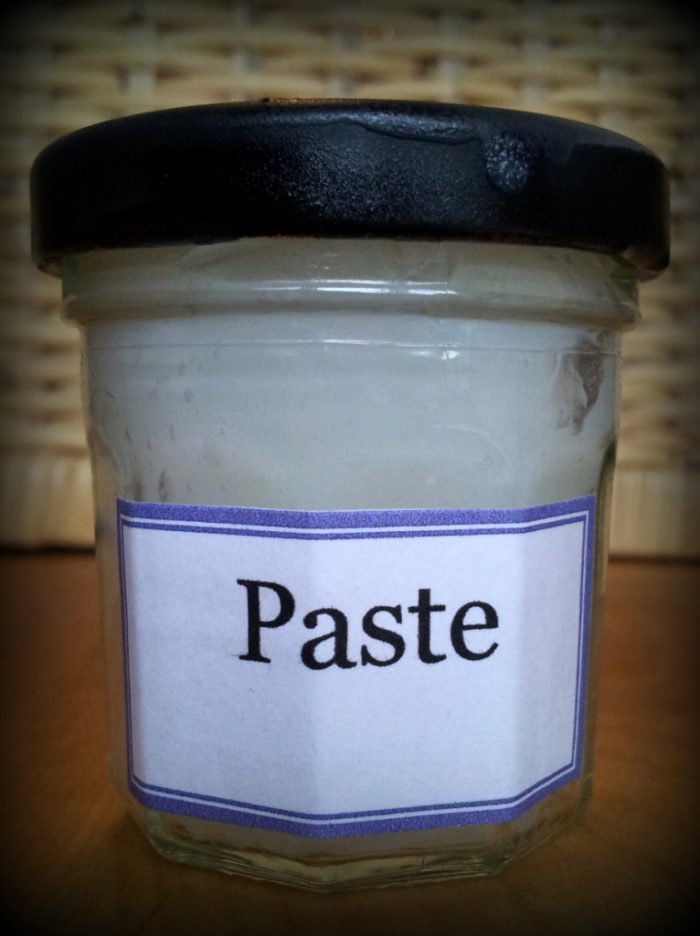
Corn Starch Glue/Paste
This glue dries completely clear and is merrily vegetarian – even vegan!
Ingredients
- 30 ml corn starch
- 120-150 ml cold water
- 1 tbsp white vinegar
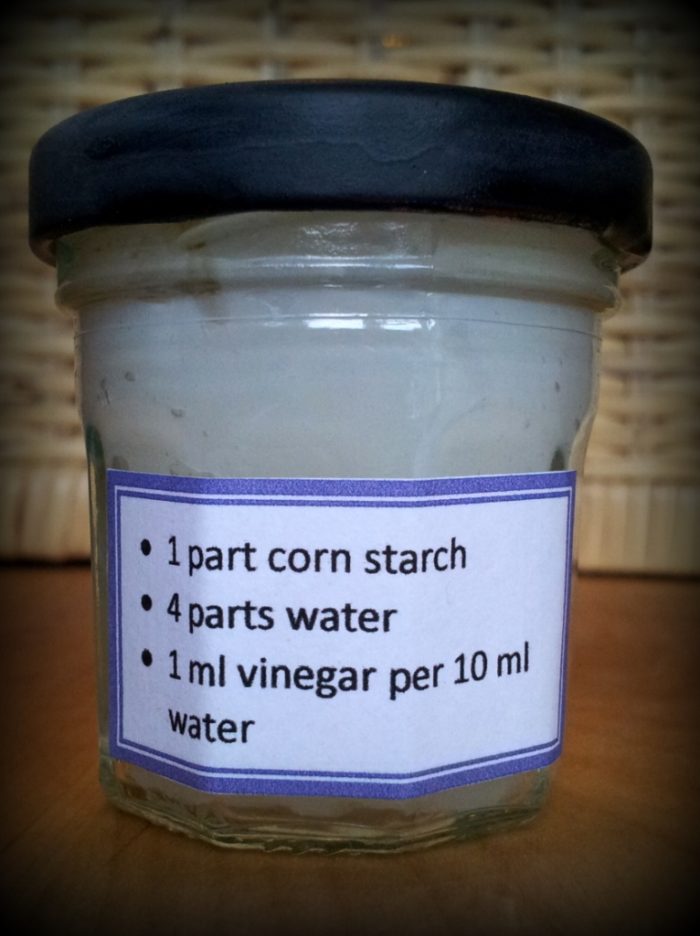
This is the ratio if you want to make more or less:
- 1 part corn starch
- 4-5 parts water
- 1 ml white vinegar for every 10 ml water (roughly)
Method
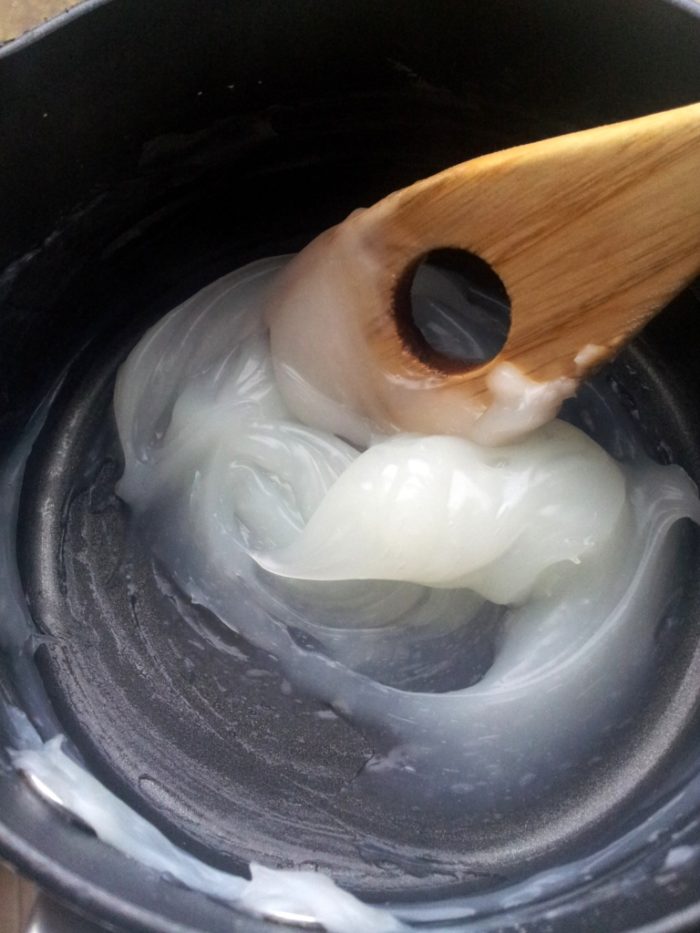
- In a saucepan: make a paste with the corn starch and 30 ml of the water (to avoid lumps later on). Add the rest of the water and stir constantly over a low heat. When the mixture starts firming up, remove from the heat for a second and beat quite vigorously with a wooden spoon.
- Return to the heat and heat (stir stir stir!) until the mixture is the consistency and colour of Vaseline.
- Remove from the heat and add the vinegar. When it has cooled sufficiently, stir stir stir again before popping it into your airtight container. This will make it a bit more pastey again.
Note: A lot of recipes call for 3 parts water for every 1 part of corn starch, but I find the resulting paste to be more bouncy ball than glue. Go with your gut. If you are concerned that the 1:5 ratio will be too liquid (IT WON’T), add 3 parts water to begin with and then add more if you need it (YOU WILL). You can always add more later. You can’t really add less later.
Uses
- Stick labels to glass jars semi-permanently
- Make stickers by printing out pictures/cutting them from magazines and coating the back with this tacky glue. Let dry and lick when ready to use. (Takes about 24 hours to dry completely, but can be lick-and-sticked before then.)
- Stick paper to paper/cardboard/wood quite thoroughly!!!


Megan says
Can either of these be used to glue two pieces of felt together? Thanks!!
Dedri Uys says
Hi.
I have successfully used the cornstarch glue to glue fabric to items, so I cannot see why it wouldn’t work for felt…
NGE says
To keep the gelatin glue soft while working maybe setting it in a dish of water then on a candle warmer plate. I have not tried the gelatin glue yet but will be soon and tend to try using the candle warmer.. Thanks for the glue recipes.
Susan says
Great idea!
Lalitha Ramachandran says
Absolutely the cornstarch recipe can – perfect for paper mache projects.
serina carr says
Hello! Will either of these glue recipes work like modge podge? I’m making a birthday banner and want to stick paper together. Will it still stick over time (several years/decades)? Thanks.
Dedri Uys says
I honestly cannot tell you. What I do know is that the cornstarch glue I used as an over-layer on some jars lasted until I threw the relevant jars out three years later.
Lalitha Ramachandran says
Absolutely it can – perfect for paper mache projects too.
Susan says
The gelatin recipe is like mod podge on steroids. Yes, so long as it isn’t being hung in a constantly moist and humid climate (like over the shower in the bathroom) this stuff will last forever. I used it to laminate a tabletop once.
Kat says
Long time lover of starch glues but it’s been awhile and I couldn’t remember for the life of me what the ratios were! Thanks so much for this post – it was clear and to the point while still throwing in some personal touches and useful tips. Just really well written, so thank you for that!
A couple bonus tips for anyone who scrolls down this far:
I often make a large batch of starch glue that’s purposely too thick – then when it’s time to use it I scoop some out and mix it into boiling water at whatever consistency I want. This is a great way to have it ready on hand without it taking up too much fridge space, and also means you’ll be working with WARM glue – if you’ve ever tried to make paper mache in a basement studio in the middle of canadian winter you’ll understand the appeal of piping hot glue!
I was also thinking that if you’re using this for lick and stick stickers, try adding a couple drops of peppermint or vanilla extract to make the experience more pleasant – plus they’ll smell lovely too!
Essential oils such as tea tree oil and grapefruit oil could possibly be used in place of the vinegar as they are antimicrobial- just always use essential oils with caution and the proper research as they are incredibly potent ingredients!
KK says
Just an FYI- tea tree oil is toxic if ingested. So don’t use that for lick and stick.
Thanks for the ideas!
Amelie says
hi I just seen the paper straws project and I was wondering if I could use corn starch glue instead of paraffin wax??
Dedri Uys says
You can use cornstarch glue to glue them together but not to seal them. You will need something waxy to seal the straws with.
Sam says
Hi Dedri
Can you tell me if your corn starch glue recipe is good for making slime with please?
My daughter is driving me crazy to make some but I cant afford to keep buying shop pva
Dedri Uys says
Hi Sam. No, it wouldn’t be suitable at all.
Karen says
Do you think either of these would be suitable to pour into an empty glue stick? I’ve just made up some of the gelatine glue, and may even make the other as well. Thanks for the recipes.
Dedri Uys says
Hi Karen. Unfortunately, neither of these would work for that. I’ve tried to look for some that would, but all results were a dudd.
sofy says
hi
is the cornstarch glue sutiable for using as an eyelash glue? i want something natural as opposed to chemical glue near my eyes as they are sensitive?
thanks
Dedri Uys says
yes it is. I found that the addition of vinegar irritated my eyes, which meant that I had to make a fresh batch every time I wanted to use it (vinegar is a preservative that makes it last longer), so I couldn’t be bothered to keep using it.
Vanessa says
Adding a few drops of clove extract or mint extract will preserve it forever and they may not irratate ur eyelid. Just be careful around the pool. Jk:)
Dedri Uys says
That’s a wonderful suggestion.
Sam says
Do you think the cornstarch glue might work for fake nails too?
Such a great idea with using it for eyelash glue! I’m going to try it now :)
Dedri Uys says
Hi Sam. I don’t think it would last very long at all, but it would certainly be less abrasive than the glue supplied with fake nails. I think I might have to try this one and get back to you…
Syrsei says
Hi, I’m interested using this glue to create a “money notepad” as a gift. Would the gelatin glue be good for this? Will the paper tear off easily like regular notepads?
Dedri Uys says
Hi, do you mean like post-it’s? or to glue the spine? It will work for gluing the spine, but not so much for tear-and-stick notepaper like post-it’s.
Rowan says
How long until it’ll turn solid?
Dedri Uys says
Which one of the two are you referring to? The gelatin glue goes solid when it cools down, but can be liquefied again with a blast in the microwave.
Gwen says
Is the corn starch glue edible
Dedri Uys says
Yes it is.
Jodi says
I am looking for a washable fabric glue so I can temporary secure fabric pieces to machine embroider. Thanks, Jodi
Dedri Uys says
Hi Jodi. Cornstarch glue is probably your best bet. It doesn’t discolour the fabric and can easily be removed by washing. If you do decide to use it, I would love to hear how it goes. I have been wanting to use starch glue to ‘stick’ fabric onto my walls like wallpaper for ages (I’m not allowed to do it in our current rented property, though), and this was my favourite post about it when I was doing research. She uses fabric starch instead, so maybe that is also an option? I would test it on 2 random pieces of fabric first, though; one printed and one plain.
bouterfas from sidi bel abbes says
In response to Jo; I tried a formula;
And after 10 years, the paint is still adhered
on the wall. if I remember correctly, I put
1 packet of powdered milk 500g
30 liters of water
50 to 100 g of chromium alum
5 to 10 kg of lime
Mix in one liter : milk chromium and chromium salt
In a large container mix the lim powder and 30 liters of water, let cooled
Then mix all
Filter : Application … sprayer at it’s best
chemical reaction:
under the effect of sunlight,milk proteins
Oxidizes in the presence of chromium salts effect and turn from soluble to insoluble in water
gum arabic also gives an insoluble product under the double action reaction is stronger than milk ..
gelatin that makes up the skin is also sensitive to salt / lights..fish glue is the same proteine like
gelatine but in liquid forme..in formula above discribe by Dedri you can makes glue solidification under action of light..
fish glue+bichromate+acetic acid (vinegar.) .
Dedri Uys says
Thank you for this very detailed answer.
Jo says
Hi Dedri,
I am trying to make a natural paint for house painting. The main issue to make it is to find a good natural binder (glue), most recipes use casein (milk protein) and clay powder but casein is expensive and clay does not give the good result. I find information to make a glue on the internet and meet your website.
My question is do you have an experience to make a natural binder for paint or can these glue recipes be used as a paint binder ? Please share your opinion.
Thanks,
Jo
Dedri Uys says
Hi Jo. House paint is a bit above my skill level (quite a bit), but from the little I do know, I can tell you that casein is by far the strongest of the glue elements. Egg yolks (for tempera) is also brilliant, but when you say ‘house painting’, do you mean inside or outside? I don’t know of any natural agents that are strong enough to use as an outside binder. THIS is a good resource for natural paints. I hope that helps!
Dedri
Jo says
Hi Dedri,
Thanks for your opinion. To answer your question I mean both inside and outside and yes to find a binder for the outside is not easy, now I am testing with Tung oil, it is a natural drying oil. Thanks gain for suggesting a good resource.
Jo
Dedri Uys says
Thank you for getting back to me. Tung oil is new to me, and I will def look it up. Thank you!
Elaine says
Hello,
I really love the idea. Want to use one of these two glues for Easter eggs decoupage with napkins. The original instruction says to use raw eggs whites as glue which is a big no no for me, so maybe one of these can help? The glue should be used under and over the napkin layer on the eggs, and I don’t want them to end up looking matte. Which glue recipe would You recommend?
Dedri Uys says
Hi Elaine. I wouldn’t recommend either of these. The gelatin one doesn’t work well when used over things. It has a slight yellow tinge. The corn starch one would work wonderfully, but it would be matte.
Elaine says
Thank You for the reply.
Pitty though..
But I still have time to find a solution :)
Keep up the good work! :)
Dedri Uys says
Elaine, to be honest, I use mod podge whenever I need to decoupage anything. Are you hesitant to use it because of the price?
Elaine says
I really just want a type of glue that is safe as I will be applying the decorations on hard boiled eggs, and once you crack them they should still be edible :)
So looking for something natural :)
Dedri Uys says
Ah, sorry, I misunderstood. I didn’t realize they would be hard-boiled. In that case the only thing I have ever seen used was indeed egg white :( I hope you find a work-around. You can always try the corn starch glue. It will go matte, but it will work…
babuji says
Is Corn starch glue is water proof?
Dedri Uys says
Hi. Neither the corn starch glue or the gelatine glue is waterproof. You can make them waterproof by adding melted wax to the finished product (if it is not used on paper or cardboard). You can find a tutorial for that HERE.