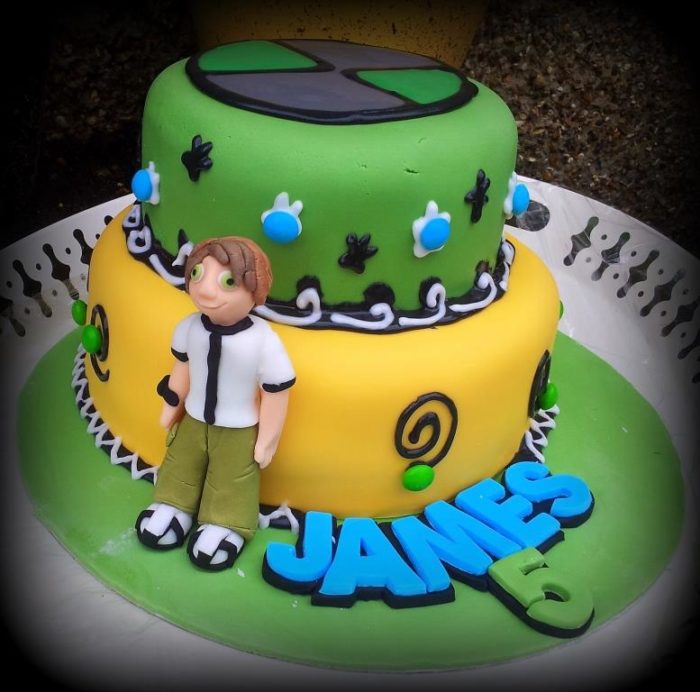
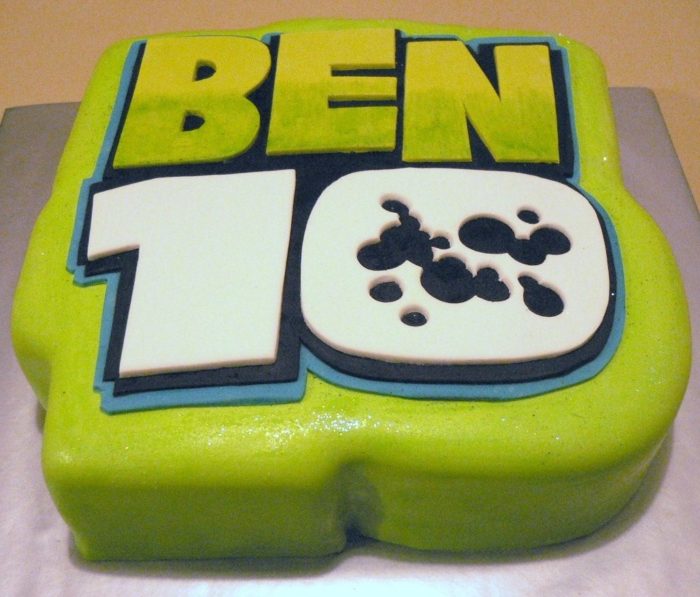
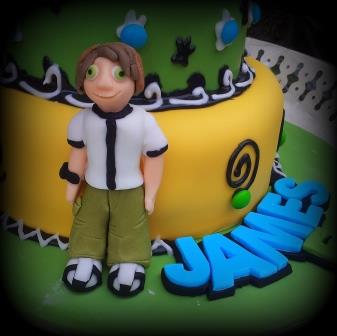
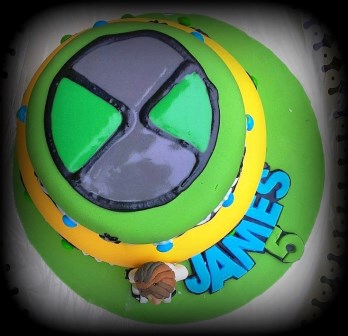
This is the Ben 10 birthday cake I made for James’ 5th birthday. It is loosely based on this cake from Themecakesbytraci.
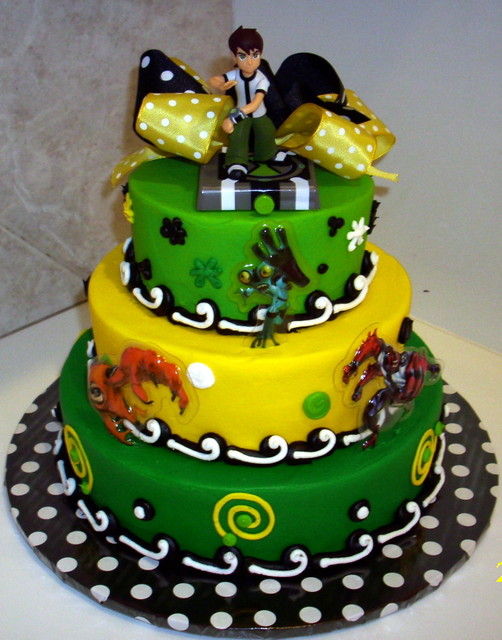
Before I made this cake I wasn’t even exactly sure who/what Ben 10 was. Don’t get me wrong. I was definitely not oblivious to Ben 10. I have a 4-year old son. Of course I have heard of Ben 10. But I have also tried to keep my sons from watching it (and myself). Pieter’s only 4! Jakes is only 2!! There are aliens and monsters and scary things on Ben 10! (I feel that way about Scooby Doo too, but that’s another story)
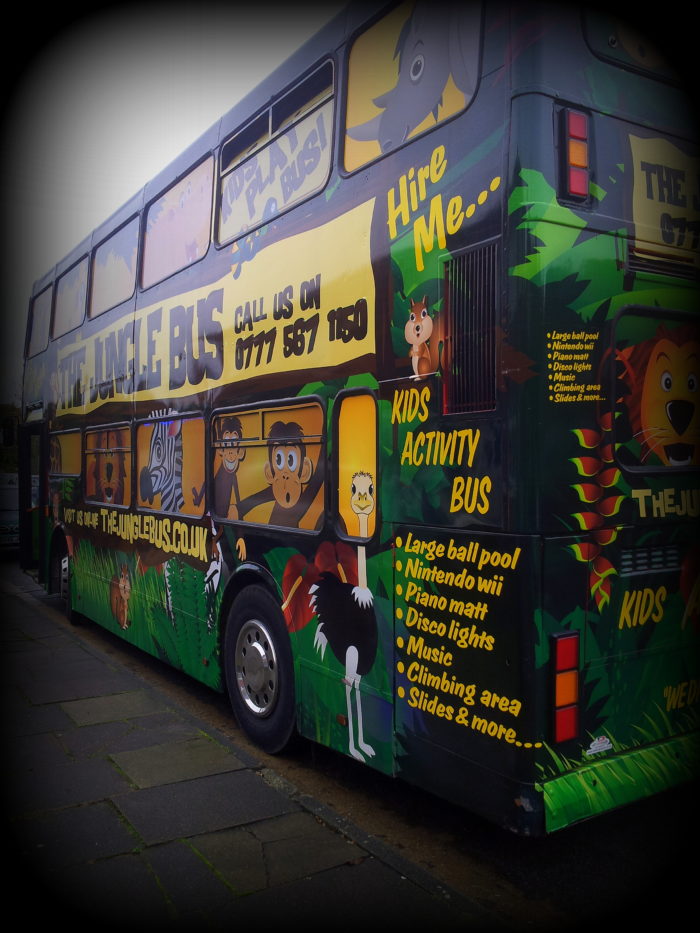
Aaaanyway. Dispite my efforts, our world seems to have been taken over by all things Ben 10. And you should have seen their excitement when I attempted this Ben 10 birthday cake for James next door. It was only marginally overshadowed by their excitement when they saw this Jungle Bus pull up outside our house. (No mean feat, let me tell you. Narrow English roads, residential cul-de-sac…)
I think it was a bit of a headache to organize the bus – I saw Liz running around frantically, knocking on doors and asking people to please not park on the road so that the bus could park outside their house and ours…but it was worth the effort. The kids loved playing in this mobile soft play arena. And the grown-ups actually got to finish conversations with each other. I am sure any parent can appreciate how difficult this usually is. The amount of sentences I have started and never finished is staggering. So thank you, Jungle Bus, for letting me have an uninterrupted conversation!
Ben 10 Birthday Cake
So back to the cake…
Making the name out of fondant
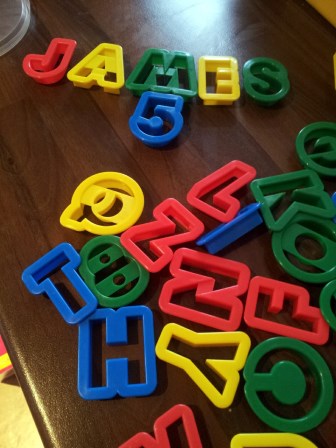
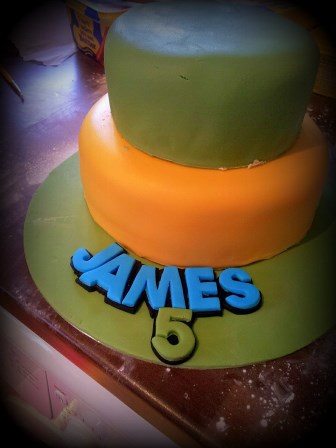
I used some alphabet cookie cutters to cut the letters of James’ name out of light blue fondant. I bought these on Amazon for a fiver, but you can find them in most baking stores and loads of places online.
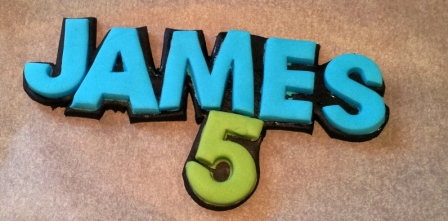
I stuck the letters to a rolled-out piece of black fondant and added a green 5.
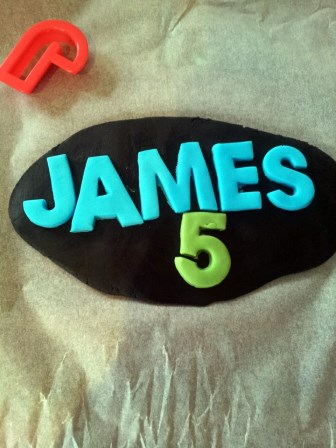
And then I cut the excess fondant away so that I was left with this framed “James 5“.
You can use the same technique to write the actual words “Ben 10” on your cake. A beautiful example is this cake by SuziesCakeCreations.
For this look, simply cut the letters out of yellow fondant and use white fondant for the number. To get the gradient effect on the letters, paint them with a tiny bit of green liquid food colouring, starting from the bottom of the letters and working your way up. A good tip is to paint the very bottom bit, thin the colouring, paint the next bit, thin the colouring some more, paint the next bit…you get the idea.
To get the splotchy effect on the zero, just take random icing tips and stab the zero with it until you achieve the desired look.
Covering the cake board
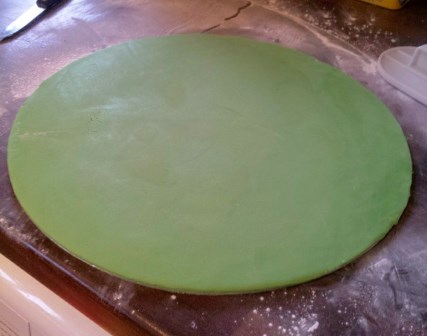
I covered the cake board with green fondant. I used this tutorial for Covering a Cake Board with Fondant. It is a comprehensive and easy-to-follow tutorial by Laura from Krazy Kool Cake Designs. Do yourself a favour and just go and have a look at her etsy shop (the link will take you there). She has some absolutely amazing cake toppers available.
The next step was to spread some butter cream onto the fondant for the first tier to stick to.
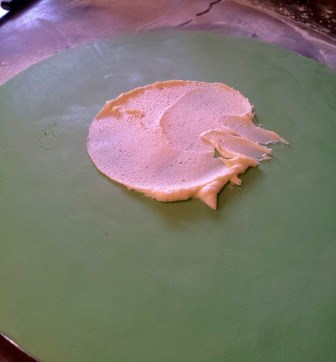
Stacking the Ben 10 Birthday Cake
For a more comprehensive tutorial on icing, stacking and transporting the cake, see my DIY Ivory Striped Wedding Cake Series. I have included some of the links below. Although these posts are written specifically for the 3-tier wedding cake, they will give you a good idea of the exact methods I use when making my cakes. They cover everything from how much batter and icing to use for each tier right through to stacking a 3-tier cake.
Part 3: Bake the cakes
Part 4: Ice Your Cakes
Part 5:Decorate your Cakes
Part 6: Preparation and Assembly
For the purposes of this tutorial, though, I am going to assume that you already know how to ice your cakes and cover them in fondant.
I used the sponge recipe you can find in Bake the Cakes. Because this didn’t need to be a high cake I only used one double batch of the batter to make 2 x 6″ cakes and 2 x 8″ cakes. That worked out to about 2 cups of batter for each 6″ cake and 3 and a half cups of batter for each 8″ cake.
Once the cakes were iced and covered, I just stacked them on top of the fondant covered cake board (with a little dab of butter cream in between to help them stay put). I didn’t use dowels or straws to support the top tier, but you are welcome to if you feel the cake will sag.
Decorating the Ben 10 Cake
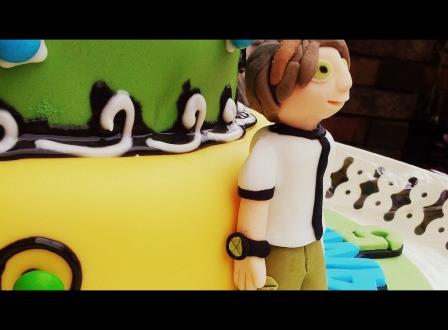
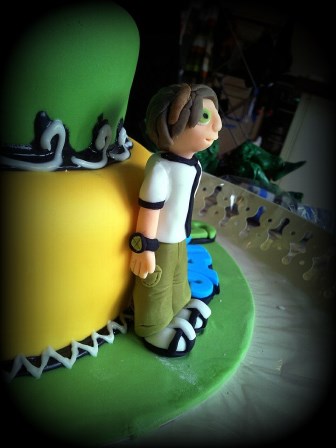
Using white and black royal icing, I then piped on some swirls around the bottom of the top tier. My black royal icing was a bit runny, hence the messy border.
For the bottom border I just piped a straight line of black royal icing all the way around the cake and then did a zigzag pattern over that in white.
Then I added my fondant Ben 10. See this post on Making a Fondant Ben 10 for more instructions on making him and attaching him to the cake.
I piped some swirls around the bottom tier and some splodges around the top tier. As I still have a huge stash of sweets left over from Pieter’s Superhero Pop Art Party, I stuck some skittles on the swirls and splodges for added colour.
Lastly I took a little round plastic bowl and pushed it rim-first into the fondant to create a circular indent on top of the cake. I then used this circular template to pipe on the Omnitrix and flooded this with grey and green royal icing.
Another Ben 10 Cake Idea:
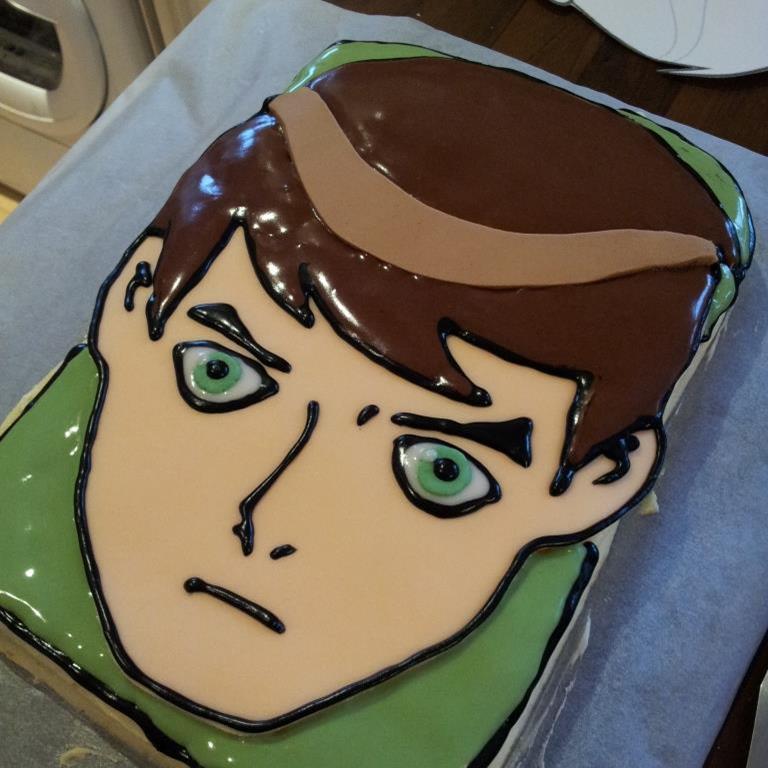
Ben 10 Face Cake
If this Ben 10 cake seems a bit advanced, why not try making a more simple Ben 10 Face Cake like this one I made for my son, Jaco. It is a standard vanilla sponge covered in butter cream icing. This cake does not require a knowledge of fondant and all it’s idiosyncrasies. It relies mostly on Royal Icing for the detail work and is be nice and quick to clobber together.
I hope you have found this tutorial useful and that your Ben 10 Cakes come out marvelous!
Remember to subscribe to my newsletter if you would like to be kept in the loop. You can also like my Facebook page or follow me on Bloglovin or Google+.
Happy Baking!



jennifer says
Where did u find the ben 10 alien stickers you put round edge
Dedri Uys says
Jennifer, I didn’t make the cake with the stickers on. That is the cake I used for inspiration.