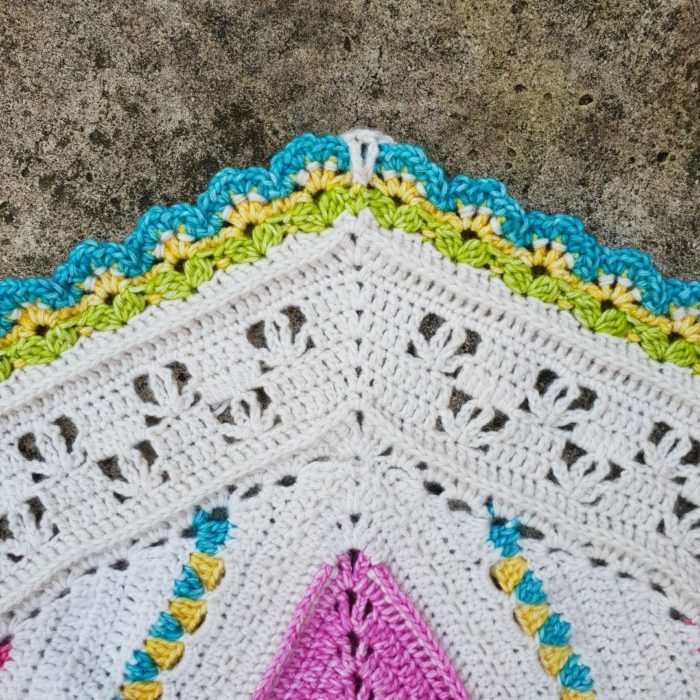
Good morning and welcome to Part 9 of the Scheepjes Ubuntu CAL 2018. After the quiet mindfulness of last week’s part, you will be pleased to know that this week has more detail and colour work. For me, the upcoming parts of the border look like a Victorian flower garden with all the flowers planted in neat rows and colour bands. I hope you will enjoy this part a lot.
You will find all the links and information you need under ‘Resources‘ below. If you have stumbled on this post accidentally and don’t know what Ubuntu is, you can read more about it HERE (Information) and HERE (Concept).
Resources
- Part 9 Pattern PDF
- Part 9 Video Tutorial (UK terminology) by Esther Dijkstra from It’s All in a Nutshell
- Official Scheepjes – International Group (English) or the Official Scheepjes – Nederlandse Groep (Dutch). You have to be logged into Facebook in order to access the link to the groups.
- Add the CAL to your Ravelry Queue
- If you are on Instagram, you can find me HERE. Please add your photos using #scheepjesubuntucal2018 or #scheepjesubuntucal.
- Special Stitches and Techniques (including a gauge square)
Ubuntu CAL 2018 Part 9: Border Part 3
Although this pattern will not have a step-by-step photo tutorial, I will be sharing photos of each completed round (and some of the trickiest bits). I am using a different colour for each round so that you can clearly see stitch placement. I will also share notes and tips as I go. Please note that you should be following the colours listed in the pattern, NOT the ones I am using for these photos.
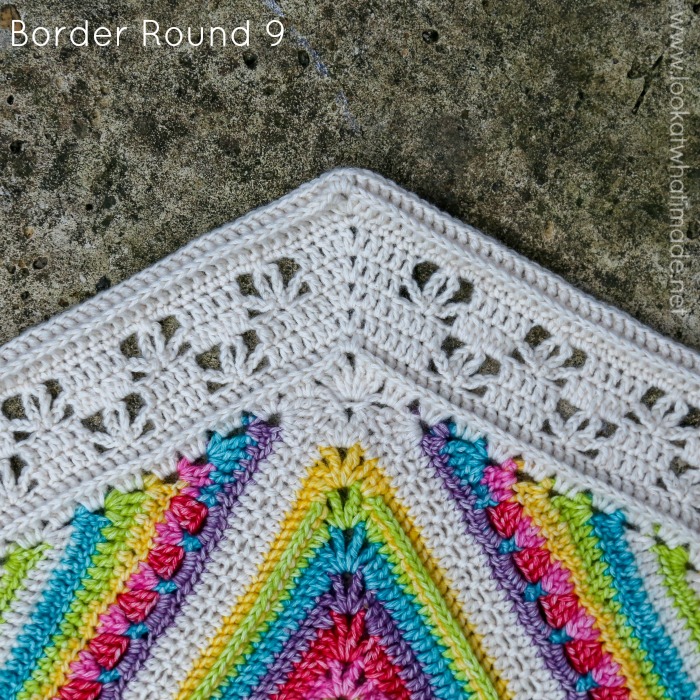
Border Round 9
This round is the same as Border Round 2 from Ubuntu Part 7. Lots and lots and LOTS of back post stitches. Those of you who stated that they hated back post stitches… have you gotten used to them yet? It took me three Sophies to fall in love with making them :) You’ll get there!
Border Round 10
When I made my ‘My Story’ shawl, I wrote a post about the reasoning behind the name. In that post, I mention a book called ‘Groen is die kleur van Genade’ (Green is the Colour of Mercy). This round, the rhythm of the stitches and the vibrance of the green, reminded me of that project, that post, and that book. As I worked, I kept reminding myself that I should show myself the same kindness I would show other people. We can be so hard on ourselves sometimes! So, as you make this round, I encourage you to be kind to yourself and to remind yourself that you are ENOUGH, especially if you are feeling like you aren’t!!
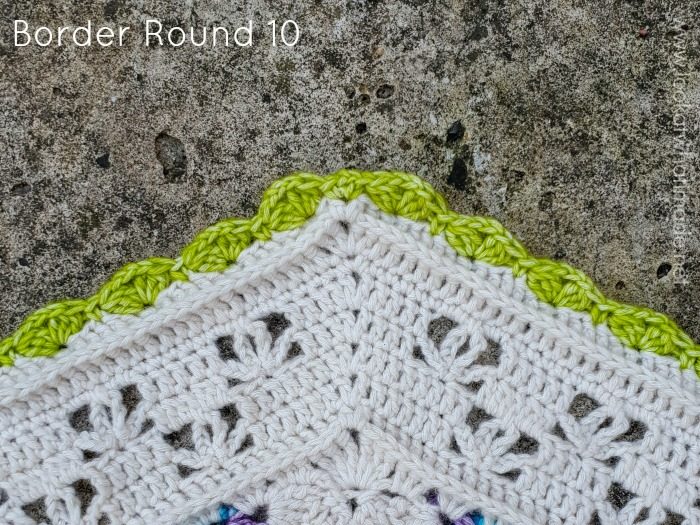
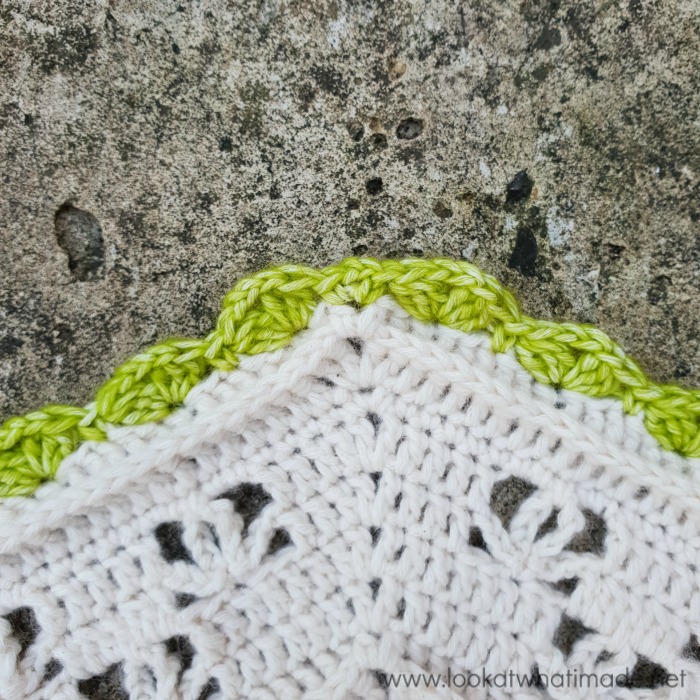
Even though this round is simple, you need to be careful at the start of each round. The first hidden stitch, being an hdc, will be well and truly hidden! Please see close-up photo below.
Border Round 11
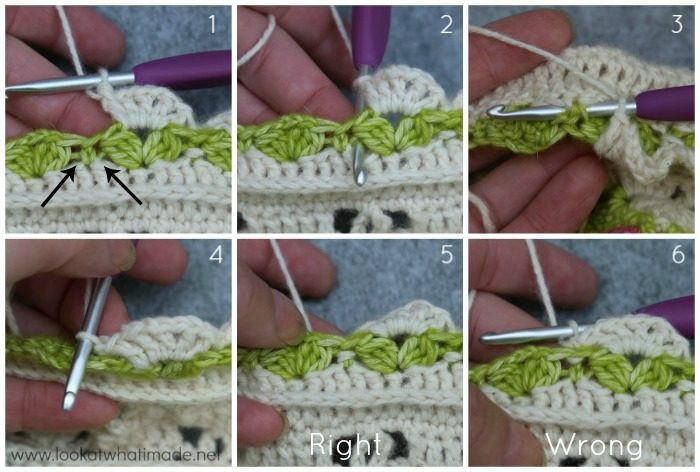
When you are making the BPsc stitches in this round, make sure that you work under ALL the loops, not just the top ones.
In photo 1 below, you can see that there are two green ‘lines’ behind and to either side of the sc {indicated with arrows}. Insert your hook under these ‘lines’ from back to front {Photo 2} and from front to back {Photo 3} and complete your BPsc as normal {Photo 4}.
When you look at the front of your work, the dotted line created by your BPsc should be clearly visible, with only a tiny bit of the ‘green’ sc peeking out underneath it {Photo 5}. If you only work into the top of the sc, your dotted line won’t be as visible and the green ‘lines’ on either side of the sc WILL be visible {Photo 6}.
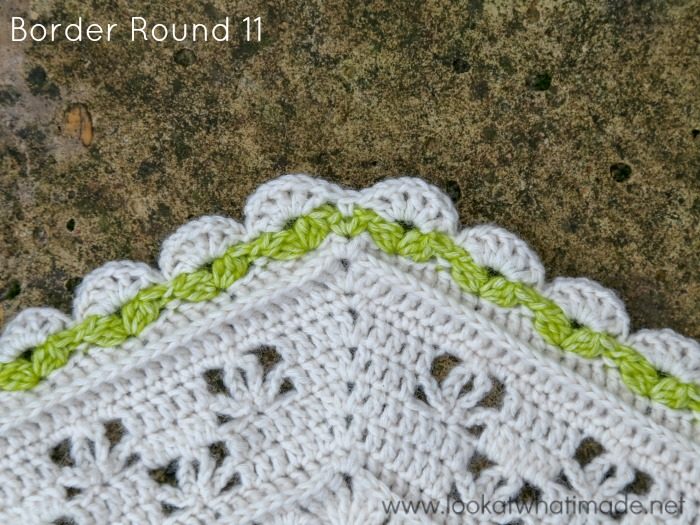
You should end up with A LOT of Scallops.
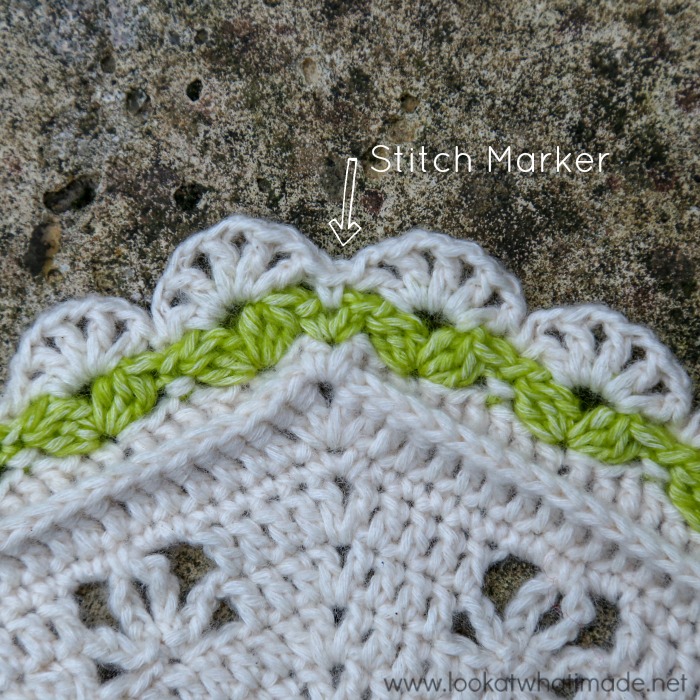
Remember to mark your the corner sc on each side with a SM so that you can identify it later on. Do not remove these stitch markers until you have completed Border Round 13!
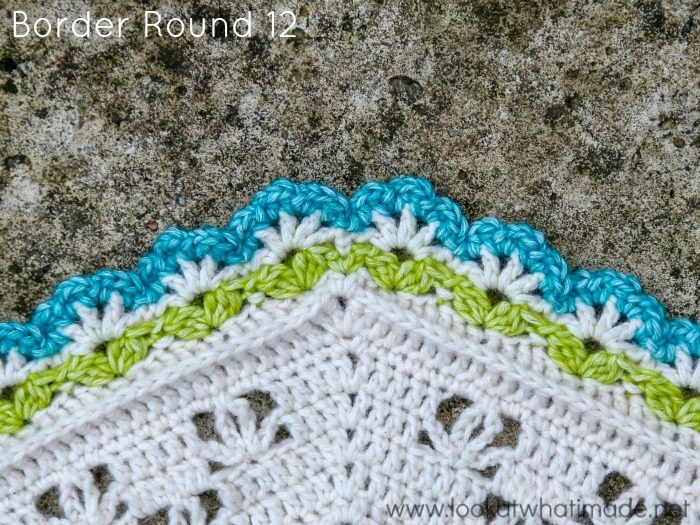
Border Round 12
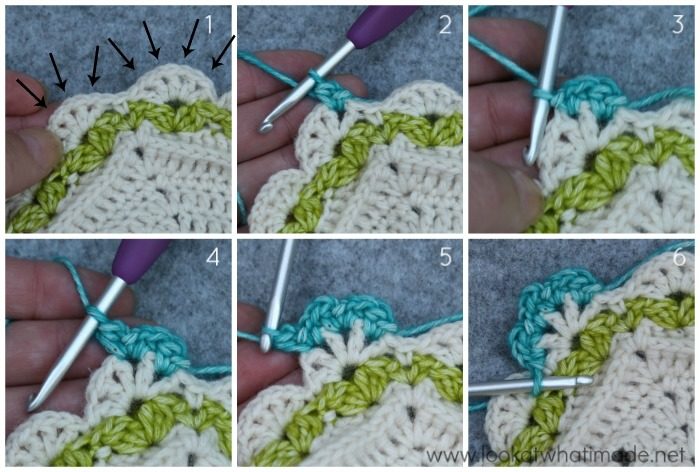
You will ONLY be working into ch-1 sps in this round {indicated with arrows in Photo 1}. Ignore all other stitches. Also, prepare to spend a LOT of TIME on this one! To quote a movie, this is the most tedious round ‘in the world of the land’. Oh, and this round will wobble!!
You will be creating 3 ‘Petals’ over 4 ch-1 sps for each ‘Flower’ around.
- In the first ch-1 sp, you will (sl st, ch 1, hdc) – Photo 2.
- In the second and third ch-1 sps, you will (hdc, ch 1, sl st, ch 1, hdc) – Photos 3 – 5.
- In the last ch-1 sp, you will (hdc, ch 1, sl st) – Photo 6.
Ignore the stitch markers from the previous round and don’t remove them yet!
Now, just look at that! Wasn’t that worth every sl st, ch, and hdc?
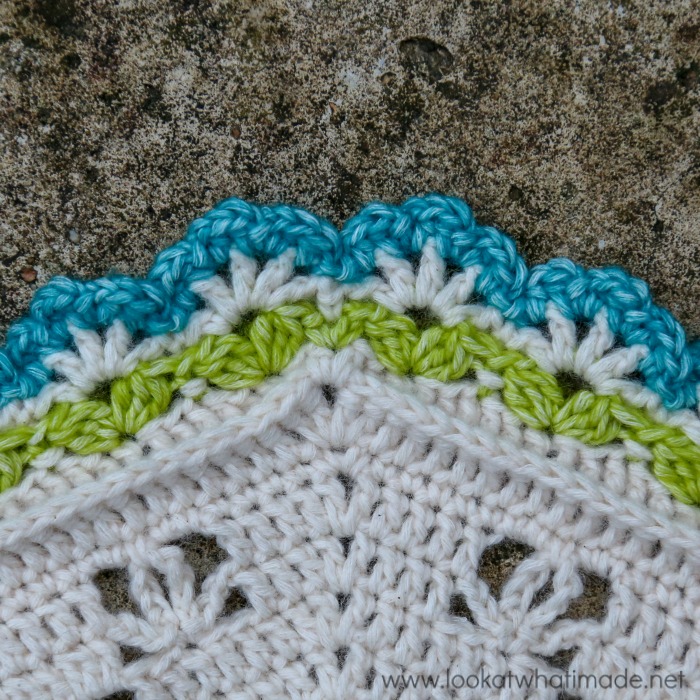
And another close-up… just in case.
Border Round 13
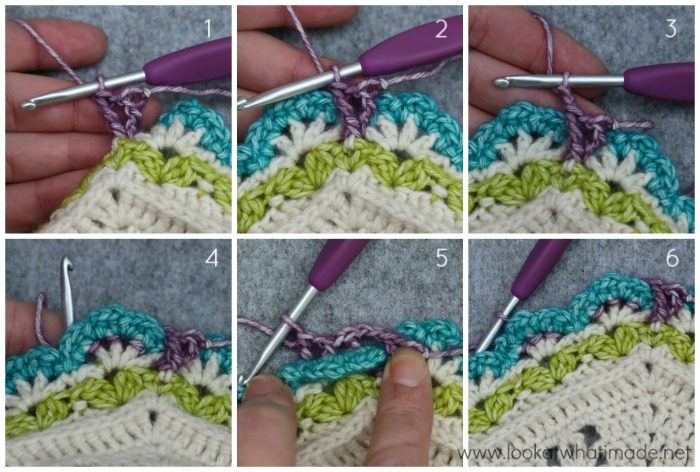
In this round, you will be working ONLY into the sts from Border Round 11.
- Photos 1 and 2 show the (FPtr, ch 1, FPtr) corner made around the corner sc from Border Round 11.
- Photo 3 shows the first ch-2 after the corner.
- Photos 4 and 5 show the BP stitches and ch-1 sps from the front and with the previous round folded down so that the stitches are visible.
You may now remove those stitch markers
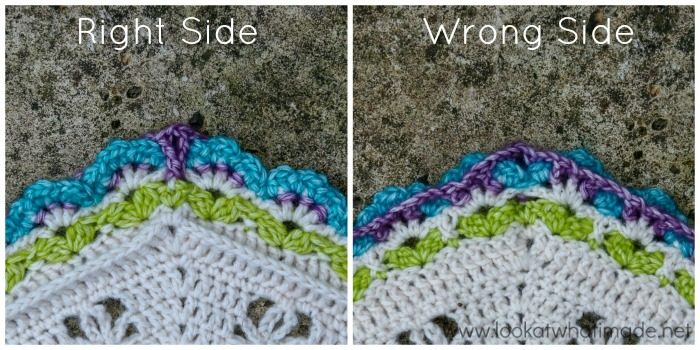
I have included a RS and WS photo so that you can see what your work should look like from both sides.
I hope you have a wonderful week! See you next week for Part 10.

This blog post contains affiliate links. I only link to products I personally use or would use. All opinions are my own.


