Welcome to Part 6 of the Scheepjes Ubuntu CAL 2018. Last week we grew our half-diamonds into beautiful flowers reminiscent of Sophie’s Universe. I have thoroughly enjoyed seeing your flowers pop up on Facebook and on Instagram. Can there be a better pick-me-up than looking at pretty crochet and pretty colours?
This week, we will be finishing our half-diamonds so that they are ready for joining and the first part of the border next week! I know a lot of you have already shared photos with your diamonds and half-diamonds laid out, and seeing them has made me SO ridiculously excited to see them all joined.
A Chatty (Behind-the-Scenes) Bit
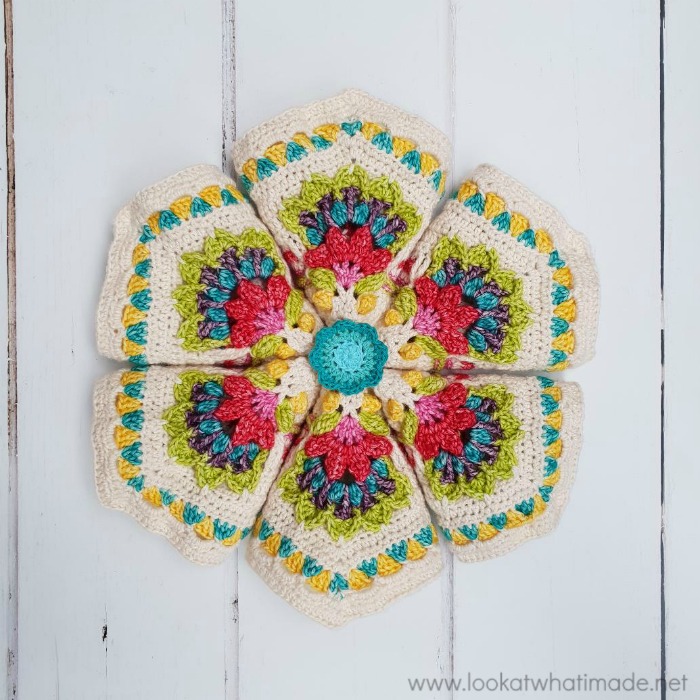
Can I just say that this photo of Part 6 is my favourite so far?
I have this habit of not removing any photos from my camera card until they are needed. This has never been a problem… until the day I needed to download (almost) ALL of my progress photos for the CAL so that I could start doing these tutorials and collating the ‘official’ images for the PDFs. On that day, I realised that my card had gotten corrupted and no amount of wishing or Googling was going to undo the damage. I had to start from scratch, with very little time.
Up until today, I have been frantically trying to make all the relevant pieces again so that I could take photos. Very few of the photos were as good as the ones I’d taken before. At least, none of them lived up to the memory of all my magnificently styled and epically amazing photos. But my dear friend Jenny has kindly lent me her diamonds and half-diamonds so that I can ‘do better’ going forward. And when I placed her half-diamonds just so to take a photo this morning (YES, this very morning), my heart felt like it would burst out of my chest. Sometimes, the simplest things can make me so happy. Taking this photo was one of them :)
You will find all the links and information you need under ‘Resources‘ below. If you have stumbled on this post accidentally and don’t know what Ubuntu is, you can read more about it HERE (Information) and HERE (Concept).
Resources
- Part 6 Pattern PDF
- Part 6 Video Tutorial (UK terminology) by Esther Dijkstra from It’s All in a Nutshell
- Official Scheepjes – International Group (English) or the Official Scheepjes – Nederlandse Groep (Dutch). You have to be logged into Facebook in order to access the link to the groups.
- Add the CAL to your Ravelry Queue
- If you are on Instagram, you can find me HERE. Please add your photos using #scheepjesubuntucal2018 or #scheepjesubuntucal.
- Special Stitches and Techniques (including a gauge square)
Ubuntu CAL 2018 Part 6: Half-diamond Part 3
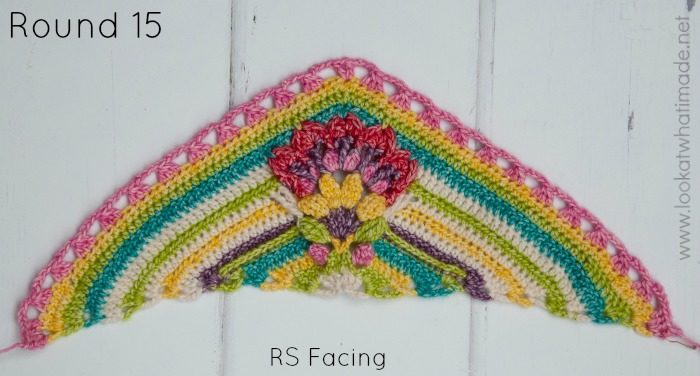
Although this pattern will not have a step-by-step photo tutorial, I will be sharing photos of each completed round (and some of the trickiest bits). I am using a different colour for each round so that you can clearly see stitch placement. I will also share notes and tips as I go.
- When you are turning at the end of every round, please note that the front of the last round won’t necessarily be the front of your work! You will know that the Right Side is facing you if the Popcorns from Round 3 (and the Flowers) are facing you.
- Remember that you are making 6 of these half-diamonds, changing colours where instructed.
Week 6: Half-diamond Part 3
Round 15
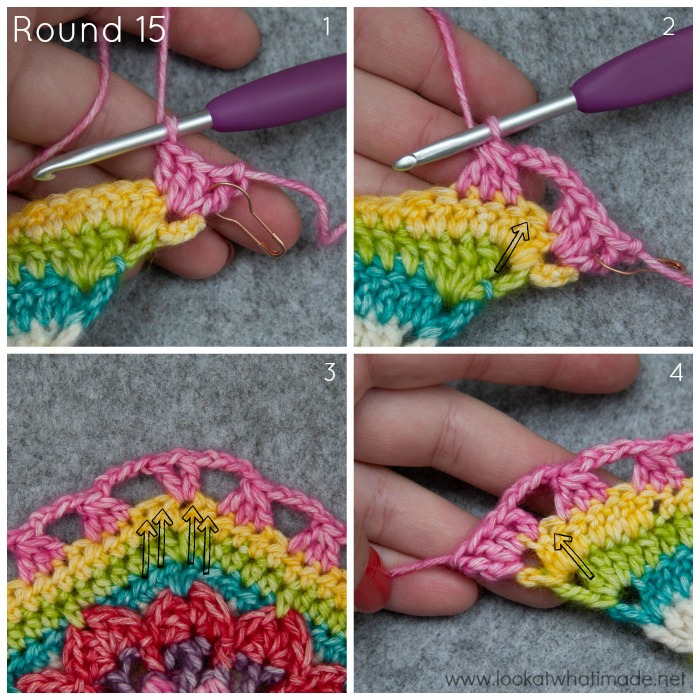
Remember to place a st marker between the first 2 sts so that you can easily identify that ‘space’ in Round 17 {Photo 1}. Also, remember to skip a stitch between Clusters (see Arrow in Photo 2). When you get to the corner, read carefully. The arrows in Photo 3 indicate the stitches to be skipped.
If you end up with more Clusters per side, check that you definitely skipped a st between Clusters!
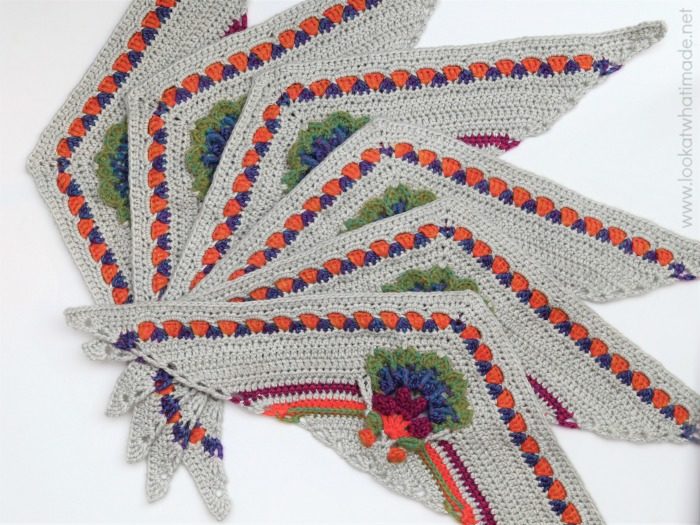
It’s getting harder and harder to photograph these half-diamonds in a way that still shows detail!
Round 16
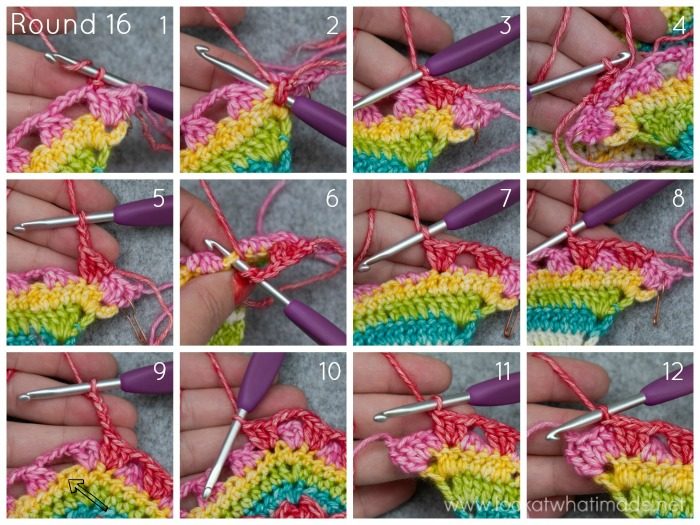
When working in front of the ch-4 sps from Round 15, make sure that you don’t work OVER them! Photos 1 – 4 show the first 3-dc group made into the skipped st from Round 14. Notice how the ch-sp from Round 16 is visible behind the 3-dc group {Photo 4}. You might find it easier to just fold Round 15 down to the back of your work {Photos 5 – 8}.
When making the corner, pay special attention to where you place the first 3-dc group of the next side {arrow in Photo 9 and illustrated in Photo 10}.
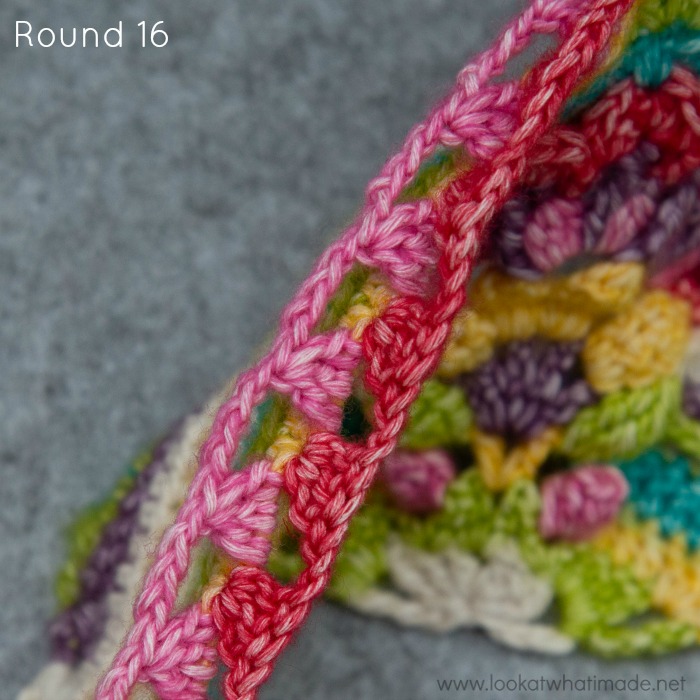
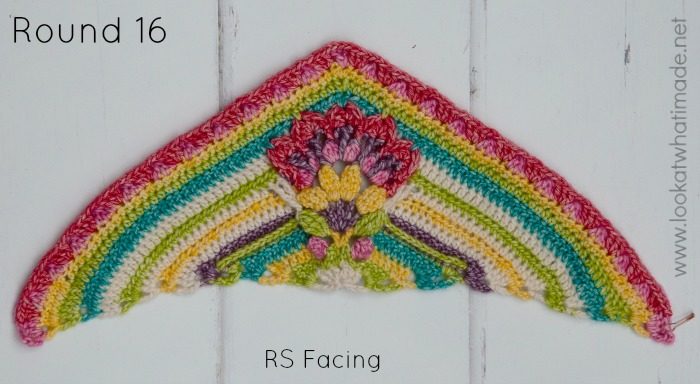
When you have finished this round, check that Round 15 and Round 16 are not joined to each other. You should be able to peel them apart like in this photo. Will the pattern still work out if you accidentally worked OVER the ch-sps from Round 15? Yes, but your triangles will be squished and Round 17 will be much harder to do.
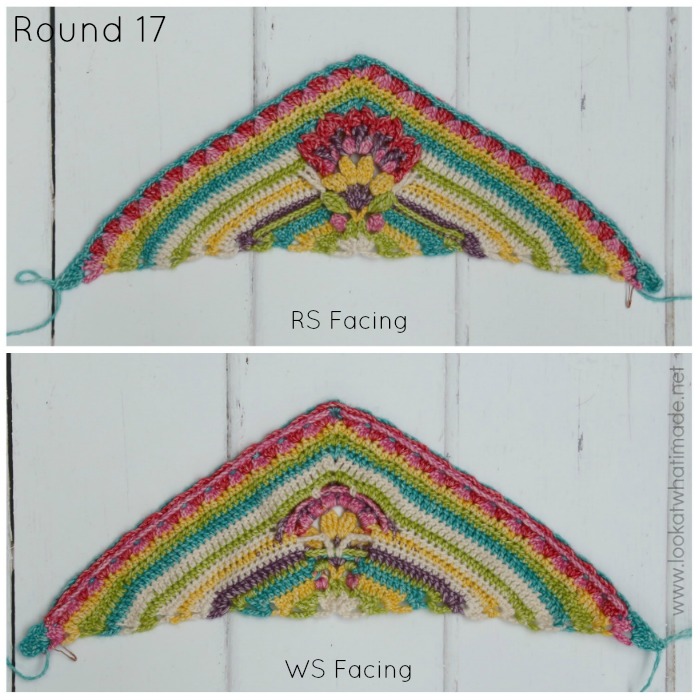
Round 17
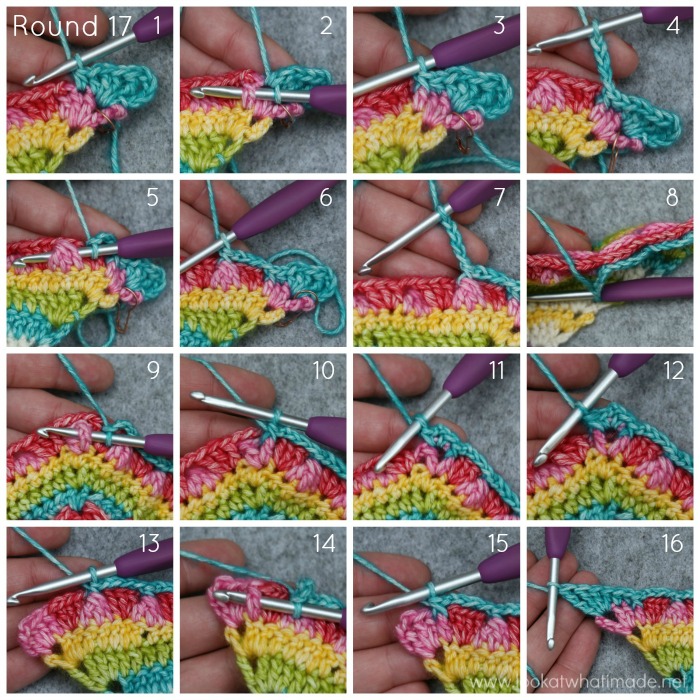
I have included quite a few photos to show you how the front post stitches and ch-sps of this round should be made, but I am not going to walk you through them as it is a very simple round.
All I will say is that Photo 8 shows what your work should look like if viewed from the side/edge and Photos 9 – 12 demonstrate the corner being made.
Round 18
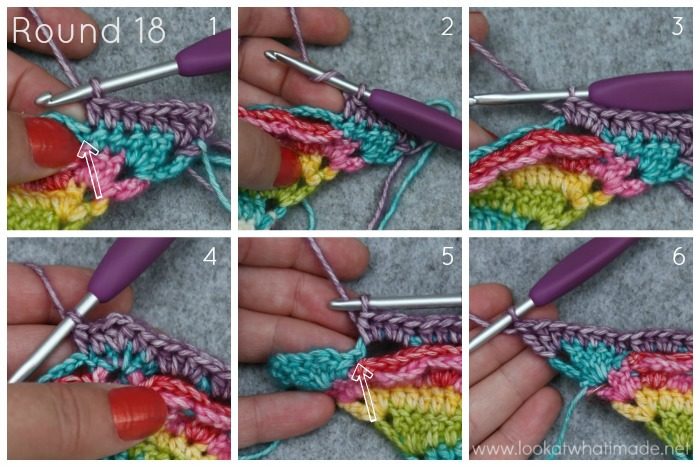
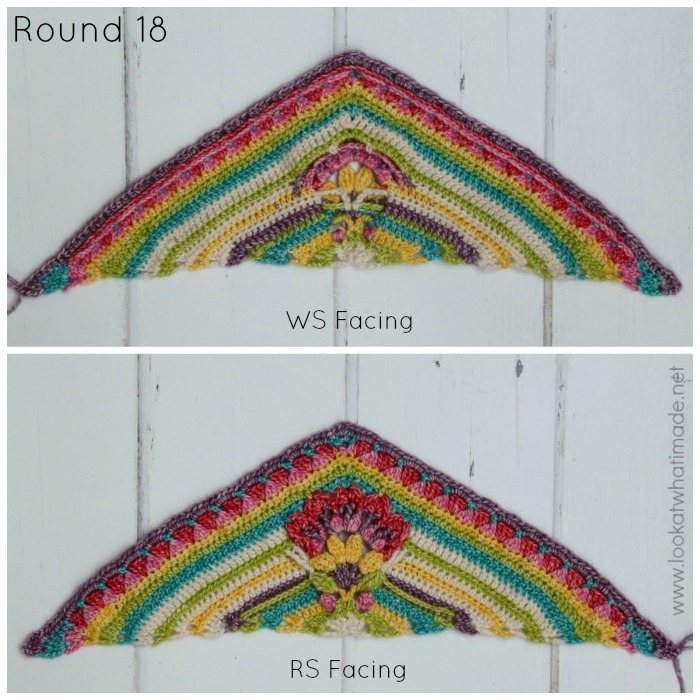
In this round, you will work only into the stitches and spaces from Round 17. Ignore the ch sps from Rounds 15 and 16.
Be careful when identifying the stitches to skip. They will be well and truly hidden {Photos 1 and 5}. Photo 4 shows the corner.
Round 19
Round 19 is an easy one!
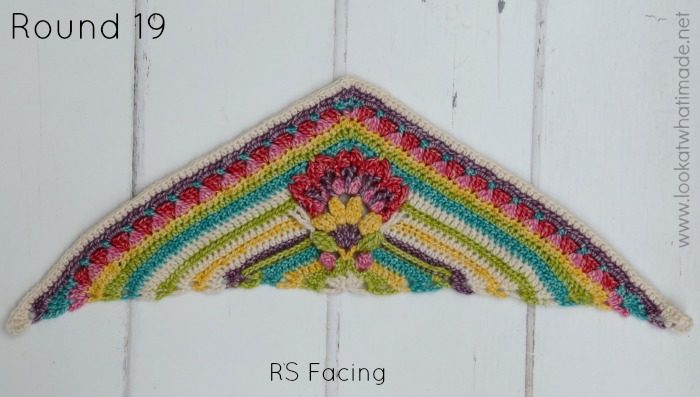
If you decide to block your half-diamonds, keep in mind that the corner angles should be 120 degrees for the non-pointy corner and 30 degrees each for the pointy corners.
I do suggest blocking so that you can get those ‘straight’ edges nice and neat for the next part.
Photo Task 4
I couldn’t resist doing another photo task this week. If you look at the first photo in this post, you will see that I have arranged my half-diamonds into a mandala(ish). Photo Task 4 is #ubuntumandala.
Please note that this photo task is not ‘officially’ part of the CAL, but more a way for us to get to know each other a bit better. I would love it if you would share these photos with me on Instagram so that we can all ‘Ooooh’ and ‘Aaaah’! I kindly request that we keep these photo tasks out of the Facebook groups as the groups are dedicated to supporting the technical aspects of the CAL. If you don’t have Instagram, please feel free to use the Contact Me button at the top of this page so that we can open a dialogue and exchange photos via email.
This will be the last photo task until we get to the end.
Have an amazing week and I will see you back here for Part 7 next week. Joining! Whoohoo!!

This blog post contains affiliate links. I only link to products I personally use or would use. All opinions are my own.


