Welcome to Part 2 of the Scheepjes Ubuntu CAL 2018. I know the first week of a CAL is always hard. You have to get used to the pattern-writing style, wrestle with gauge, figure out new stitches and techniques, wrap your head around US/UK/Video/Translations, and relax into the rhythm of everything. Having said that, the response has been so positive! I have seen so many people reaching out to other people with helpful advice and encouraging comments. You have made me VERY proud to be a part of this community!
This week, we will be growing our six diamonds.
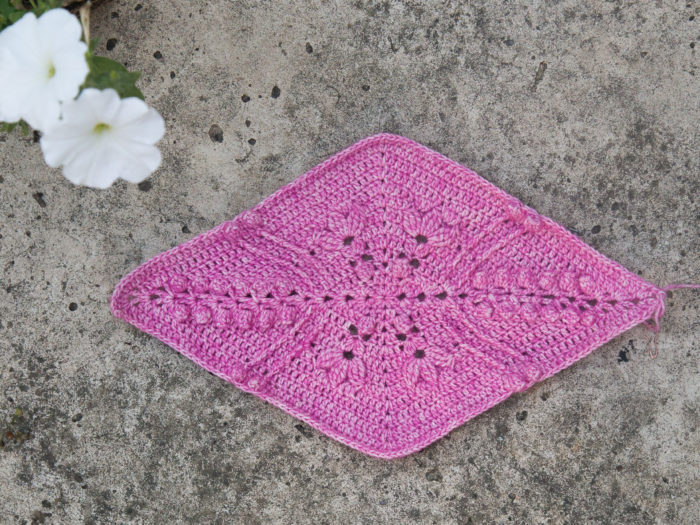
There won’t be quite so much going on in each round, but you will still need to concentrate a fair bit.
You will find all the links and information you need under ‘Resources‘ below. If you have stumbled on this post accidentally and don’t know what Ubuntu is, you can read more about it HERE (Information) and HERE (Concept).
Resources
- Part 2 Pattern PDF
- Part 2 Video Tutorial (UK terminology) by Esther Dijkstra from It’s All in a Nutshell
- Official Scheepjes – International Group (English) or the Official Scheepjes – Nederlandse Groep (Dutch). You have to be logged into Facebook in order to access the link to the groups.
- Add the CAL to your Ravelry Queue
- If you are on Instagram, you can find me HERE. Please add your photos using #scheepjesubuntucal2018 or #scheepjesubuntucal.
- Special Stitches and Techniques (including a gauge square)
Ubuntu CAL 2018 Part 2: Diamond Part 2
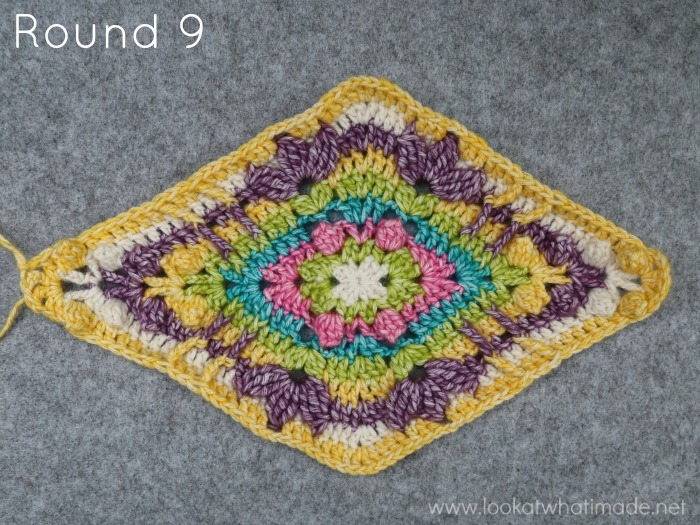
Although this pattern will not have a step-by-step photo tutorial, I will be sharing photos of each completed round. I am using a different colour for each round so that you can clearly see stitch placement. I will also share notes and tips as I go.
Remember that you are making 6 of these diamonds – one in each of the Contrasting Colours. Remember also that you should not fasten off unless specifically instructed to fasten off or to change colours.
Round 9
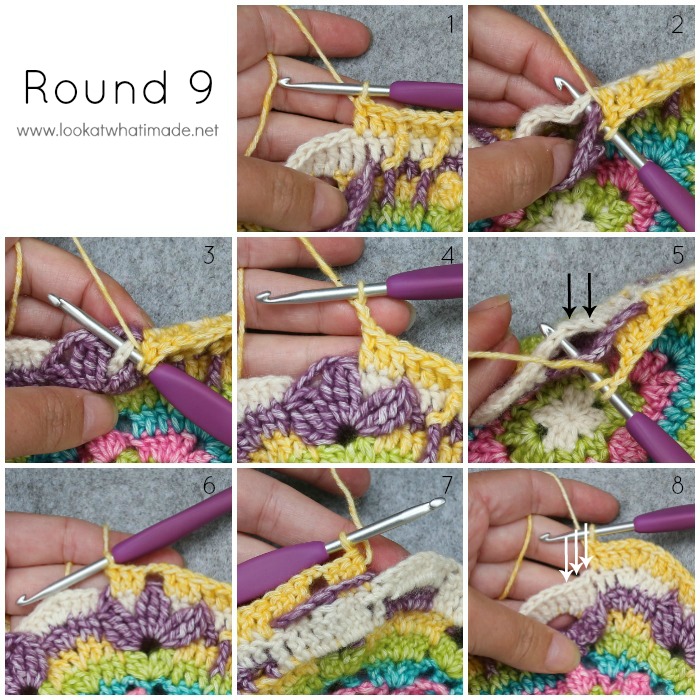
Round 9 will require a fair bit of concentration. When working behind the flowers, you will find it useful to move the Round 7 flowers out of the way so that you can identify the trebles from Round 8 (Photo 1). When working IN FRONT OF the ch-4 sps from Round 7, insert your hook into the ch-4 sp and into the indicated st of Round 8 (Photo 2). Then pull the stitch through the ch-4 so that the ch-4 is behind your hook (Photo 3). Photos 4 and 5 show the ch-2 and the two skipped stitches. Photos 6 and 7 show the first two lots of 3-dc completed from the front and the back. The arrows on Photo 8 shows the placement of the first 3-dc group of the next side.
Although the stitch counts for each side are the same, the construction is ever so slightly asymmetrical. This is intentional!
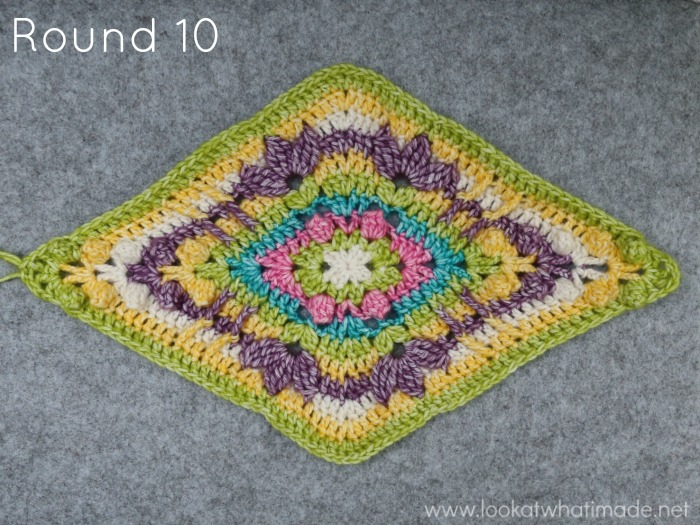
Round 10
Things to Note:
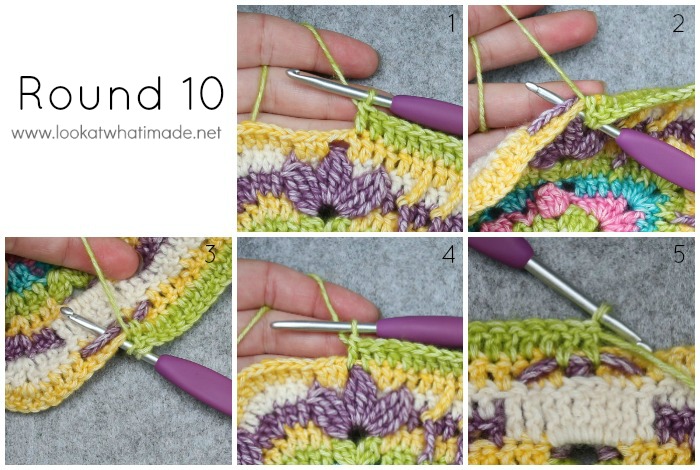
- When working into the ch-2 space from Round 9, remember to work into the relevant ch-4 spaces from Round 7 as well!
- The first st after the non-pointy corner will be hidden.
- When instructed to “dc in the next 19 sts” after the non-pointy corner, your 18th stitch will fall in the Popcorn.
Round 11
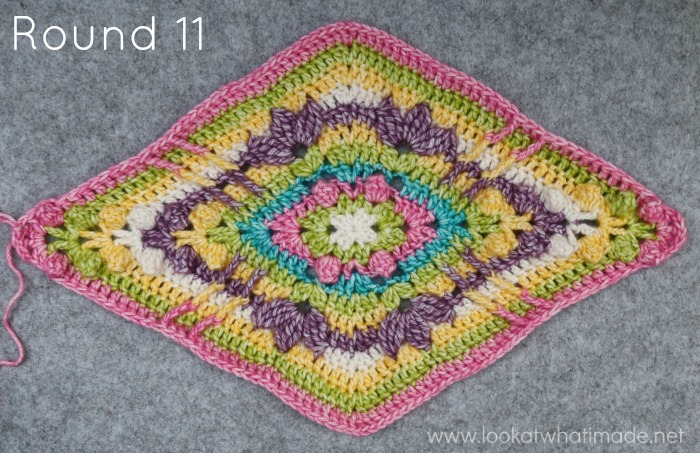
This is an easy one :) Remember that the first st after the non-pointy corner will be hidden. The construction for this round is also asymmetrical (just like Round 9).
Round 12
Read the instructions for this round carefully. There are no Popcorns and the sides contain both dc and hdc stitches. When making the 21 hdc after the non-pointy corner, your last hdc will fall in the dc before the FPdtr. Don’t worry if your diamond curls up at this point. It will all work out!
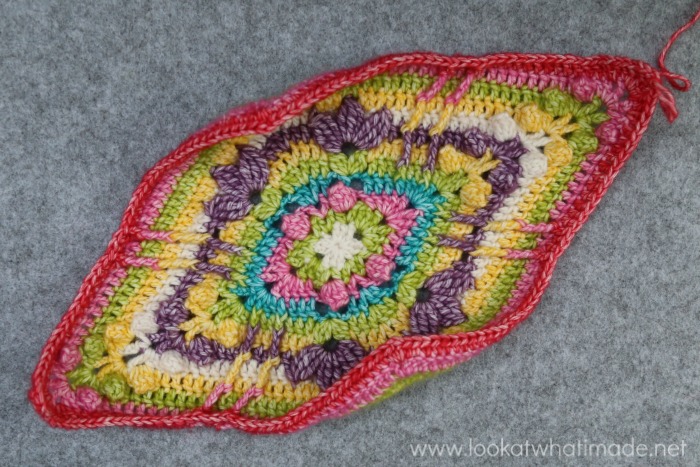
This is another asymmetrical round and you will notice that the stitch counts are now provided per Side A and Side B. Please check the Tips and Tricks PDF if you need a reminder of which side is which.
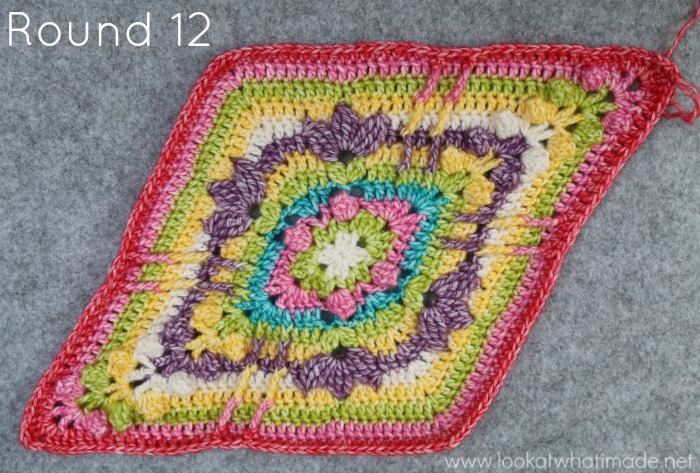
Round 13
When instructed to skip the first (hidden) stitch after the (hdc, ch 1, hdc) corner, remember that it is WELL and truly hidden. Don’t accidentally skip two stitches!
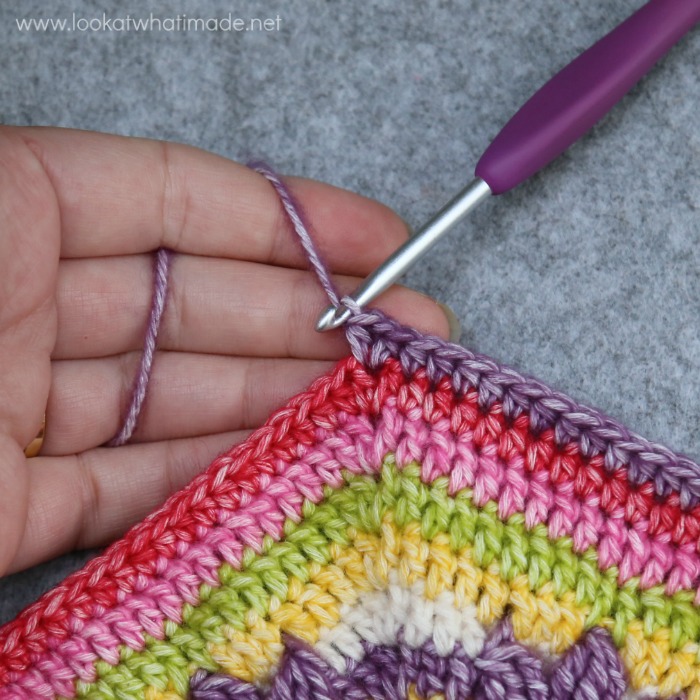
There you go! All done with your first diamond of Part 2. Don’t cut your yarn just yet. You have a bit more ‘growing’ to do before your diamonds are done.
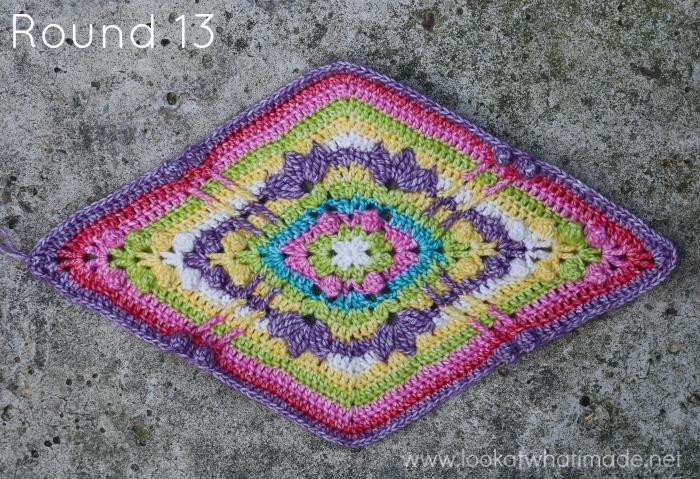
At the end of Part 2, your diamonds (stretched into a diamond shape) should measure:
| Small | Medium | Large | |
| Sides | 19cm/7.5” | 22cm/8.7” | 29.5cm/11.6” |
| Short Axis | 19cm/7.5” | 22cm/8.7” | 29.5cm/11.6” |
| Long Axis | 31cm/12.2” | 37.5cm/14.8” | 50cm/19.7” |
| Weight | 27 – 28g | 41 – 42g | 93- 96g |
Have a wonderful week and I will see you next week for Part 3.

This blog post contains affiliate links. I only link to products I personally use or would use. All opinions are my own.


Brenda says
Have just realised in the photos of the rounds in part two it says dc but in written pattern it says tr, can anyone say which stitch it should be??
Dedri Uys says
I am using US terms in my photo tutorials. If you are using the UK terms PDF, it will differ from the nomenclature I use.
Kim says
I sure hope we are not supposed to get all of this diamond out of one skein of the XL yarn. If we are I will most definitely run out of yarn in my kit. I barely made it through a skein in part 1.
Dedri Uys says
Kim, if you have a look at the weights supplied at the end of this part, you will see that you should have used almost 2 skeins by the end of part 2.
Solveig Hæreid says
Dear Dedri. Thank you for another lovely pattern! Now I am not able figure out where to find/locate the US terminology PDF file of Part 2… Can anyone direct me, please? I had the same struggle with finding the US term in part 1, and can’t recall where I at last found it…
Dedri Uys says
Hi :) If you click on the link to the Pattern PDF under Resources above, you will find Part 2 in the left-hand menu. If you scroll to the bottom, you will find all the PDFs. I hope that helps :)
Solveig Hæreid says
Thank you. There it is… : ) And your pictures are very helpful too.
Cathy Tean Porteus says
Can’t wait to start on the 2nd part. The link for the PDF pattern is going to the information page, which I think is an error? Thanks