Welcome to Part 12 of the Scheepjes Ubuntu CAL 2018. I cannot believe that we have reached the end already. Someone, please turn back the clocks!!! No-one? Ah, well… I guess that just means we get to embark on a new, exciting journey… whatever that may be. This week, we will make the last 4 rounds of the border. I have made sure to include many, MANY back post stitches, in a last-ditch effort to get you to love them as much as I do.
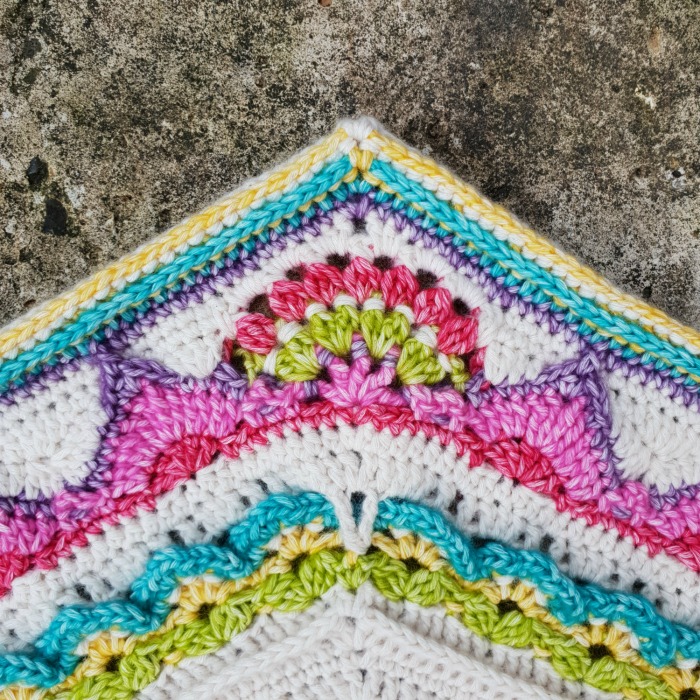
I hope that you have thoroughly enjoyed this journey and that you have learnt many new stitches and techniques. No, that’s not quite right. I hope that you have learned new things, of course, but I also hope that you feel confident in what you have learned, and so very proud of what you have created.
If this is the end of your journey with me, I wish you the best of luck for the remainder of 2018. Go forth and create!
If you bought either the Medium or the Large kit (which include the beading accessories), I hope you will be joining me for the friendship bracelet next week and… tada!… the Ubuntu Pendant the week after. I know beading might not necessarily be your cup of tea, but I did have a lot of fun creating these accessories, and I hope you will accept the challenge and master this new skill right alongside Esther and myself.
You will find all the links and information you need under ‘Resources‘ below. If you have stumbled on this post accidentally and don’t know what Ubuntu is, you can read more about it HERE (Information) and HERE (Concept).
Resources
- Part 12 Pattern PDF
- Part 12 Video Tutorial (UK terminology) by Esther Dijkstra from It’s All in a Nutshell
- Official Scheepjes – International Group (English) or the Official Scheepjes – Nederlandse Groep (Dutch). You have to be logged into Facebook in order to access the link to the groups.
- Add the CAL to your Ravelry Queue
- If you are on Instagram, you can find me HERE. Please add your photos using #scheepjesubuntucal2018 or #scheepjesubuntucal.
- Special Stitches and Techniques (including a gauge square)
Ubuntu CAL 2018 Part 12: Border Part 6
Although this pattern will not have a step-by-step photo tutorial, I will be sharing photos of each completed round (and some of the trickiest bits). I am using a different colour for each round so that you can clearly see stitch placement. I will also share notes and tips as I go.
Border Round 22
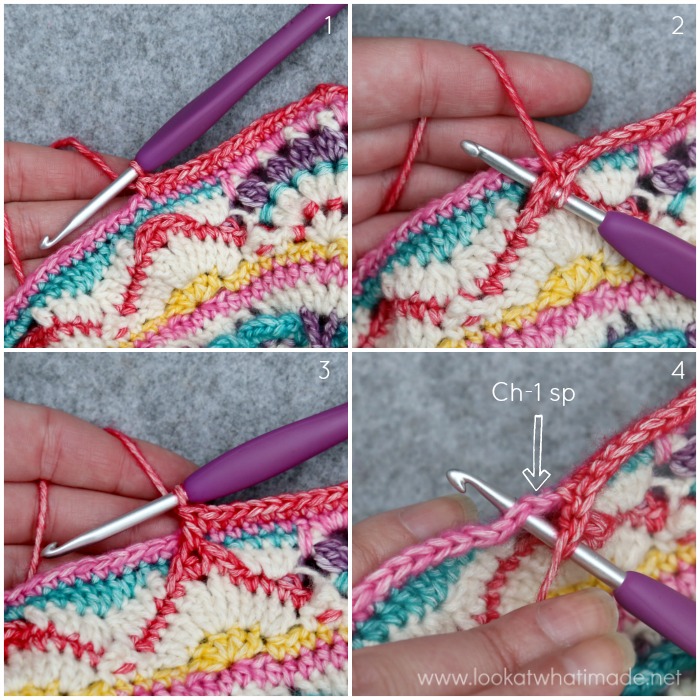
Don’t forget to skip the first (hidden) st on each side. When you have made your first 15 sc, it should bring you up to the ch-1 sp from the previous round {Photo 1}. You will make an hdc into the ch-1 sp at the top of the ‘hill’ from Border Round 18 {Photos 2 and 3}. You will then skip the next ch-1 sp from Border Round 21 {indicated with an arrow in Photo 4} and continue on.
When you make each repeat, double check that your last sc falls in the st before a ch-1 sp.
Note
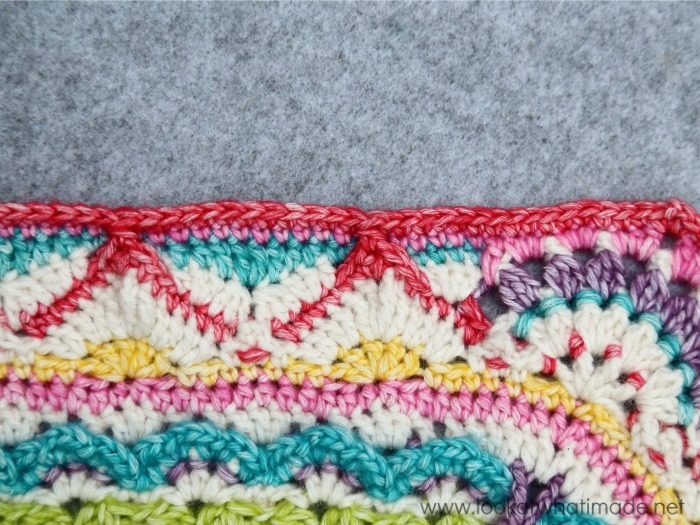
If the stitches from Border Round 17 look a bit puffy on the right (left, if you are left-handed) after making the hdc into Border Round 18, just scootch the bottom of each hdc from Border Round 22 to the right (left, if you are left-handed) so that they lie in the centre of the ch-1 sp.
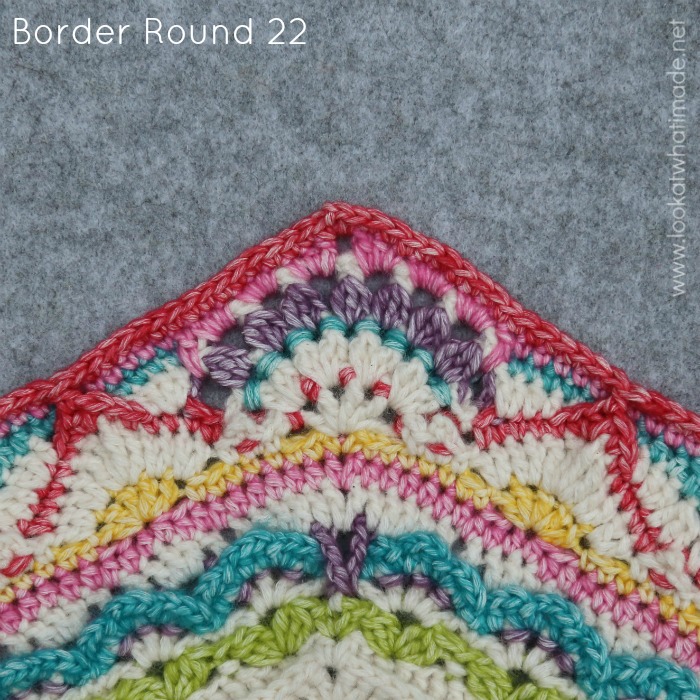
This is what your corners should look like when you are done.
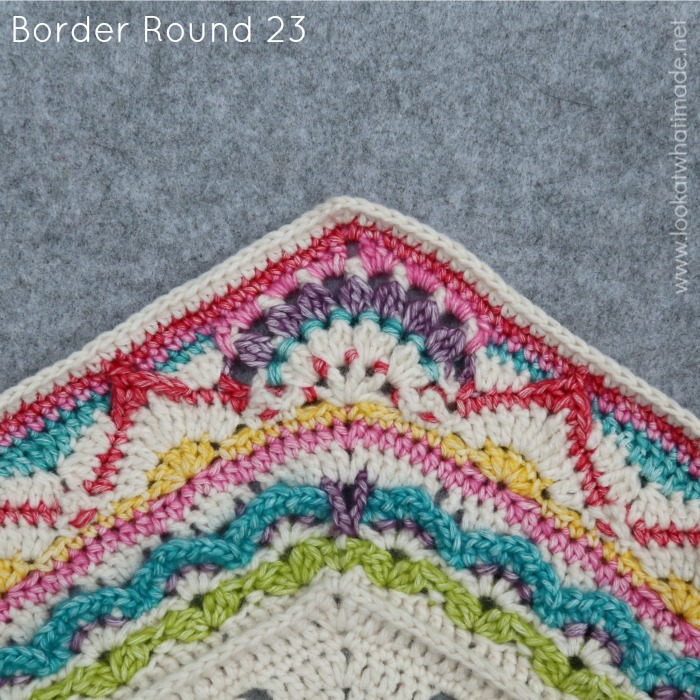
Border Round 23
This is a simple round. Don’t accidentally skip that first (hidden) st.
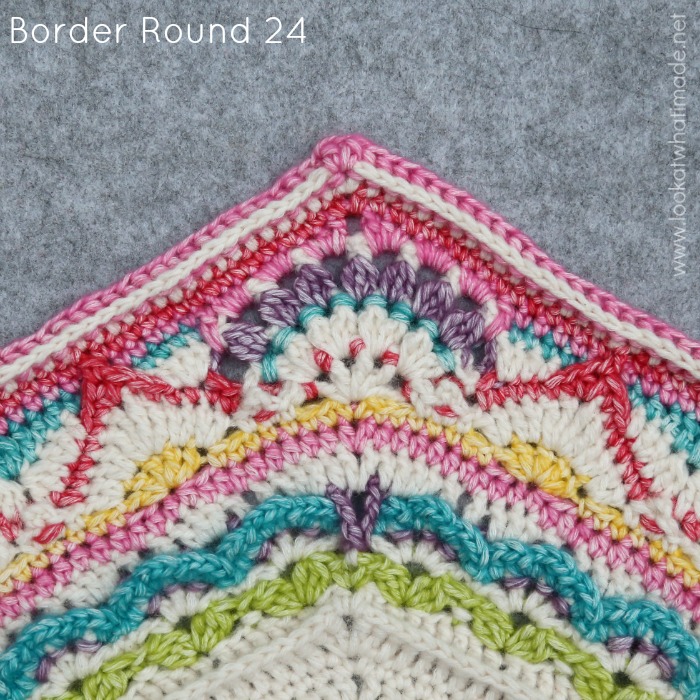
Border Round 24
Heehee… I told you I’d included lots of back post stitches :) Do them mindfully, with a lovely cup of tea (or coffee) and some good music in the background.
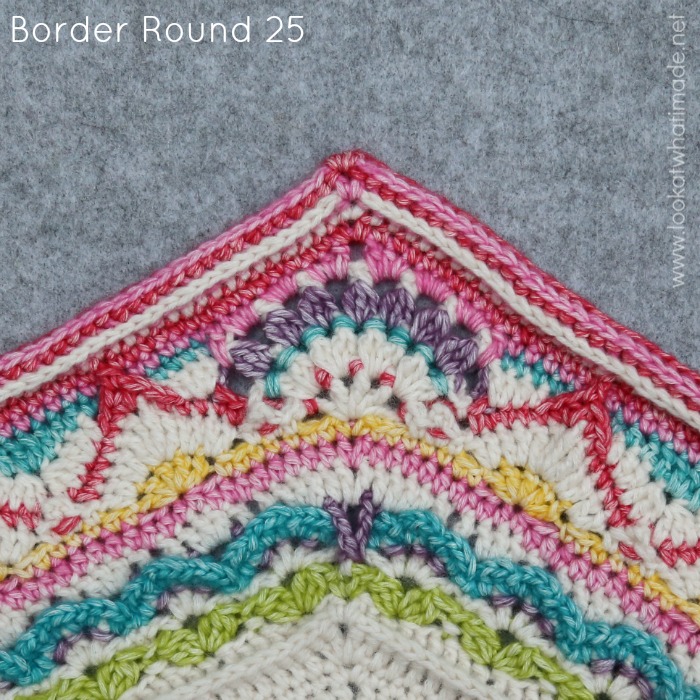
Border Round 25
Ditto! Might I suggest listening to Charl Du Plessis Jazz Trio playing Mozart, or anything, really, from his playlist? My baby brother (Rudolf) is a piano technician and frequently works with him. In fact, for World Piano day last year, my brother was one of the people in charge of carting a Shigeru Kawai piano up onto Table Mountain so that Charl and other artists could play it there. You can see Charl playing on top of Table Mountain HERE. You can see a behind-the-scenes news clip HERE.
I think this is a very fitting way to end this CAL, which celebrates all the good things about my heritage and humanity in general.
Adding the Button and the Label
When your blanket is complete, you can sew your button and your label onto your blanket.
Place the button over the circle at the centre of the blanket, formed when joining the diamonds to each other. Using MC yarn and a tapestry needle, sew the button to this central circle.
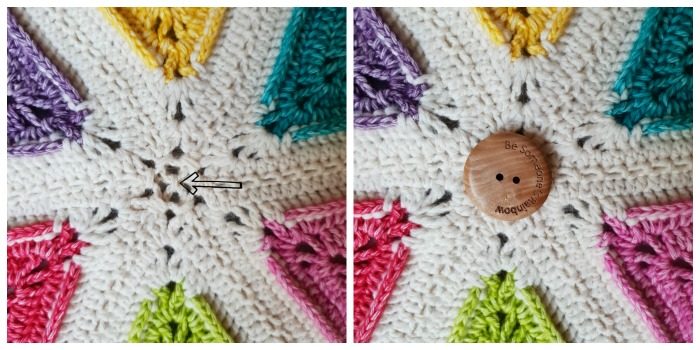
Place your label over the Banksia Border next to any of the corners and sew it to on to your blanket using a securing stitch.
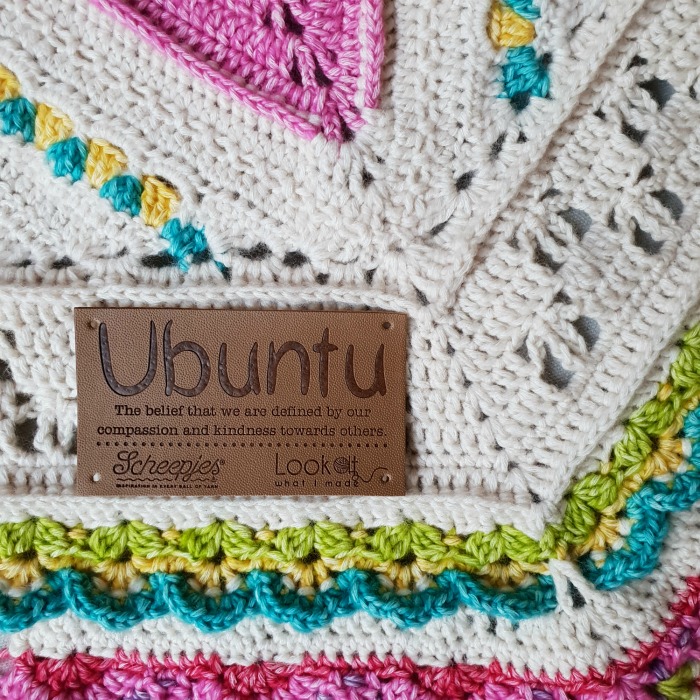
Photo Task 5
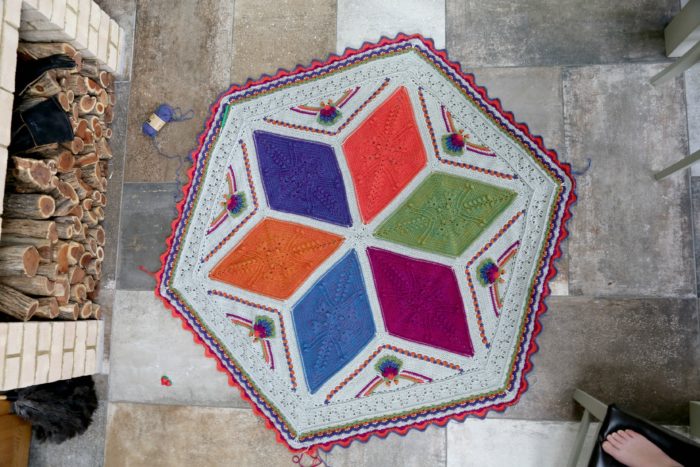
Before you go, I have one last photo task for you. I would like for you to share your ubuntu in a scenic spot (during any part of the making, not just this one). It doesn’t ACTUALLY have to be an amazing spot, just a scenic one. For me, that was my friend’s gorgeous ‘braai’ room (barbeque room) – yes, that is really a thing! But I will be taking a much more scenic photo soon!!
Ubuntu Part 10
For my friend Therese, it was a quiet, nostalgic day in nature.
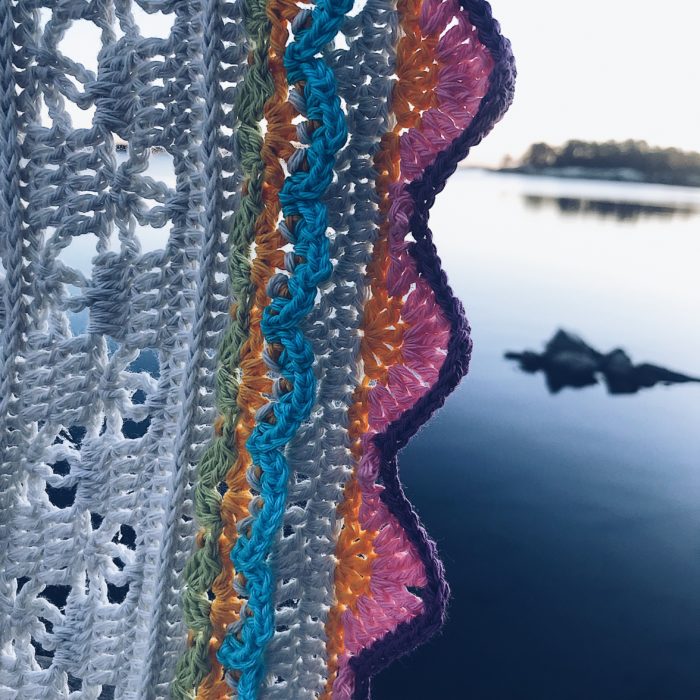
Photo Credit: Part 10 – Therese Eghult from Sisters In Stitch.
Photo Task 5: #ubuntuscenic
Celebrate the spaces that make you feel happy!
Please note that this photo task is not ‘officially’ part of the CAL, but more a way for us to get to know each other a bit better. I would love it if you would share these photos with me on Instagram so that we can all ‘Ooooh’ and ‘Aaaah’! I kindly request that we keep these photo tasks out of the Facebook groups as the groups are dedicated to supporting the technical aspects of the CAL. If you don’t have Instagram, please feel free to use the Contact Me button at the top of this page so that we can open a dialogue and exchange photos via email.
Thank you so much for joining us on this journey!

This blog post contains affiliate links. I only link to products I personally use or would use. All opinions are my own.


sue says
I’m SO happy I found your site! Your patterns are simply STUNNING and the fact that your offer them for free is an indication of your generosity!
I order something from Amazon every month and I will be sure to use your site as the passage to get there to show you my gratitude as I can’t afford to buy this kind of pattern.
Thank you from the bottom of my yarn~loving heart!!!!
Jenny says
We are so happy that you love Ubuntu as we do, Sue.
BW Jenny :)
Cheryl Meyerhoff says
Very pretty!! Really aren’t words to describe it like I should have! I can’t believe I missed this 1! Watch better !
Thea Peters says
Love the design and thanks for the effort.