Welcome to Part 8 of the Scheepjes Ubuntu CAL 2018. Aren’t you glad that we got everything joined last week? This week, we will continue with our border, adding the lacy Banksia Border to our hexagons.
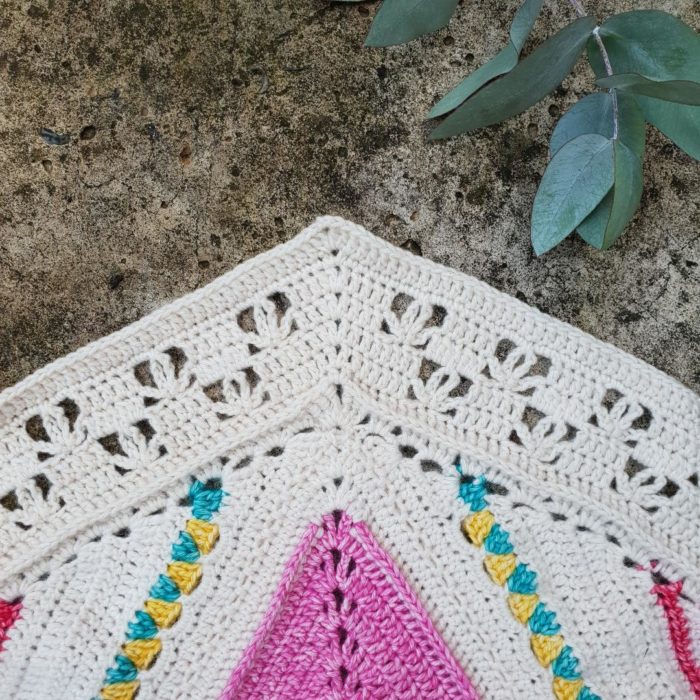
You will probably recognise this part from the Charlotte Square and my Banksia Shawl. This part is special to me for two reasons. The first is that it ‘marries’ this design to Charlotte in the same way that the Flowers in the Half-diamonds marry it to Sophie. The second reason is that I really like the way a simple border between the complexity of the central motifs and the busyness of the rest of the border frames the design. Sometimes less is more :)
You will find all the links and information you need under ‘Resources‘ below. If you have stumbled on this post accidentally and don’t know what Ubuntu is, you can read more about it HERE (Information) and HERE (Concept).
Resources
- Part 8 Pattern PDF
- Part 8 Video Tutorial (UK terminology) by Esther Dijkstra from It’s All in a Nutshell
- Official Scheepjes – International Group (English) or the Official Scheepjes – Nederlandse Groep (Dutch). You have to be logged into Facebook in order to access the link to the groups.
- Add the CAL to your Ravelry Queue
- If you are on Instagram, you can find me HERE. Please add your photos using #scheepjesubuntucal2018 or #scheepjesubuntucal.
- Special Stitches and Techniques (including a gauge square)
Ubuntu CAL 2018 Part 8: Border Part 2
Although this pattern will not have a step-by-step photo tutorial, I will be sharing photos of each completed round (and some of the trickiest bits). Up until now, I have been using a different colour for each round so that you can clearly see stitch placement. This part is simple enough that I have decided to stick with using MC for all the rounds.
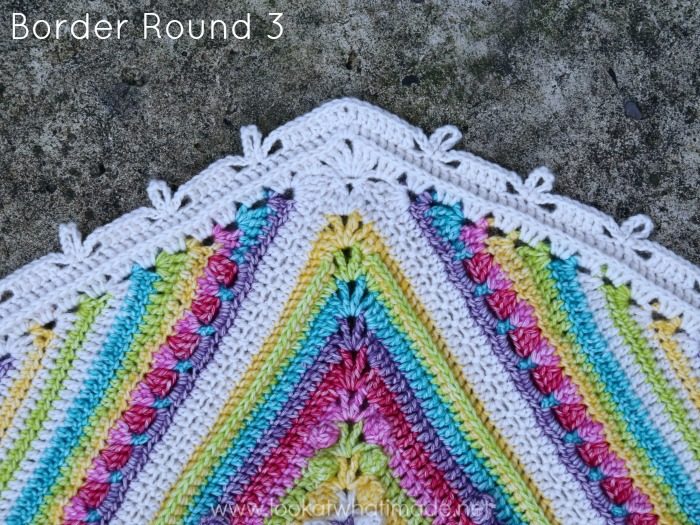
Border Round 3 – Banksia Border
Remember to skip the first (hidden) st at the start of each side.
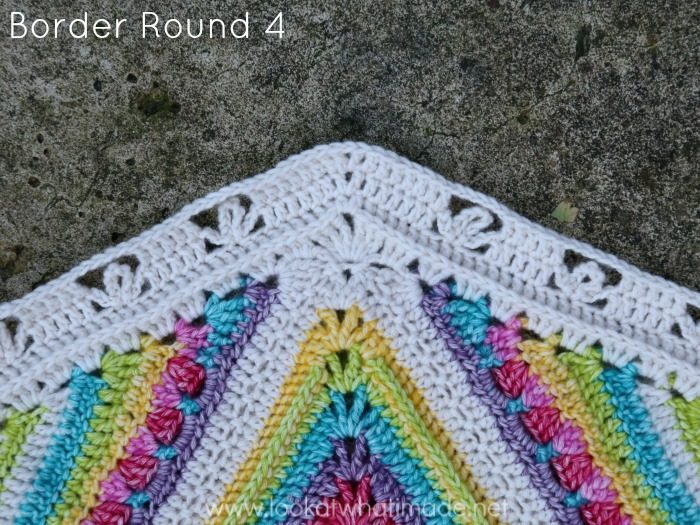
Border Round 4 – Banksia Border
This is an easy one to count. Just dc and ch-5 sps (not including ch-1 corner sps).
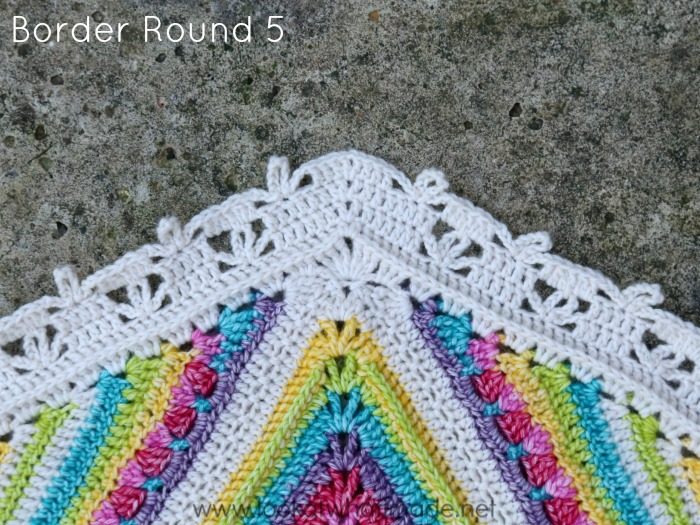
Border Round 5 – Banksia Border
In this round, you will be making dc2tog sts. Everything else, like the previous two rounds, is pretty straightforward.
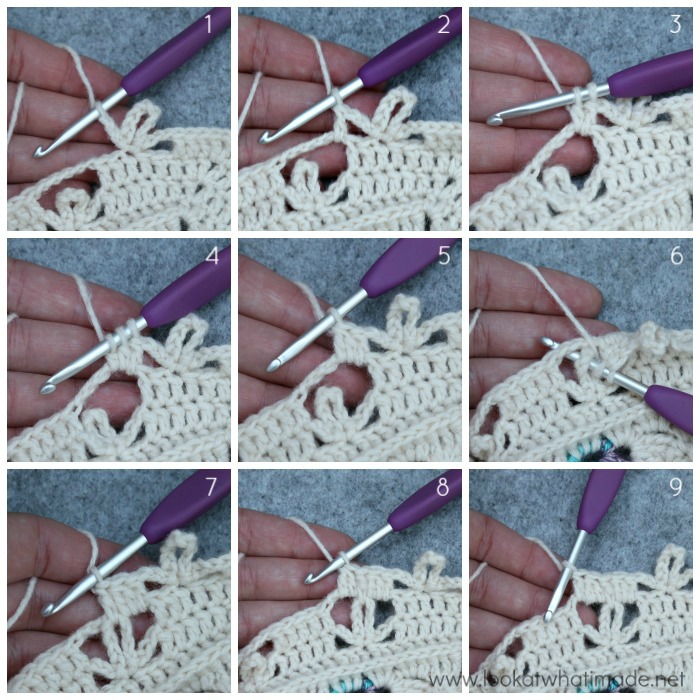
You will notice that the ‘Flowers’ created by the ch-3/ch-8 sps fall between the Flowers from Border Round 3 {Photo 1 and Border Round 5 Photo}.
When working into the ch-5 sps from the previous round, you will make a dc {Photo 2}. Working into the same ch-5 sp, you will make a dc2tog {Photos 3 – 5}. Doing this allows you to ‘fill’ the ch-5 sp without adding an extra stitch.
You will then ‘catch’ the ch-8 loop from Round 3 by making a dc into the ch-8 loop from Border Round 3 AND the ch-5 sp from the previous round {Photos 6 and 7}. This is followed by another dc2tog in the same ch-5 sp {Photo 8} and a final dc into the same sp {Photo 9}.
I just love the staggered flowers!
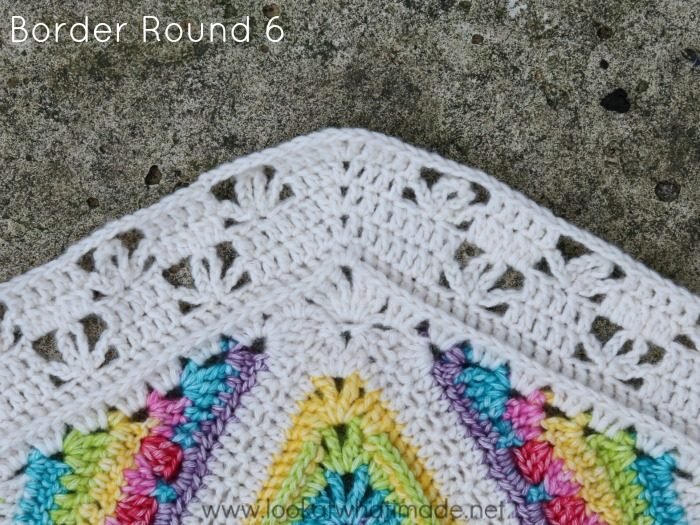
Border Round 6 – Banksia Border
Border Round 6 is similar to Border Round 4, and just as easy to count :)
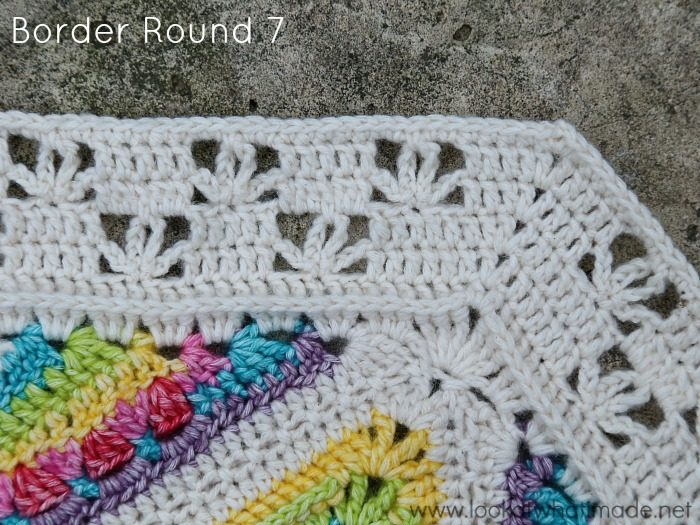
Border Round 7 – Banksia Border
When making sc rounds, it is easy to accidentally work tighter. Make sure that you keep your tension nice and steady so that this round doesn’t pull in.
Remember to skip the first (hidden) st of every side.
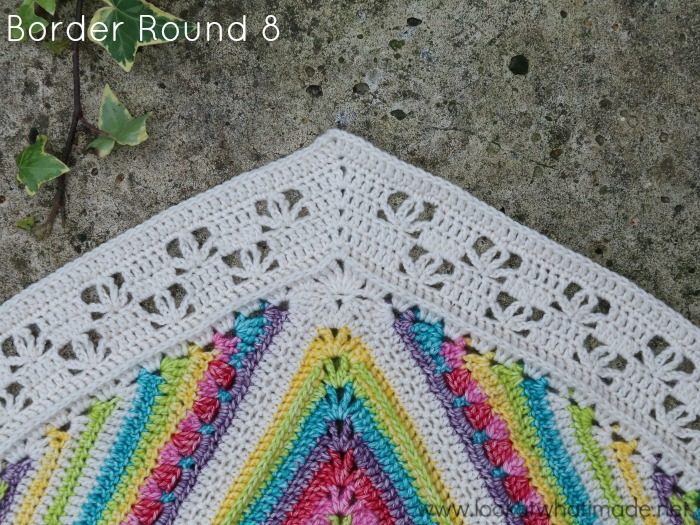
Border Round 8
Remember to skip the first (hidden) st of every side.
I would love it if someone would time themselves doing this part. I have NO IDEA how long it took me to do.
Have a relaxed week and I will see you back here for Part 9 next week.

This blog post contains affiliate links. I only link to products I personally use or would use. All opinions are my own.


Lotus Molina says
Dedri,
Scheeples no longer has this CAL at their website. Is there another way to access it?
I wanted to extend my Mary’s memory.
Thank you!
Jenny Lowman says
Hi Lotus,
They are all here on the blog
https://lookatwhatimade.net/crafts/yarn/crochet/ubuntu/ubuntu-cal-2018-information/
Elize Visser says
Hi Dedri, as ek op die Part 8 pattern PDF kliek, wil die link my na Facebook neem – ek is by die werk, en het geen toegang tot Facebook hier nie – die vorige weke se link het jou na die partroon geneem, is daar dalk fout met die link?
Dedri Uys says
Hi Elize. Ek het dit reg gemaak. Ek weet nie wat daar gebeur het nie. Lekker dag x
Lara-Jane says
For some averages here’s some more timings for Week 8 I count in 15min blocks and am doing an XL size (just a bit bigger than the Large kit sizings)
Round 3 = 1 1/2 hrs
Round 4 = 3/4 hr
Round 5 = 1 1/2 hrs
Round 6 = 1 hr
Round 7 = 3/4 hr
Round 8 = 1 1/4 hr
Also for reference it took me 6 hrs for Part 6 and 5 1/2 hrs for Part 7…. I’ve got the whole lot documented in a colorcoded spreadsheet (similar to Sophie) if you’re interested
Dedri Uys says
Thank you Lara-Jane. That is very helpful :) I would love to see your spreadsheet. I have oodles of spreadsheets for Ubuntu too. Could you please contact me using the contact me tab?
Ruth says
Dedri, you asked how long it took to do this part. I started about 10 am this morning and I just finished week 7 at about 9 pm this evening. Of course I needed to eat and I did some laundry, so I guess it took me about 9 – 9,5 hours from start to finish. Yes, I had a day off. Hehe.
Also, I really really love the CAL. Your design is just gorgeous and the pattern is so well written. Thank you for sharing!
Ruth says
I ment week 8, of course…
Dedri Uys says
Thank you Ruth. That is very helpful :) Glad you stopped to eat!!
Diane Sawdon says
Umbuntu Week 8 Timings
Round 3 2hours 10mins
Round 4 1hour 40mins
Round 5 2 hours 0mins
Round 6 1 hour 35mins
Round 7 2 hour 20mins
Round 8 2hours15mins
Dedri Uys says
Thank you so much, Diane!!
Joyce Royle says
I can’t access the pdf for part 8 – what is different to previous weeks…I can get to those OK!
Dedri Uys says
Could you just try again, please? It works when I click on it…