Welcome to Part 3 of the Scheepjes Ubuntu CAL 2018. I have thoroughly enjoyed seeing all your creative progress photos and cannot wait to see what you think of this week :) Part 3 shouldn’t take nearly as long as the previous two and is quite simple and straightforward (she says, hopefully).
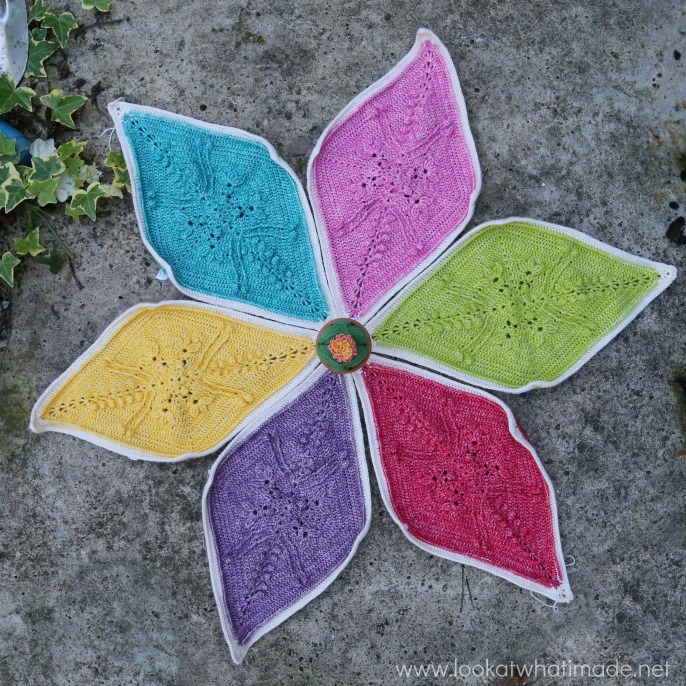
Last week was a little bit like Marmite when it came to the making of it: “love it or hate it”. Those asymmetrical rounds messed with quite a few people’s heads, so I thought I would take a moment to explain why I incorporate asymmetrical stitch instructions/counts into my patterns. When you are working in the round with the right side always facing you, the loops of your stitches will always be to the right of the posts (left, if you are left-handed). This causes your work to twist (visually). By skipping a stitch at the start of a side, or making more stitches before/after a specific visual element, you can cancel out this twisting.
You will be relieved to know, though, that this week has no asymmetry and only 4 rounds! You will also be relieved to hear that this is the last week that I will be providing a measurement/weight table. Providing the information for these first 3 parts has given you all the tools you need to ascertain whether or not your tension is tight enough to ensure both the structural integrity of the blanket (in other words, it won’t be too lacy to support its own weight) and the amount of yarn needed.
This week, we will be completing our diamonds before moving on to the half-diamonds next week. I do suggest that you block your diamonds once done, and I will talk more about that in ‘Blocking‘ at the end of this post.
You will find all the links and information you need under ‘Resources‘ below. If you have stumbled on this post accidentally and don’t know what Ubuntu is, you can read more about it HERE (Information) and HERE (Concept).
Resources
- Part 3 Pattern PDF
- Part 3 Video Tutorial (UK terminology) by Esther Dijkstra from It’s All in a Nutshell
- Official Scheepjes – International Group (English) or the Official Scheepjes – Nederlandse Groep (Dutch). You have to be logged into Facebook in order to access the link to the groups.
- Add the CAL to your Ravelry Queue
- If you are on Instagram, you can find me HERE. Please add your photos using #scheepjesubuntucal2018 or #scheepjesubuntucal.
- Special Stitches and Techniques
Ubuntu CAL 2018 Part 3: Diamond Part 3
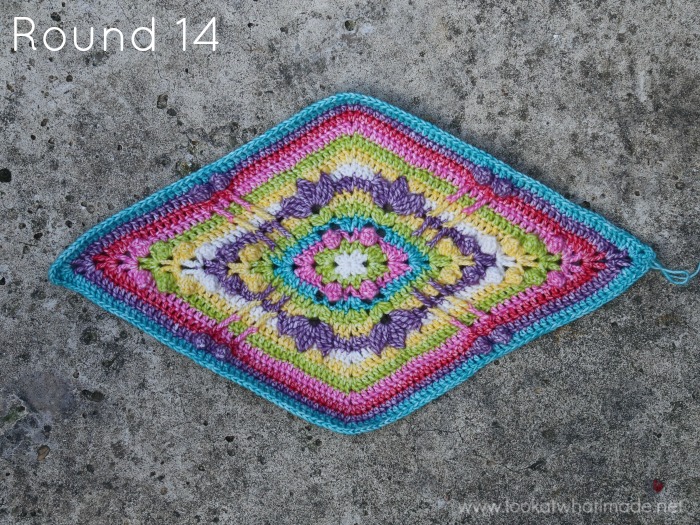
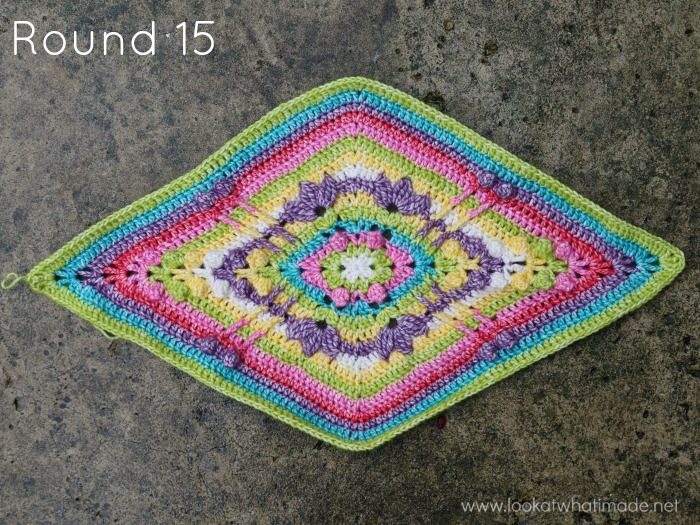
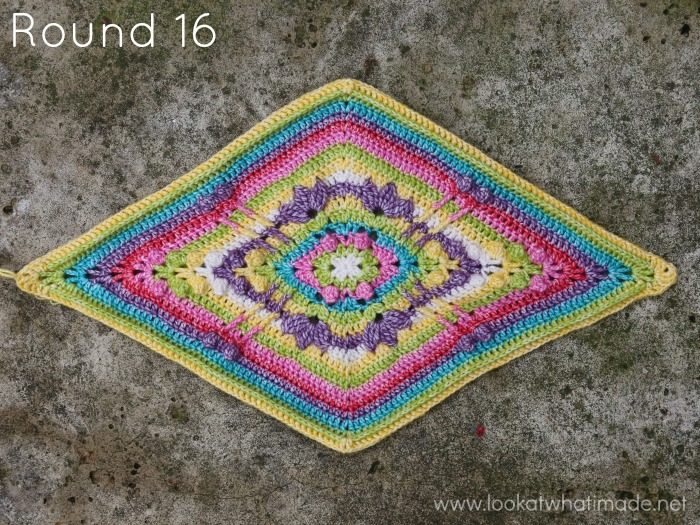
Although this pattern will not have a step-by-step photo tutorial, I will be sharing photos of each completed round. I am using a different colour of the Medium Kit for each round so that you can clearly see stitch placement. I will also share notes and tips as I go.
Remember that you are making 6 of these diamonds – one in each of the Contrasting Colours. Remember also that you should not fasten off unless specifically instructed to fasten off or to change colours.
Round 14
I don’t really have anything to say about this round (or the others in this part). It is quite straightforward! Remember to use your Popcorn references from the previous round to check that you are falling in the right stitch!
Round 15
Round 16
I just LOVE how the back post stitches make the previous round pop :) Don’t accidentally make 2 dc in the ch-1 sps!!
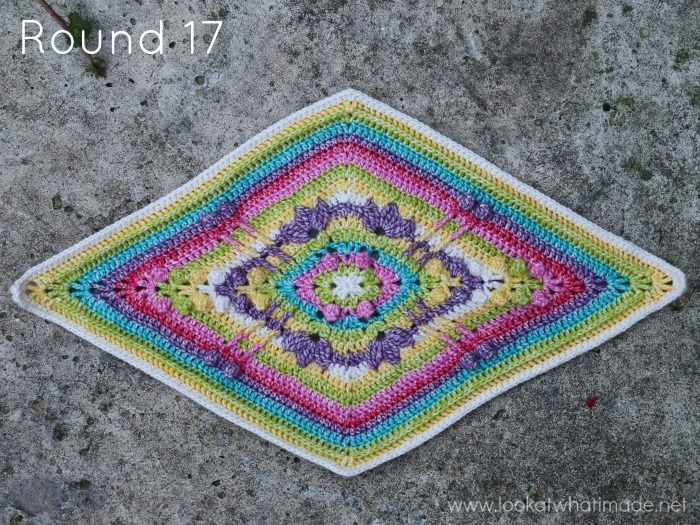
Round 17
This is probably the easiest round of the whole pattern!
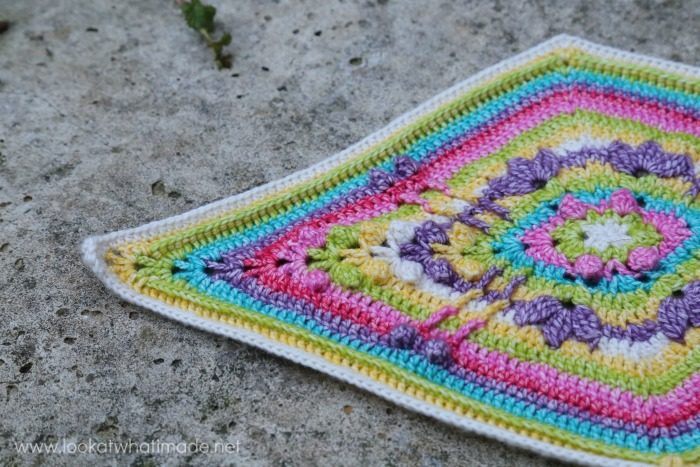
I can’t resist sharing one more photo of the texture…
When you have finished your diamonds, they will most likely curl… like this:
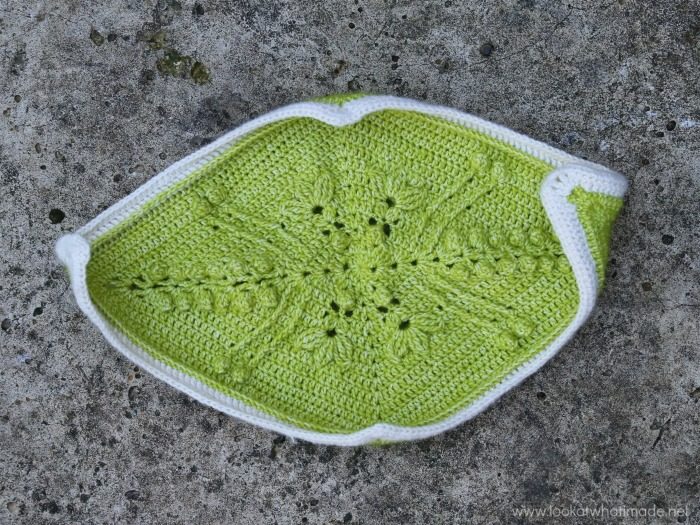
Ok, maybe that photos is a bit extreme, but you get the idea. DO NOT WORRY about this. Once you have joined the diamonds and half-diamonds together, and start adding the border, the weight of the blanket will pull everything into shape.
Blocking
I do suggest that you block your work before you join, though. Some joining methods are more flexible than others, and the last thing you want is for your join to be too tight for your shapes, which will make everything pucker. If you block your shapes before joining, you will easily spot if your join is too tight. If you haven’t already looked at the blocking suggestions in the Tips and Tricks photo tutorial, you can find them HERE.
There you go! All done with your first diamond of Part 3.
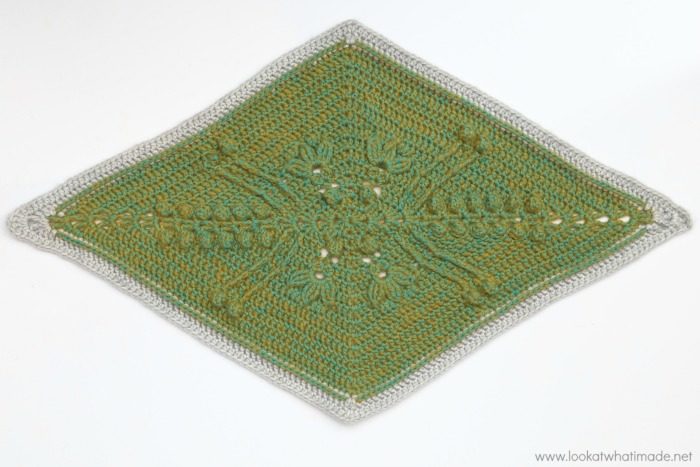
Blocked Diamond Part 3
At the end of Part 3, your diamonds (stretched into a diamond shape but not blocked yet!) should measure:
| Small | Medium | Large | |
| Sides | 25cm/9.8” | 29cm/11.5” | 39cm/ 15.4” |
| Short Axis | 25cm/9.8” | 29cm/11.5” | 39cm/15.4” |
| Long Axis | 42cm/16.5” | 50cm/19.7” | 67cm/26.4” |
| Weight | 41 – 44g | 65 – 69g | 149 – 157g |
This part should allow you plenty of time for all those necessary tasks like cleaning and cooking, so have fun doing that and I will see you next week for Part 4.
ps. If you are going to Yarndale this weekend, PLEASE come and say hi to me on the Scheepjes stand x

This blog post contains affiliate links. I only link to products I personally use or would use. All opinions are my own.


Vicky says
Hi I have just completed week 6 and I am going to block the diamonds and half diamonds but I can not find the blocked sizes for these shapes. I have used the small kit cotton 8 would you be able to send the blocking dimensions please
Dedri Uys says
Hi Vicky.
The measurements for the diamonds are at the bottom of this post under ‘Blocking’. They are in a table right under the photo of the blocked diamond at the end. The half-diamonds will be half the size of the diamonds, so the bottom of each half-diamond will be the same as the long axis of the diamonds and the sides will be the same measurement as the sides of the diamond. I hope that helps.
Dedri
Marika says
Thank you Dedri for explaining the asymmetrical rounds, that was completely new to me!
Probaly something that a “non-designer” can´t figure out; I just thought it had something to do with stitch-counting or what not… but now it makes perfect sense! :)
Dedri Uys says
Occasionally people WILL do asymmetrical counts just to make it work stitch-wise, and that is perfectly fine too as long as it doesn’t make things look weird. If you like the look of the finished project (in other words, it is not twisted or skew), then I suggest ignoring these idiosyncrasies and trusting the pattern. If the final project looks warped, you might wish to fudge things a little bit. The trick is knowing what you can fudge and how it will affect the final piece.