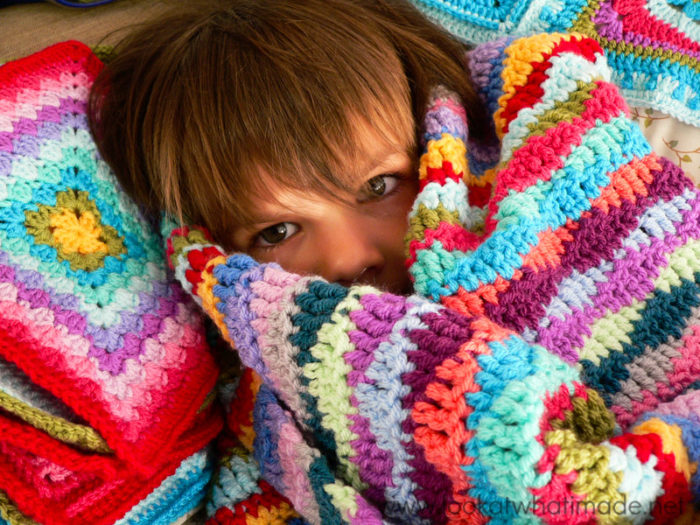
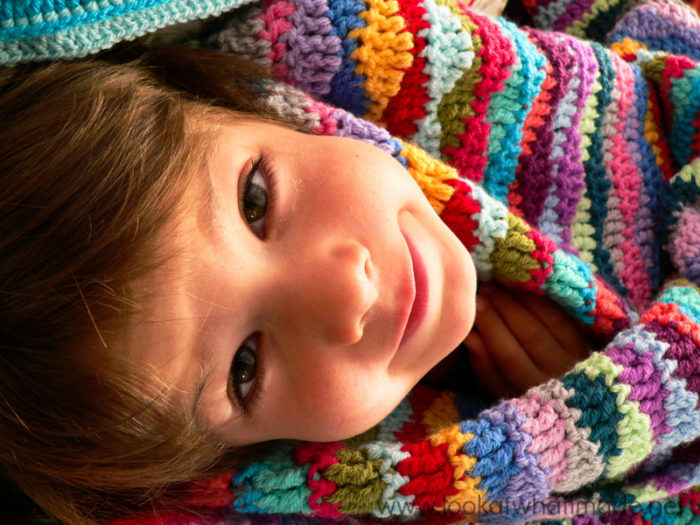
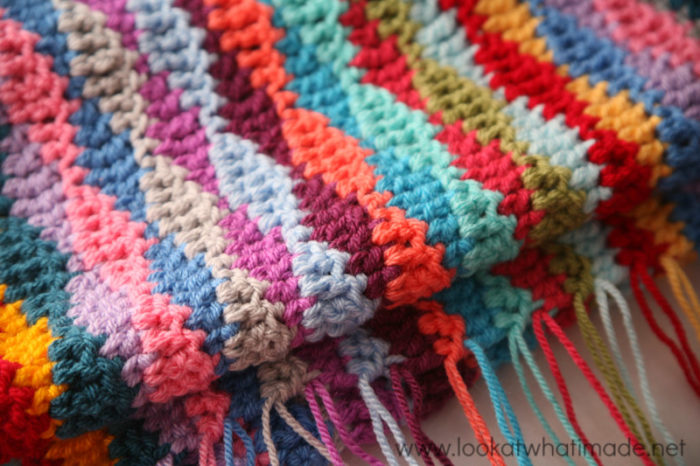
I am head over heels in love with this Lazy Waves Blanket. It is thick and squishy and brilliantly simple to make.
I started working on this blanket almost a year ago but then put it aside to focus on the Block a Week CAL 2014. A couple of months ago I got a sudden urge to finish it, and I have been working on it whenever I could find a few minutes in the evenings.
You have no idea how thrilled I am to finally be able to sit under it!
I have used Stylecraft Special Dk (2 strands at a time), but you can use 1 strand of worsted weight yarn instead. It should come out more or less the same size (depending on your tension/gauge, of course).
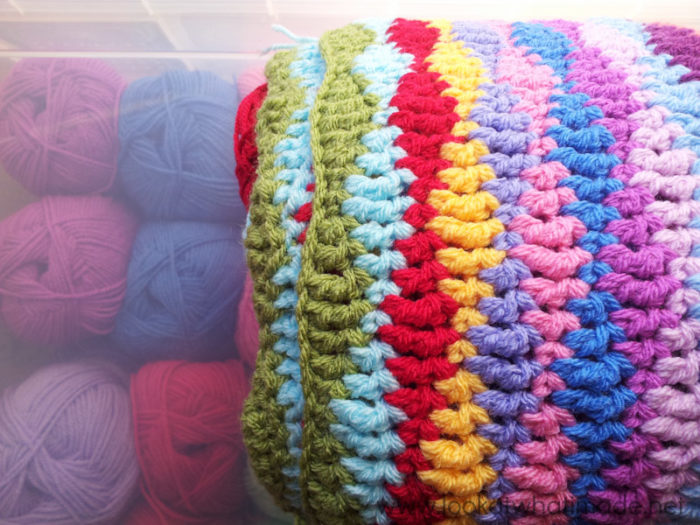
This Lazy Wave Blanket is an awesome stash-buster. You probably won’t notice, but I have used Clematis instead of Fondant on some repeats, and Grey instead of Silver on others. I don’t think it makes a jot of difference and it allowed me to use up 2 lots of scraps so that I can buy some more.
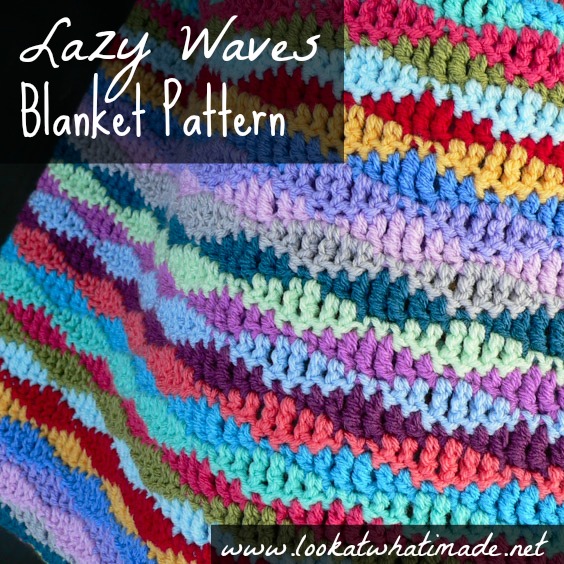
Lazy Waves Blanket Pattern
Add This Pattern to Your Ravelry Queue
Materials
- 2 strands of double knit yarn (light worsted weight) OR 1 strand of worsted weight yarn – see Colour List below for details on the type and amount I used
- 5.5 mm Clover Amour Crochet Hook
(US 9/I UK 5)
- Yarn needle…sigh
 Gauge
Gauge
Using dc stitches (US Terminology):
14 stitches and 8 rows per 10 cm (4”) square
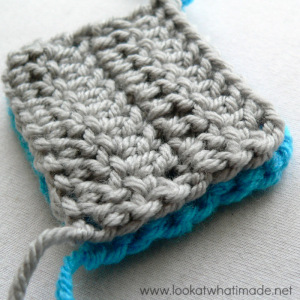
Please note: Using 2 strands of double knit yarn instead of 1 strand of worsted weight, there was a difference of 2 mm at the end of 4 rows, which means that it doesn’t matter which of the 2 roads you choose to go down.
If you have a look at the photo on the left, you will see that the blue swatch (2 strands of dk) is slightly larger than the grey one (1 strand of ww).
Size
120 cm x 150 cm (stretches to 170…because it’s heavy!)
Abbreviations
US Terminology Used (see this comparative chart for US/UK conversion)
- Ch/chs – Chain/chains
- Dc – Double crochet
- Sc – Single crochet
- St/sts – Stitch/stitches
- Tr – Treble crochet
- * – Repeat instructions between asterisks the number of times specified
Notes
You can use any yarn and hook you fancy. You can make as many or as few starting chains as your little heart desires.
- Starting Chain: Multiples of 8 + 4 starting chains
- Will give you: Multiples of 8 + 2 stitches
Resources
- Photo tutorial for making the Lazy Waves
- No Needles Needed – tutorial for crocheting your tails of yarn away
Instructions
To Start
Ch 164.
Row 1
Working into the top loop only of each ch st: Dc in the third chain from the hook. Dc in the next ch. *Tr in the next 2 chs, dc in the next 2 chs, sc in the next 2 chs, dc in the next 2 chs*.
Repeat from * to * until you reach the end of the chain. If you have started with 164 chs, you will repeat the instructions 19 times, giving you 20 repeats in total. The last st of the last repeat should fall in the last foundation ch st. Change colour on the last yarn-over of the last dc. Ch 1 and turn. This ch st does not count as a st.
Stitch Count: 162 sts {40 scs, 82 dcs, and 40 trs}
Row 2
Dc in the same st as the turning chain (see this tutorial if you are unsure which stitch that is). Dc in the next dc. *Tr in the next 2 sc’s, dc in the next 2 dc’s, sc in the next 2 tr’s, dc in the next 2 dc’s*.
Repeat from * to * until you reach the end of the row. The last st of the last repeat should fall in the last dc, not in the turning chain (which doesn’t count as a stitch). Change colour on the last yarn-over of the last dc. Ch 1 and turn. This ch st does not count as a st.
Stitch Count: 162 sts {40 sc, 82 dc, and 40 tr}
Row 3 to Row 119
Repeat Row 2… It’s that simple.
When you feel that your blanket is long enough, bind off and work away your tails of yarn.
How much yarn will I need?
- Double knit: 42 meters per row (@7 colour repeats that will be just under 1 skein of Stylecraft Special DK
per colour for a total of 5300 meters)
- Worsted weight: 18 meters per row (@7 colour repeats that will be 126 meters or ¾ skein of Deborah Norville Everyday Worsted Weight per colour
for a total of 2200 meters)
My Lazy Waves Colours
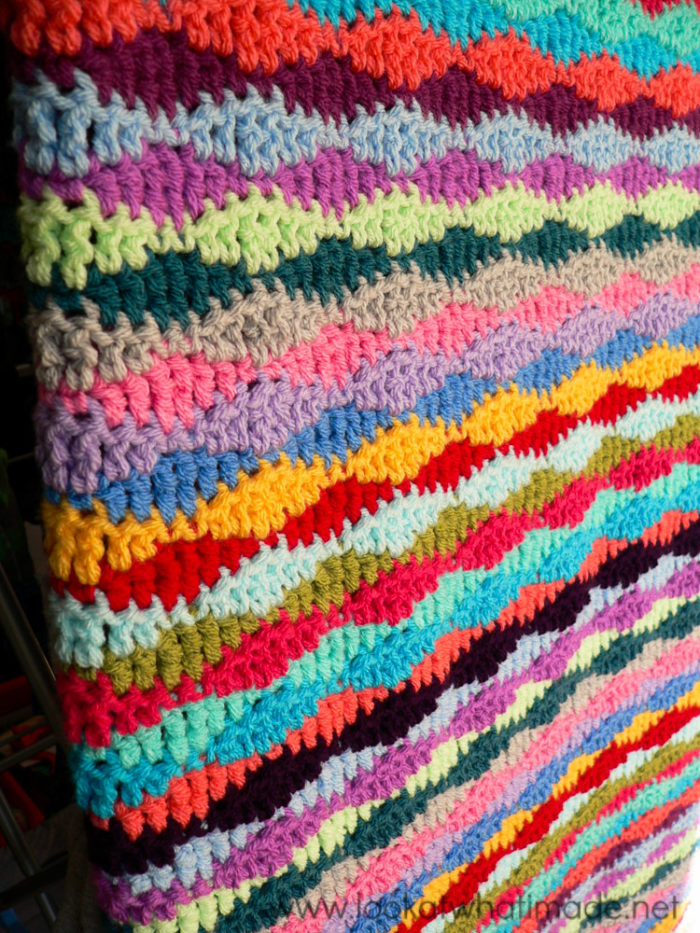
I used 17 balls of Stylecraft Special DK. I used 2 strands held together to create a thicker, larger (lazier) blanket. I know…lazier is not a word…
Stylecraft is an awesome budget yarn that feels (and washes) way better than most acrylics. You can buy the “Lucy” pack (which contains exactly 17 balls), you can use the 17 colours I used (listed below), or you can use stash yarn and make the blanket outrageously colourful and awesome!
If you prefer worsted weight, I highly recommend Deborah Norville Everyday Worsted Weight Yarn. It is anti-pilling and feels unlike any other acrylic I have ever worked with. It is soft and sturdy with just the tiniest hint of a shine. I used it to make the animals for my book, Amamani Puzzle Balls, and loved it so much that I bought a whole lot more.
Below you can find a list of Deborah Norville colours that best match the Stylecraft colours I used. In fact, bar 2 colours that they do not stock and 2 colours that are a slightly different shade, the colours match perfectly.
Colour List |
|
Stylecraft Special DKAvailable from Deramores |
Deborah Norville Everyday SolidsAvailable from Annie’s |
| Double Knit/Light Worsted weight/#3 | Aran/Worsted Weight#4 |
| 1 skein each | 3/4 skein each |
| Meadow | Sagebrush |
| Sherbet | No Substitute – choose another colour |
| Lipstick | Really Red |
| Saffron | Lemon |
| Aster | Cornflower |
| Lavender | Orchid |
| Clematis/Fondant | Baby Pink |
| Silver | Mist |
| Petrol | Peacock |
| Spring Green | Baby Green |
| Magenta | Peony |
| Cloud | Baby Blue |
| Plum | Aubergine |
| Shrimp | No Substitute – choose another colour |
| Turquoise | Azure |
| Aspen | Glass |
| Pomegranate | Grenadine |
I don’t like crocheting over my ends, because I work them away backwards and forwards, so I have to get the needle out even if I do crochet over them. I believe (and this might just be because I don’t do it often enough) that it slows me down fiddling with holding the yarn in place to crochet over it. When I made this blanket, I hadn’t seen Jo’s No Needles Needed tutorial, otherwise I would have used that instead.
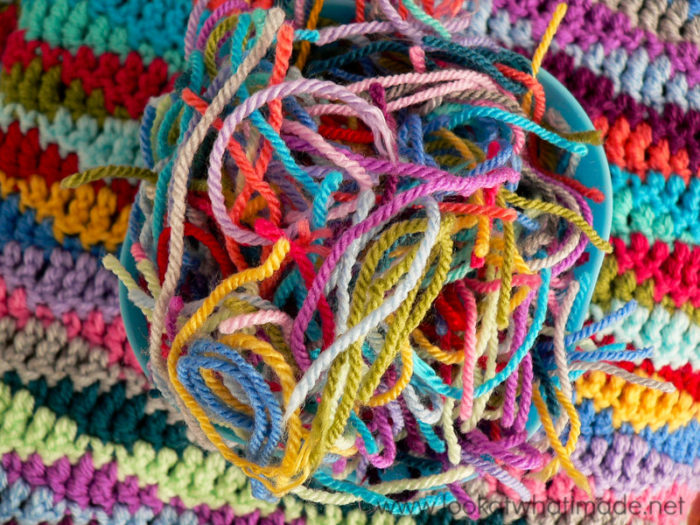
So as you can imagine, I ended up with a truck-load of tails …
… which turned into this …
… and finally this …
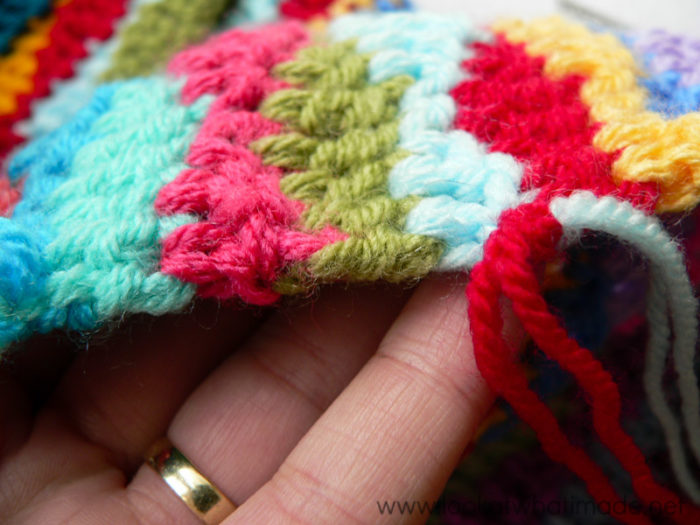
You can, of course, add a border if you want to, but this blanket is specifically designed so that the edges will be neat and straight. The ch-1 turns are not visible or bumpy and there are no gaping spaces at the start of each row.
I hope you have great fun with this pattern!

This blog post contains affiliate links. I only link to products I personally use or would use. All opinions are my own.


Jan says
I really like this pattern. I’ve been crocheting for decades and have LOTS of leftover yarn to use.
BUT–I can’t find the instructions for making it. There’s a lot of pictures, comments, etc., but I can’t find a cohesive list of instructions. What am I missing??
Jenny Lowman says
The instructions are right here in this blog post, Jan.
To quote…
Instructions
To Start
Ch 164.
Row 1
Working into the top loop only of each ch st: Dc in the third chain from the hook. Dc in the next ch. *Tr in the next 2 chs, dc in the next 2 chs, sc in the next 2 chs, dc in the next 2 chs*.
Repeat from * to * until you reach the end of the chain. If you have started with 164 chs, you will repeat the instructions 19 times, giving you 20 repeats in total. The last st of the last repeat should fall in the last foundation ch st. Change colour on the last yarn-over of the last dc. Ch 1 and turn. This ch st does not count as a st.
Stitch Count: 162 sts {40 scs, 82 dcs, and 40 trs}
Row 2
Dc in the same st as the turning chain (see this tutorial if you are unsure which stitch that is). Dc in the next dc. *Tr in the next 2 sc’s, dc in the next 2 dc’s, sc in the next 2 tr’s, dc in the next 2 dc’s*.
Repeat from * to * until you reach the end of the row. The last st of the last repeat should fall in the last dc, not in the turning chain (which doesn’t count as a stitch). Change colour on the last yarn-over of the last dc. Ch 1 and turn. This ch st does not count as a st.
Stitch Count: 162 sts {40 sc, 82 dc, and 40 tr}
Row 3 to Row 119
Repeat Row 2… It’s that simple.
When you feel that your blanket is long enough, bind off and work away your tails of yarn.
Sondra Arnold says
Do you have a video of this pattern. I am more of a visual learner than a follower of a pattern. I think this is so pretty. Thank you for taking the time to look at my comment.
Jenny Lowman says
We’re sorry, but we don’t have a video for Lazy Waves as yet. It is quite a straightforward pattern, so maybe you can give it a go and see how you get on :)
Marilyn Neely says
This is so beautiful. I would love to try it, but 2+ weeks in the hospital followed by a stomach virus makes me hesitate a bit.
I was an English teacher for decades. I want you to know with the word “lazy” the rules are a little different. Please know that my own brother is indeed LAZIER than I am. Your patterns are marvelous.
Jenny Lowman says
Hope you are feeling better, Marilyn!
I love Dedri’s Lazy Waves blanket and want to make another myself, very soon.
Becky says
I’ve been searching the internet for days looking for the perfect stash buster blanket and this is it! And thank you for posting the No Needle tutorial. Ingenious!!! Can’t wait to bust my stash!
Jenny Lowman says
I love the lazy waves! It works up pretty fast with two strands of DK, or some chunky yarn :)
Deb says
I am attempting this now but my pattern seems to be puckering and not laying flat
What am I doing wrong?
Jenny Lowman says
Hi Deb. It shouldn’t be puckering, but it would help to see pics. Can you post some pics on the LAWIM Facebook page via the messenger there?
Alfia Zgrabik says
Please help! My daughter started this lovely baby blanket in the lazy waves pattern. I would like to finish it, but from the above directions, I don’t see anything about what to do with the loose ends, so that’s what I would like to know.
Thank you!
Dedri Uys says
Hi Alfia,
You may find this tutorial helpful.
Sharon D Hart says
I love this pattern, I have so many scraps from all the other things I’ve made. In this stay at home order I have been happily crocheting away. I am on my 3rd baby afghan and I have used up I tote of thread ends,
Its great and so addicting. I was going through my Grandmothers thread and patterns she left me . What a surprise to find this wave pattern. Yellowed from age, from the late 5o’s. I guess I need to go through it all and find what other treasurers are in there.
Thanks again. Sherry
Dedri Uys says
Hi Sharon
How lovely that you can connect with your Granny like this across the years.
Gary says
Hi Dedri, just love the simple wavy pattern. And you ought to know lazier is a real word lol
Thanks Gary
Dedri Uys says
Thank you Gary!
Anna says
A real word and a way of life!
Destiny says
I’m making a Triceratops Blanket for my son’s upcoming 3rd birthday. This pattern is exactly what I was looking for to give the blanket some detail without being too complicated. Thank you ❤
Dedri Uys says
Oh brilliant :) Happy birthday to him!
Simone Dennis-Sharma says
Hi Dedri
I am planning on starting the lazy wave blanket over christmas but I would like to make it about 10-20cms wider. Can you explain how I work out how many more chain stitches I need and also how that will change the pattern. I have only made one blanket and though it was much more complicated, I am not used to changing patterns at all.
Thank you
Simone
Dedri Uys says
Hi Simone. You can very easily make the blanket wider by adding extra starting chains in multiples of 8 (the repeat is over 8 sts). So you are aiming to add 16 chains for an extra 10cm or 32 chains for an extra 20cm. You can then follow the pattern as written until you are happy with the length.
Maureen Wiesner says
Thank you so much for your detailed explanation Dedri. I had another go thinking about what you said and everything is working out perfectly.
Many thanks for your help and all the lovely patterns.
Best wishes, Maureen
Dedri Uys says
Oh goody! I am so happy to hear that.
Maureen Wiesner says
I am trying to make a small lazy wavy cot blanket before embarking on a larger one. Yours is so pretty, I love it.
I just wanted to check that when working the right side, the loop from the stitch in the previous row is on the right, and when working the wrong side, the loop is on the left.
I think I am doing it correctly, and have studied the tutorial about making the first dc in the base of the chain stitch but I still seem to be short of a double crochet sometimes at the beginning and end of some rows!!
It’s odd as I have just finished your beautiful Sophie’s Universe without major problems, but can’t seem to get my head around this lovely pattern which should be easier!
Dedri Uys says
Hi Maureen, sometimes the easy patterns just cause more grief than the complicated ones. Don’t worry about that aspect of it at all. I think I know what is confusing you. When you are working with the right side always facing you, the right side of each previous row/round will always be facing you and therefore the loops will always be to the right (if you are right-handed). When you turn your work at the end of every row/round, the WRONG side of the previous row will ALWAYS be facing you, regardless of whether the right or wrong side of the entire project is facing you. So, when you are turning like this, the loops will ALWAYS be to the left of the post (if you are right handed) because you are always looking at the wrong side of the stitches. Does that make sense?
When I get confused, I turn my work so that I can see the right side of the last row. Then I stick my hook into the stitch I want to identify. When I turn it back around, I can see which stitch/loops I am aiming for. Have another go and let me know how it goes?
Dedri
Janet says
Hi – could I knit this using one strand of DK? If so – what size needles should I use to make a similar size blanket?
Jenny says
You could, Jan. It would just be smaller and thinner than Dedri’s blanket. It is a crochet pattern and I would suggest a 4mm hook or whatever your yarn suggests. Jenny :)
Lisa says
I am starting this now! I have so much left-over yarn and was looking for a different scrap blanket rather than the same old granny or straight stitch patterns. I think this is going to be just beautiful! Thanks! Oh, and thanks for the link to Mama Jo’s No Needles tutorial! It’s great! I don’t know why I didn’t think of this. I do not mind sewing in ends at all…it is part of making a long-lasting, beautiful blanket. But, this saves so much time!
Dedri Uys says
Hi Lisa. I’m glad you found that tutorial useful. I prefer working my tails away, but I know many people hate doing it.