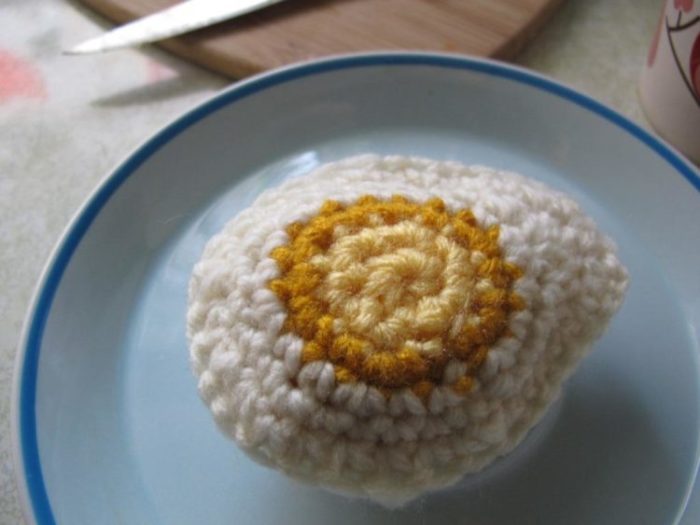
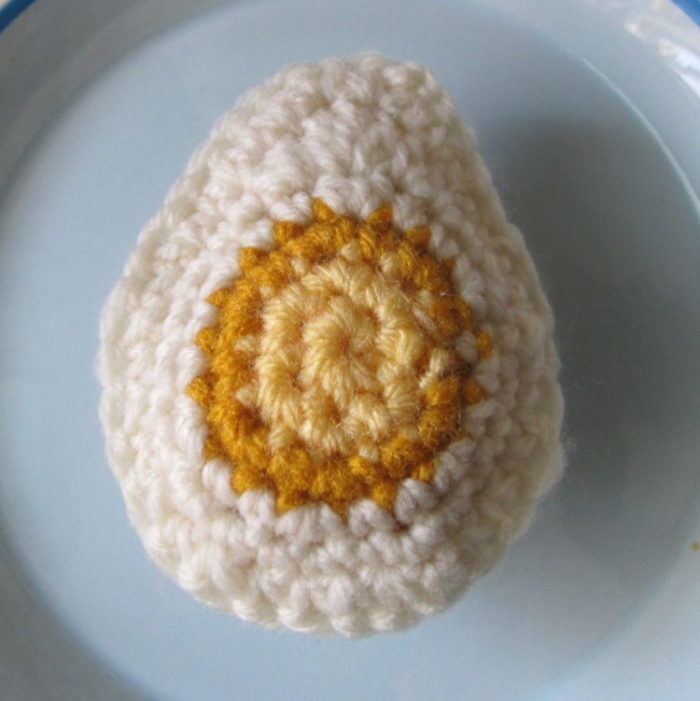
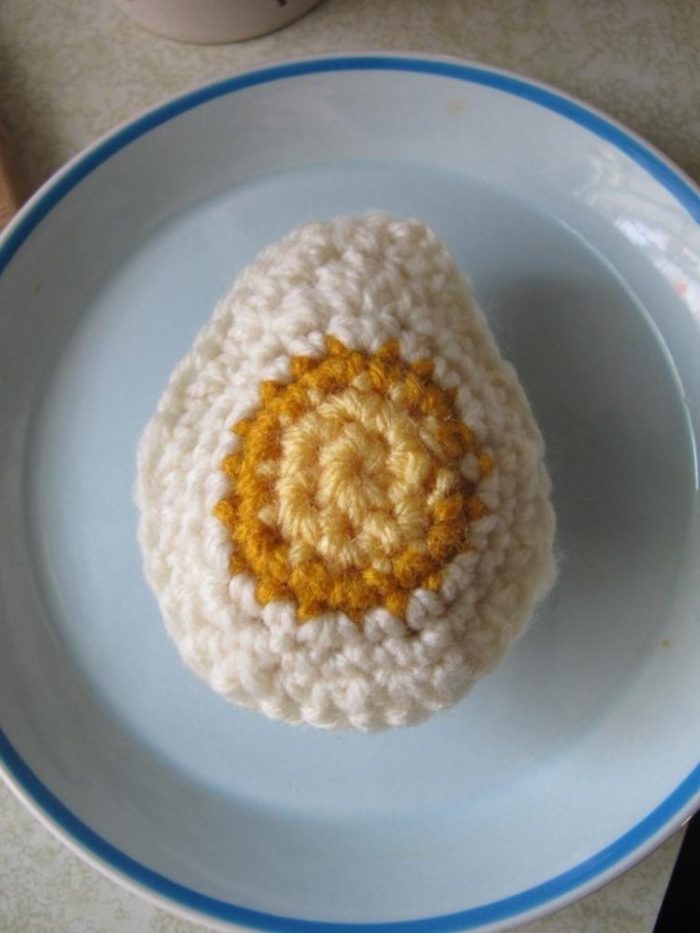
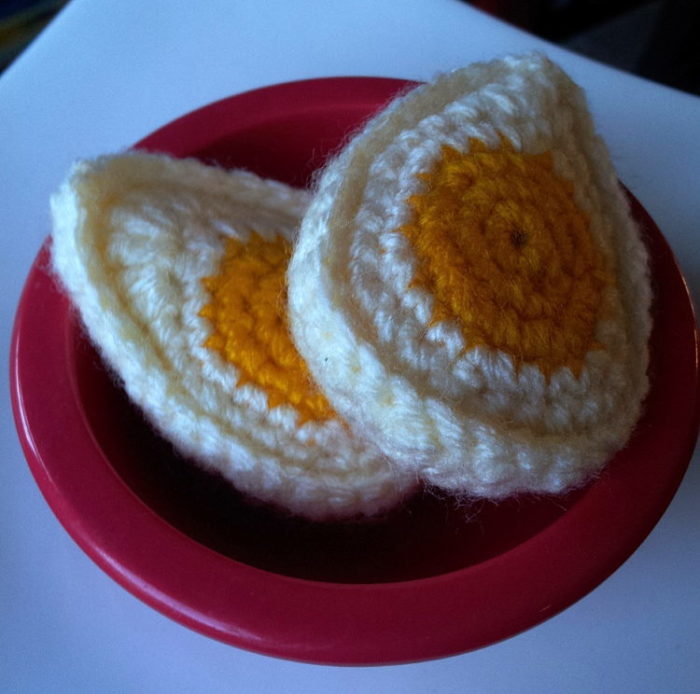
Everyone likes their eggs done a different way. My favourite way is hard-boiled with a huge dollop of Basil Hollandaise. To that end, I have made a simple little pattern for a hard-boiled crochet egg.
A Hard-Boiled Crochet Egg?
Why not! I needed a little project after all the maths of the Crochet Dinosaur Puzzle and my Mystery Project! And this little hard boiled crochet egg was just the thing.
Thank you very much, Kathleen D’Angelo, for letting me use your lovely photos for my “eggcellent” pattern!
Hardboiled Crochet Egg Pattern
Materials
- 3.5 mm crochet hook
- Double knit yarn (light worsted weight) in Yellow and Cream
- Yarn needle
- Stuffing
Abbreviations
US Terminology (US/UK Conversion HERE)
- Ch – Chain
- Dc – Double crochet
- Hdc – Half-double crochet
- Sc – Single crochet
- Sc2tog – Single crochet 2 together
- Sc3tog – Single crochet 3 together
- Sl st – Slip stitch
- St/sts – Stitch/stitches
- () – Repeat instructions between parentheses the number of times specified.
Instructions
Add this pattern to your Ravelry Queue.
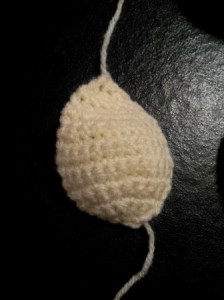
Outside
With cream yarn, ch 2.
Row 1: Make 3 sc in the second ch from the hook, turn. {3 sc}
Row 2: Ch 1 (doesn’t count as st throughout), make 2 sc in each of the 3 sts, turn. {6 sc}
Row 3: Ch 1, (2 sc in the next st, sc in the next st) 3 times, turn. {9 sc}
Row 4: Ch 1, sc in each st, turn. {9 sc}
Row 5: Ch 1, (2 sc in the next st, sc in the next 2 sts) 3 times, turn. {12 sc}
Row 6: Ch 1, sc in each st, turn. {12 sc}
Rows 7 – 9: As Row 6.
Row 10: Ch 1, (sc2tog, sc in the next 2 sts) 3 times, turn. {9 sc}
Rows 11 – 12: As Row 6. {9 sc}
Row 13: Ch 1, (sc2tog, sc in the next st) 3 times, turn. {6 sc}
Row 14: As Row 6. {6 sc}
Row 15: Ch 1, sc2tog 3 times, turn. {3 sc}
Row 16: Ch 1, sc3tog. Fasten off and work away your ends. {1 sc}
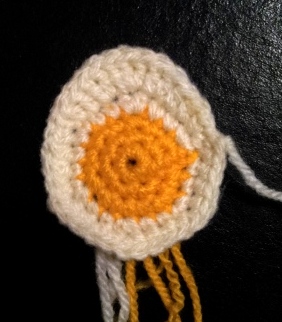
Inside
With yellow yarn, make a magic ring.
Round 1: Ch 1 (doesn’t count as a st throughout), make 6 sc into the magic ring. Join to the first sc with a sl st. {6 sc}
Round 2: Ch 1, make 2 sc in each of the 6 sts around. Join to the first sc with a sl st. {12 sc}
Round 3: Ch 1, (2 sc in the next st, sc in the next st) 6 times. Join to the first sc with a sl st, changing to cream yarn on the sl st. {18 sc}
Round 4: Ch 1, 2 sc in the next st, sc in the next 2 sts. 2 hdc in the next st, hdc in the next 2 sts. (2 sc in the next st, sc in the next 2 sts) 4 times. Join to the first sc with a sl st. {24 sc}
Round 5: Ch 1, 2 sc in the next st, sc in the next 2 sts. 2 hdc in the next st, 3 dc in the next st, 2 hdc in the next st, sc in the next 2 sts. (2 sc in the next st, sc in the next 3 sts) 4 times. Join to the first sc with a sl st. Fasten off and work away your ends. {33 sts}
Assembly
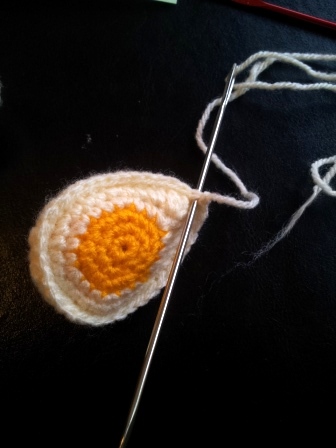
Take the inside of the crochet egg and hold it with the right side facing you. With a sl knot already on your hook, insert your hook through the stitch at the pointy end of the egg (it should be the second dc of the 3dc-in-same-st cluster). Now insert your hook through the st at the top of the outside part (the st formed by the sc3tog in last round). Sc through both these sts and continue working around, making a sc through both layers in each st and row around.
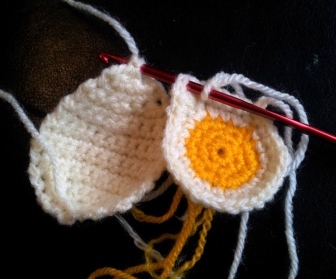
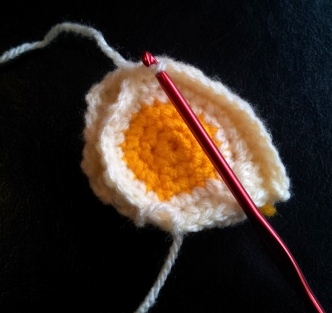
When you get 3/4 of the way around the egg, stuff it and continue.
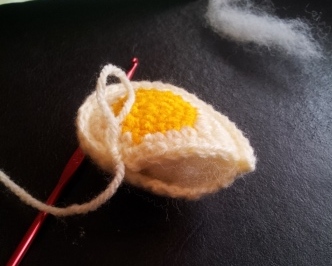
When you get to the last st, don’t bind off just yet. Sc through the first st and row one more time and then sl st in the next st. Fasten off and work away your ends.
Make sure your egg is stuffed enough, otherwise it will look lumpy and un-egg-like. Don’t stuff it too much, otherwise, it will start to look like a deflated rugby ball.

This blog post contains affiliate links. I only link to products I personally use or would use. All opinions are my own.


Fefe says
This is great! I’ve been looking for a pattern like this for awhile to add to the collection of play food I’ve been making for all the little munchkins in my life..Thank you for sharing your pattern! :)