There are many crochet rug patterns out there: square crochet rugs, round crochet rugs, doily type rugs…so many styles to choose from and each one unique in its own way. In this post, I would like to show you how to crochet a simple round rag rug using single crochet, half-double crochet, or double crochet stitches.
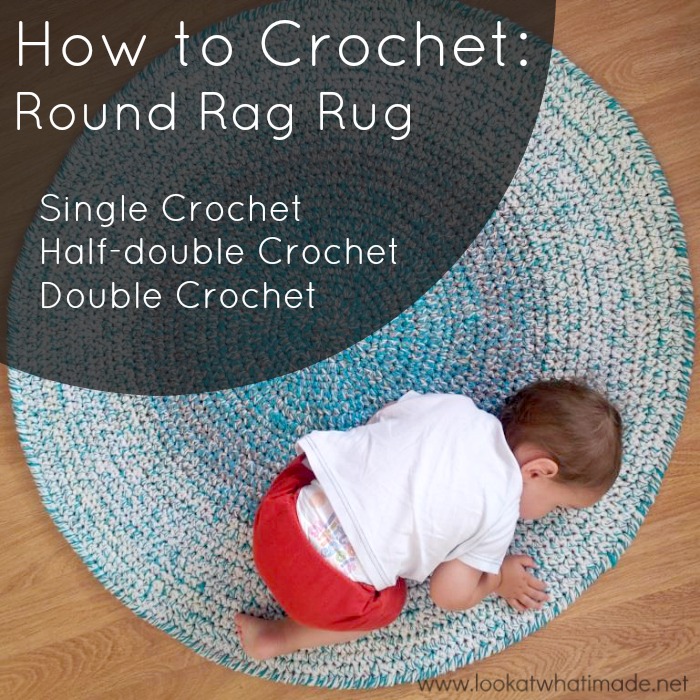
Instead of giving you one specific crochet rug pattern, I want to help you understand the maths and principles behind making a (flat) round rag rug, so that you can make as many of them as you wish, adapting them as it suits you.
Below, you will find instructions for a basic circle rag rug using single crochet, half-double crochet or double crochet stitches, together with some tips about what to do if your rug warps in any way.
Before we get to the instructions, though, let’s quickly talk about materials!
Different Materials
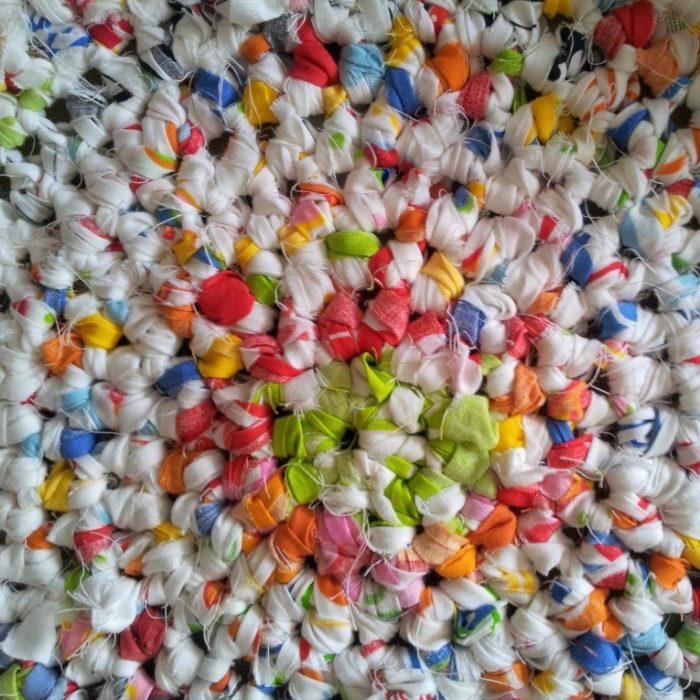
Jersey Cotton (T-shirt Yarn) Crochet Rug
This Rug was made using jersey cotton cut into 2.5 cm (1″) strips. You can either buy some t-shirt yarn or make your own following my tutorial for making fabric yarn.
I had to alter the number of increases in the pattern quite a bit as I went because some of the fabric pulled into yarn quite easily while other colours just did not want to “tube”. Also, the red and blue (which tubed well – is that even a word??) were way more elastic than the other colours, which made a difference as well.
If you use an elastic material, it is very difficult to keep your tension even. This is why I think that understanding the logic behind the rug (how to get rid of ripples and curling) can prevent this EASY project from turning into a nightmare.
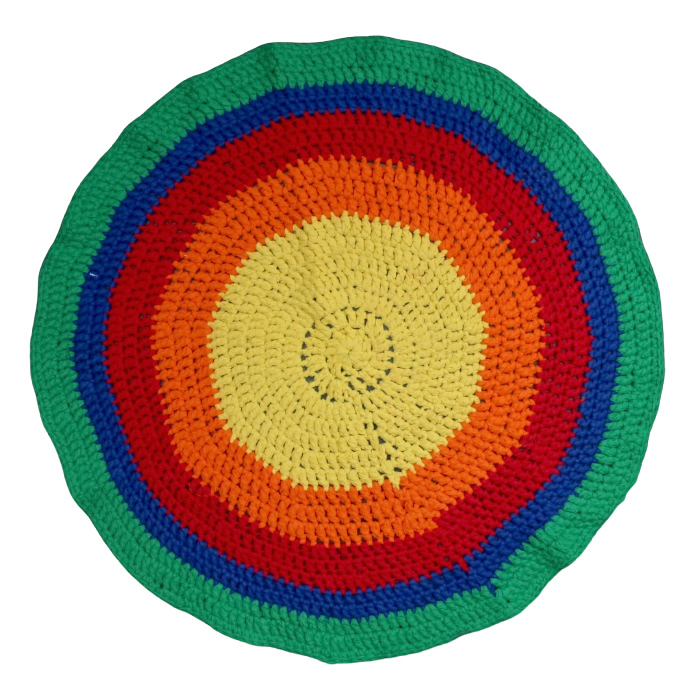
Cotton/Linen Crochet Rug
You can make your own non-elastic fabric yarn by cutting a duvet cover or some sheets into strips. As with the t-shirt yarn, 2.5 cm (1″) strips work the best, being neither too thick (difficult to work with) or too thin (might tear easily).
I prefer using a duvet cover as it is already a tube (once you’ve cut the bottom off) and can be cut in the same way as the t-shirt yarn above, just on a way bigger scale.
If you have separate strips of fabric that you would like to link together, THIS TUTORIAL by Crochet Is The Way has some very clear photos on joining strips of fabric to each other without sewing.
The advantage of using non-stretch fabric yarn is that it acts very much like yarn would in that it does not buckle and ‘bowl’ quite as easily as jersey cotton. The disadvantage of using non-stretch fabric for your crochet rug is that it does not stretch AT ALL. So where yarn would give you a little bit of stretch, making it easy to get into stitches on subsequent rounds, non-stretch fabric yarn does not budge. To avoid the resulting finger-cramp, remember to loosen your tension when working with non-stretch fabric yarn. You will save yourself a lot of cursing!
Wool/Yarn Crochet Rug
Wool/yarn is by far the easiest material to use when making a crochet rag rug. It also affords a lot of opportunities for shading or ‘painting with yarn’, as I like to call it.
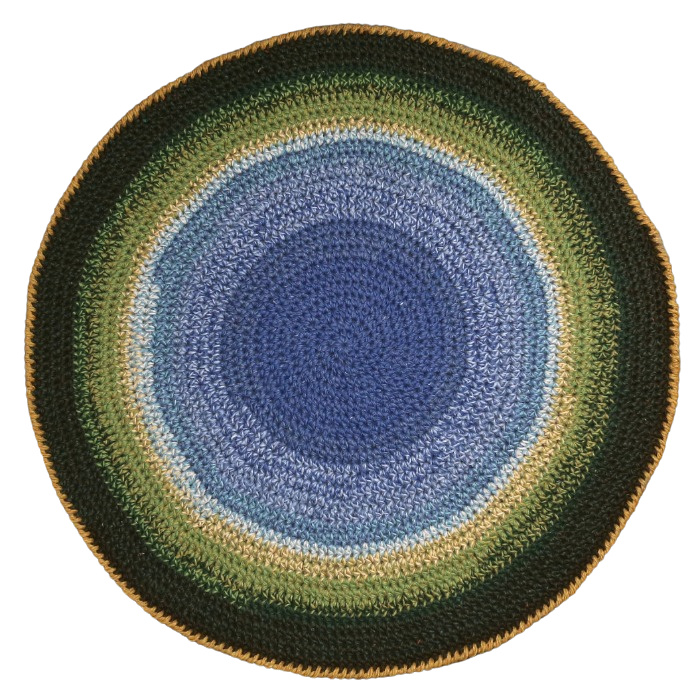
If you want a project that grows at the speed of light, that doesn’t tax your brain, and that uses A LOT of stash yarn and scraps, then a crochet rug made from yarn is just the thing for you.
You will need the equivalent of 4 to 8 strands of double knit yarn (or 3 to 5 strands of chunky yarn) and a good tv series.
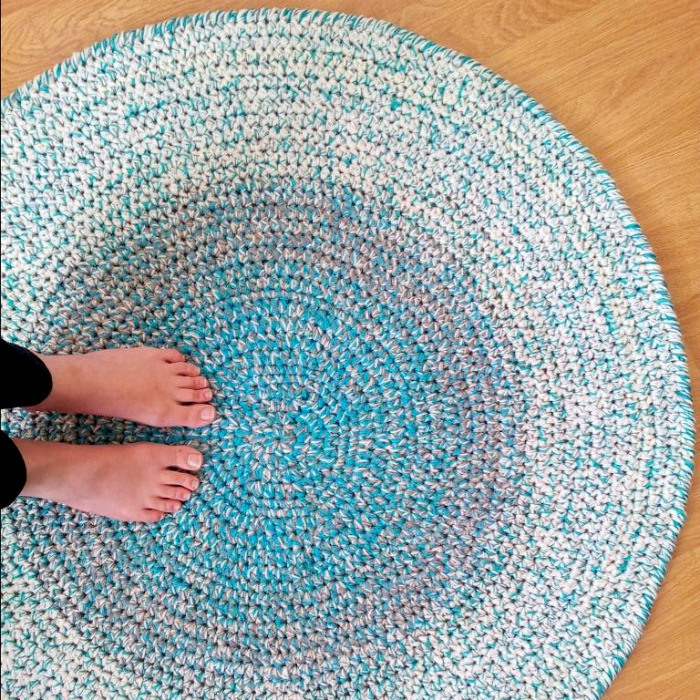
It doesn’t matter if you mix and match fibres. In fact, I like using a bit of cotton, wool, and acrylic in each rug. I think it creates a nice balance between affordability, durability, and softness. My favourite wool/acrylic rug (pictured below) now lives in New Zealand with my sister. She has been using it for more than six years and it still looks great! You can find the details of this specific rug HERE.
How to Crochet a Round Rag Rug
©Dedri Uys 2011. All Rights Reserved. Updated June 2020.
Index
- Notes
- Basic Single Crochet Round Rag Rug
- Basic Half-double Crochet Round Rag Rug
- Basic Double Crochet Round Rag Rug
- To Continue
- My Rug Curls – What Now?
- My Rug Ripples – What Now?
- To Finish
Materials
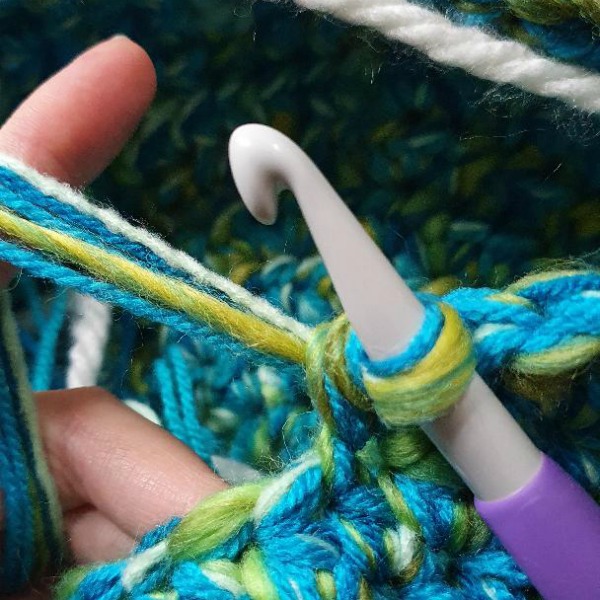
- Yarn Options:
- T-shirt yarn (like Premier Craft-Tee Yarn
)
- Non-stretch fabric yarn
- Wool/yarn (lots and lots of strands held together)
- T-shirt yarn (like Premier Craft-Tee Yarn
- Hook Options:
- Strong arms!
Abbreviations
US Terminology Used – US/UK Conversion Chart HERE
- Ch – Chain
- Dc – Double Crochet
- Hdc – Half-double Crochet
- Sc – Single Crochet
- Sl st – Slip Stitch
- St/s – Stitch/stitches
- () – Repeat all instructions between parentheses the number of times specified.
Notes
Make three or four rounds and then assess whether or not you need to change the number of increases in each round. This will depend on the thickness and elasticity of your yarn of choice, as well as your personal tension and hooking style.
- If your rug curls (bowls), try starting with one or two more stitches (and one or two more increases per round).
- If your rug ripples (waves), try starting with one or two fewer stitches (and one or two fewer increases per round).
If you increase/decrease the number of stitches in the initial round, it will affect the number of increases in each round. If you start with 5 sts in the first round, for example, you will repeat the pattern between parentheses 5 times in every subsequent round, and your total number of sts will be multiples of 5. If you start with 7 sts in the first round, you will repeat the pattern between parentheses 7 times in each round, making your total number of sts a multiple of 7.
These instructions are written for working in a spiral, which is my preferred method. Please see THIS TUTORIAL if you need any help with that.
I suggest using a Running Stitch Marker (as highlighted in the linked tutorial above) to keep track of the start and end of each round.
Basic Single Crochet Round Rag Rug
- Initial Number of Stitches: 6
- Increases Per Round: 6
- To Start: Ch 2.
Round 1: Make 6 sc into the second ch from the hook. {6 sc}
Round 2: Make 2 sc in each st around. {12 sc}
Round 3: (Make 2 sc in the next st, sc in the next st) 6 times. {18 sc}
Round 4: (Make 2 sc in the next st, sc in the next 2 sts) 6 times. {24 sc}
Round 5: (Make 2 sc in the next st, sc in the next 3 sts) 6 times. {30 sc}
See To Continue below.
Basic Half-double Crochet Round Rag Rug
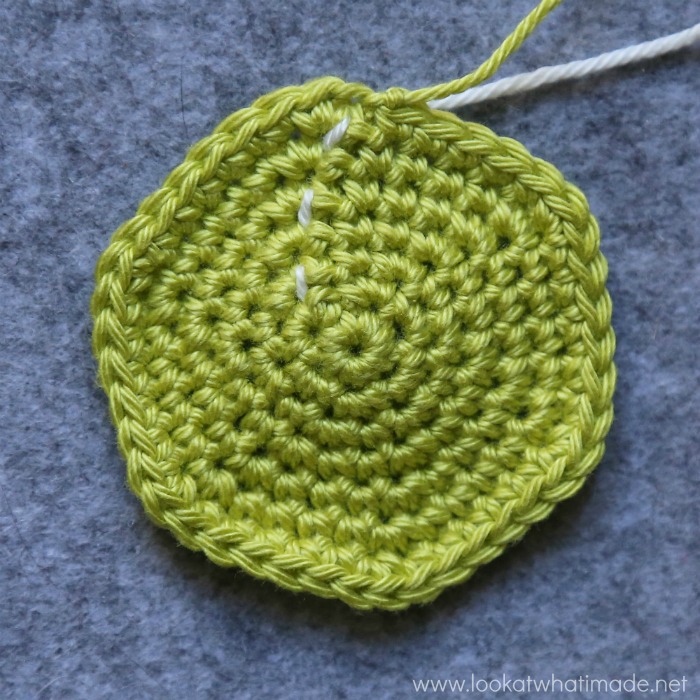
(This is my favourite stitch for making rugs)
- Initial Number of Stitches: 10
- Increases Per Round: 10
- To Start: Ch 4. Join to the fourth ch from the hook with a sl st to form a ring.
Note: Generally, people prefer to make hdc circles with 8 or 9 starting stitches/increases per round, with 9 being more mathematically accurate. For rugs, I prefer using 10 because it is easier to correct for rippling (too many stitches for the circumference) than it is to correct for curling (too few stitches for the circumference).
Round 1: Ch 1 (doesn’t count as a st). Make 10 hdc into the ch-4 ring. {10 hdc}
Round 2: Make 2 hdc in each st around. {20 hdc}
Round 3: (Make 2 hdc in the next st, hdc in the next st) 10 times. {30 hdc}
Round 4: (Make 2 hdc in the next st, hdc in the next 2 sts) 10 times. {40 hdc}
Round 5: (Make 2 hdc in the next st, hdc in the next 3 sts) 10 times. {50 hdc}
See To Continue below.
Basic Double Crochet Round Rag Rug
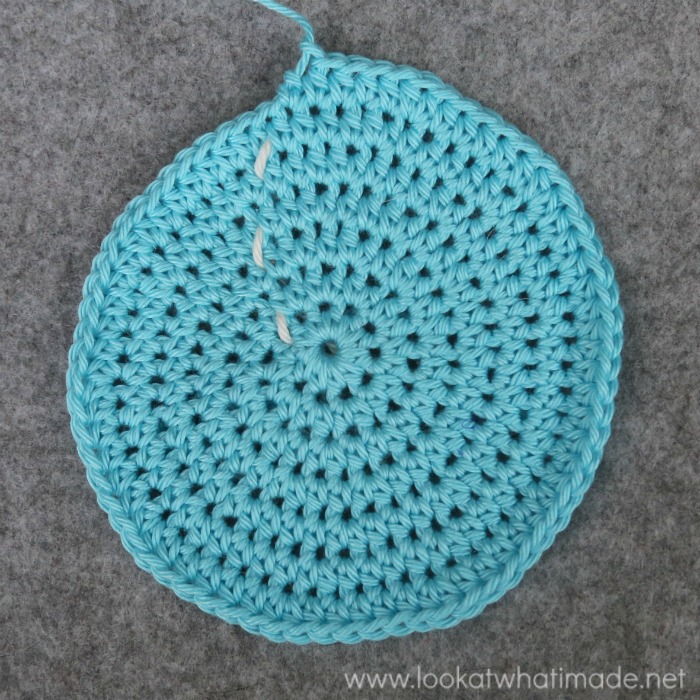
- Initial Number of Stitches: 12
- Increases Per Round: 12
- To Start: Ch 4. Join to the fourth ch from the hook with a sl st to form a ring.
Round 1: Ch 2 (doesn’t count as a st). Make 12 dc into the ch-4 ring. {12 dc}
Round 2: Make 2 dc in each st around. {24 dc}
Round 3: (Make 2 dc in the next st, dc in the next st) 12 times. {36 dc}
Round 4: (Make 2 dc in the next st, dc in the next 2 sts) 12 times. {48 dc}
Round 5: (Make 2 dc in the next st, dc in the next 3 sts) 12 times. {60 dc}
See To Continue below.
To Continue
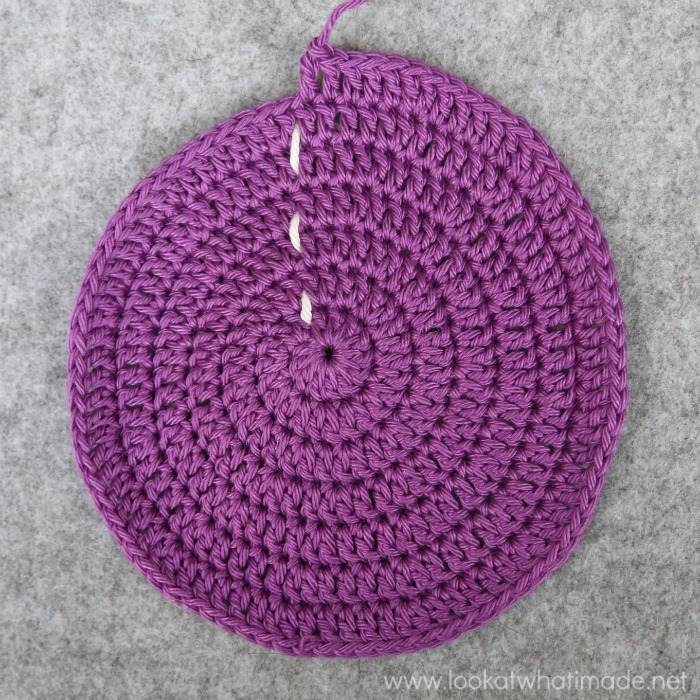
You should now see a pattern emerging. In every round, the number of stitches between increases has increased by one, with the number of increases remaining the same as the number of stitches in the first round. Continue making your rug, increasing the number of stitches between increases by one in every round. I suggest laying your rug out on the floor every 2-3 rounds to check whether it is still flat. If it is either curling or rippling, you will need to correct it before it gets worse. I will explain how to go about doing that below.
My Rug Curls – What Now?
If the edges of your rug curl up into a bowl shape, it indicates that your final round does not have enough stitches for the circumference of your circle. You will, therefore, need to add more increases.
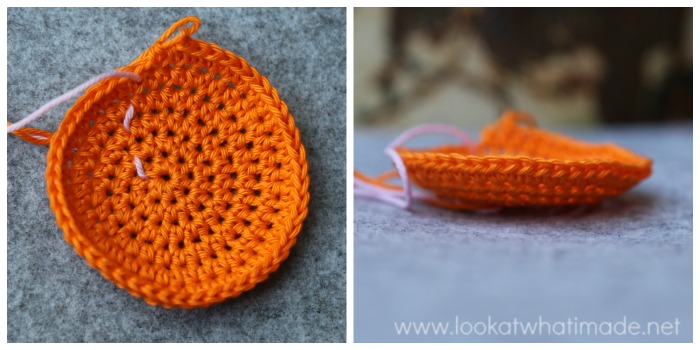
Before you do anything, though, try to flatten your work (works best if you place the rug on a carpeted surface and ‘iron’ it out with your hands). If you are not able to flatten it at all, you will need to frog (rip out) the last round or two until you are just about able to flatten it. If/when you ARE able to flatten it, continue with the instructions below.
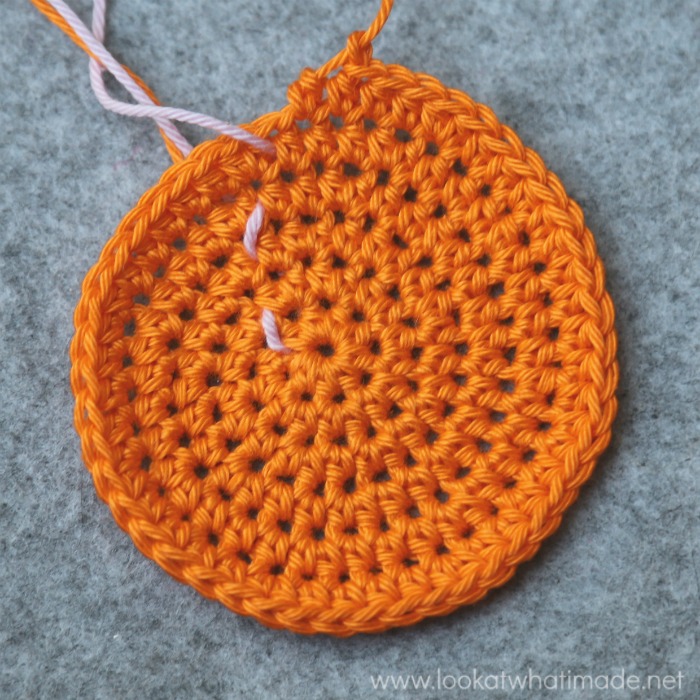
Curling Circle Flattened Out
Now double the increases for the next round only. In other words, if you made 6 increases in all your rounds so far, make 12 increases in the next round. Space these increases out evenly. In the image below, you can see the circled increases from the previous round. The arrows show the increases in the last round, with extra increases falling between the increases from the previous round.
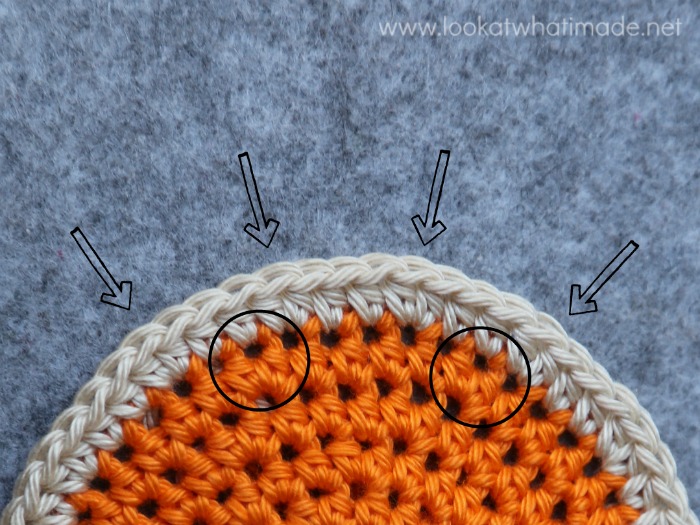
Double the Number of Increases to Flatten a Curling Crochet Circle
Check your rug again by flattening it out on the floor. If it lies flat now (which it should do), continue with your rug, reverting back to the standard number of increases per round. If it doesn’t lie flat yet, you can either do another double-increase round or frog back an extra round and try again.
Remember to check your rug every few rounds to avoid a lumpy bumpy rug!
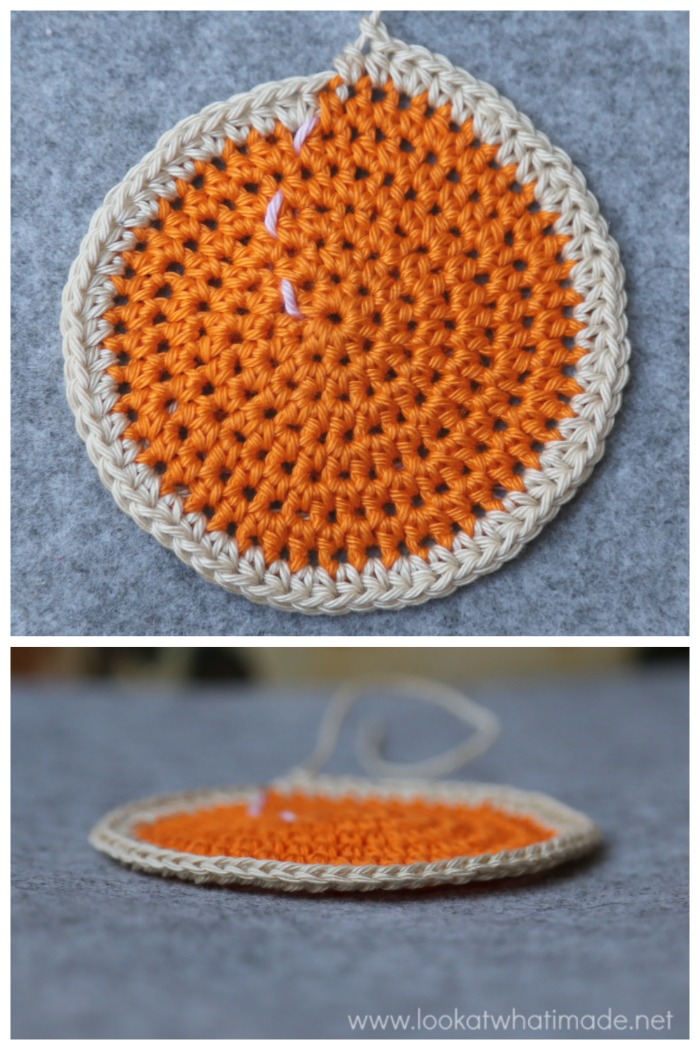
Curling Crochet Circle Fixed by Making a Double-increase Round.
My Rug Ripples – What Now?
If your rug ripples, it indicates that your final round has too many stitches for the circumference of your circle. You will, therefore, need to increase the size of the rug without adding any more increases.
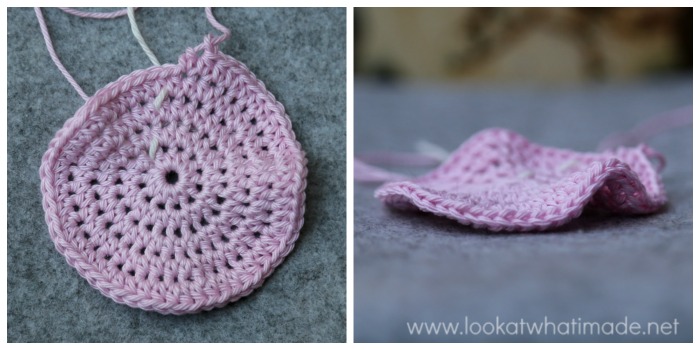
Before you do anything, though, try to flatten your work (works best if you place the rug on a carpeted surface and ‘iron’ it out with your hands). If you are not able to flatten it at all, you will need to frog (rip out) the last round or two until you are just about able to flatten it. If/when you ARE able to flatten it, continue with the instructions below.
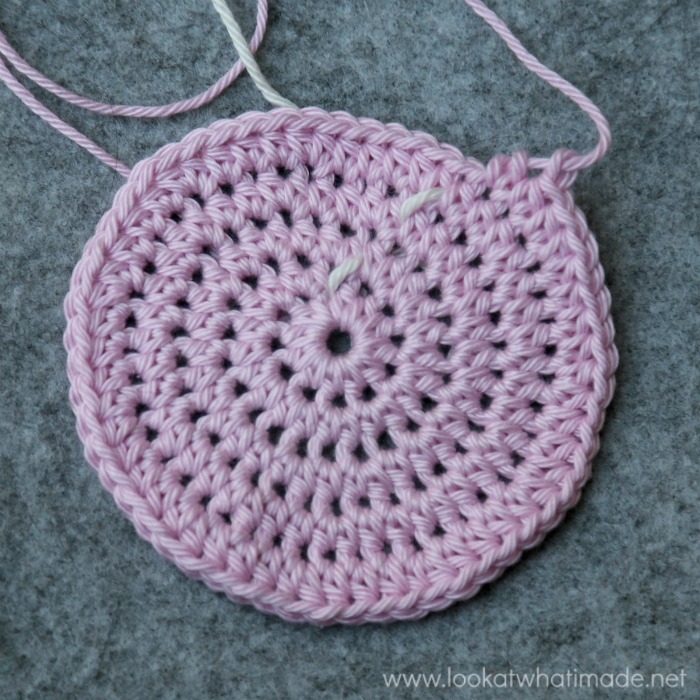
Rippling Circle Flattened Out
Now crochet the next round only without any increases. In other words, make a sc/hdc/dc in each stitch around. The stitch count for this round will be the same as for the previous round. Of the two fixes, this is by far the easiest. In the image below, you can see that the last round is a no-increase round.
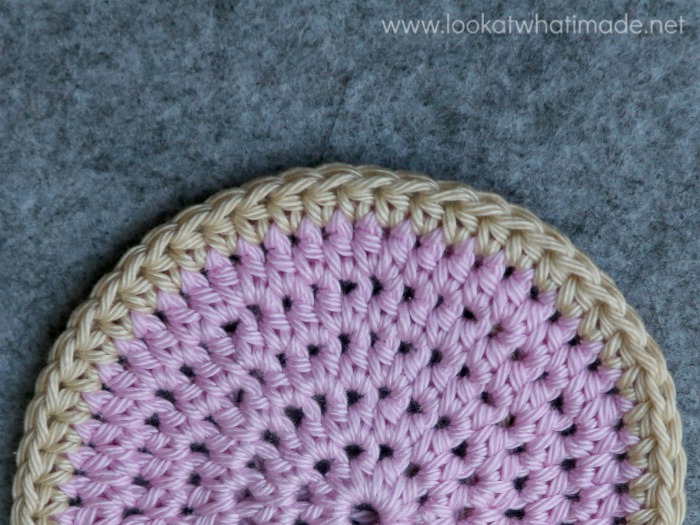
Make a No-increase Round to Flatten a Rippling Crochet Circle
Check your rug again by flattening it out on the floor. If it lies flat now (which it should do), continue with your rug, reverting back to the standard number of increases per round. If it doesn’t lie flat yet, you can either do another no-increase round or frog back an extra round and try again.
Remember to check your rug every few rounds to avoid a lumpy bumpy rug!
To Finish
When your rug is as big as you want it to be, finish off as follows:
- Single Crochet Rug: Sl st in the next st, fasten off, and work away your ends.
- Half-double Crochet Rug: Sc in the next st, sl st in the next st. Fasten off and work away your ends.
- Double Crochet Rug: Hdc in the next st, sc in the next st, sl st in the next st. Fasten off and work away your ends.
At this point, your rug is all done and ready to be used… OR you could add an edging round. I like adding edging rounds. For me, they make the rug feel finished :) I have two favourites, which I will share below.
Edging Rounds
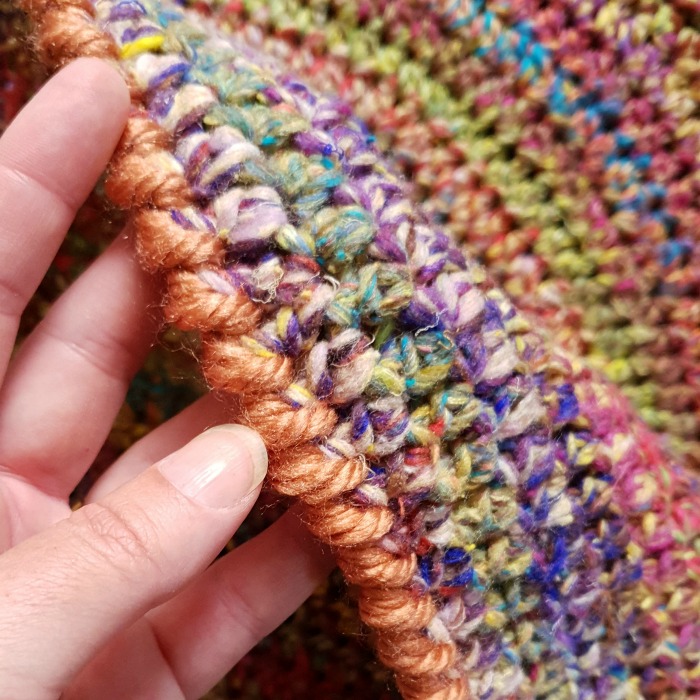
Crab Stitch (Reverse Single Crochet)
I LOVE Crab Stitches. They take a bit of getting used to, but once you get into the swing of them, they are so meditative. The main reason I use them almost exclusively as a rug edging is that they create a nice heavy edge. They take up more space (width-wise) than regular stitches, so have a tendency to stretch your work. If I know that I am going to use them as an edging, I will end my rug with a no-increase round or two so that the last rounds curl slightly. That way the crab stitches won’t make my edge go wavy.
If you are not familiar with the Crab Stitch, please see This Video Tutorial.
Back Post Double Crochet (BPdc)
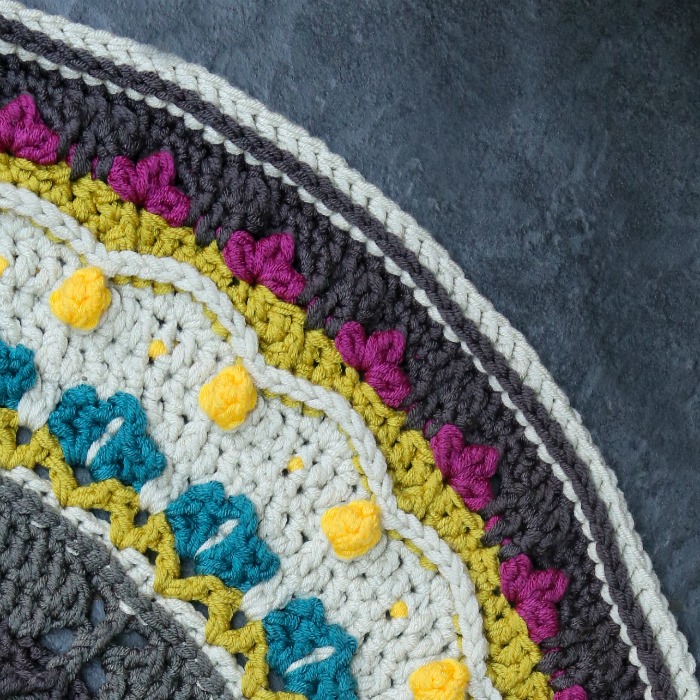
I LOVE Back Post stitches. It is rare to find a design of mine that doesn’t include them. They work really well as an edging round for rugs, with the weight of the rug pushing them down into the ground for a snug fit against the floor. The photo below shows my Camping in Cornwall Rug, which ends on a BPdc round.
If you are not familiar with BPdc, please see This Video Tutorial.
If you are concerned about your rug staying put once you’ve placed it on the floor, Interweave has some great suggestions for non-skid rug backing.
If you enjoy working with fabric yarn or multiple strands of yarn, have a look at my new book, Big Hook Rag Crochet (available in US terms by Lark Crafts on Amazon.com and in UK terms by Search Press on Amazon.co.uk). It contains 25 wonderful patterns (by a host of amazing designers). Each project is made using fabric yarn, but you can just as easily make them with multiple strands of wool/yarn.

This blog post contains affiliate links. I only link to products I personally use or would use. All opinions are my own.


