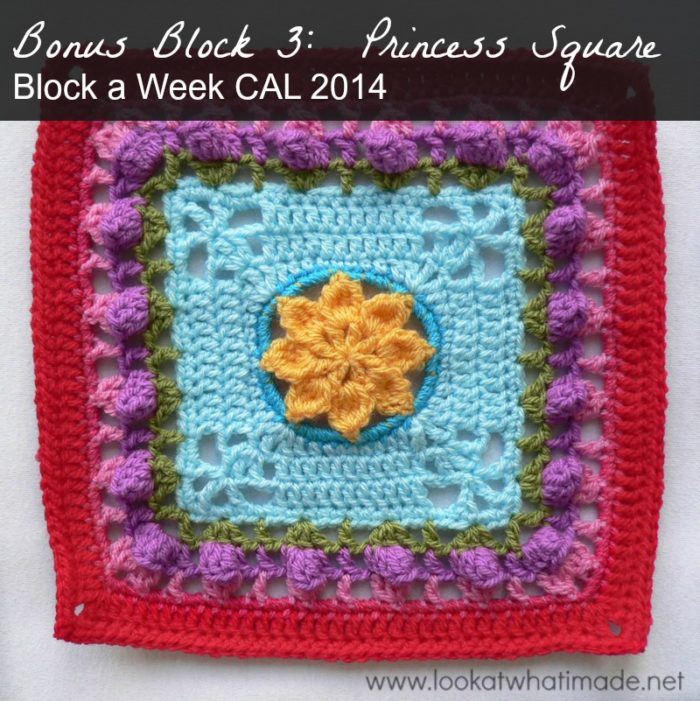
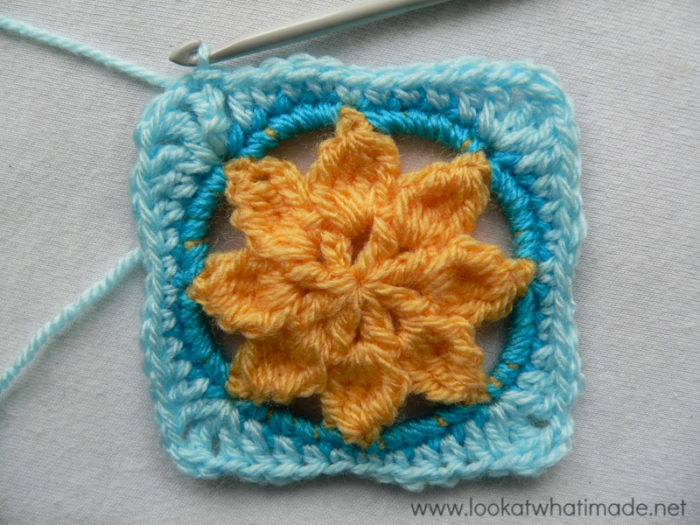
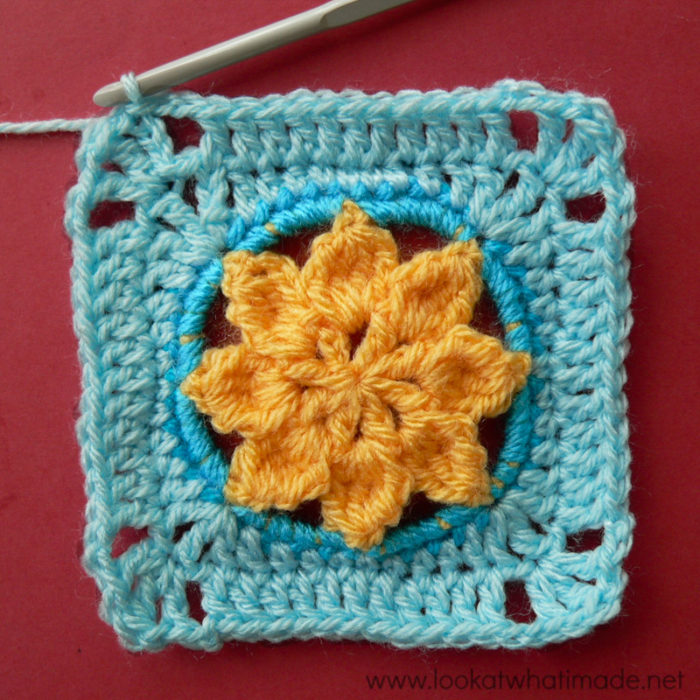
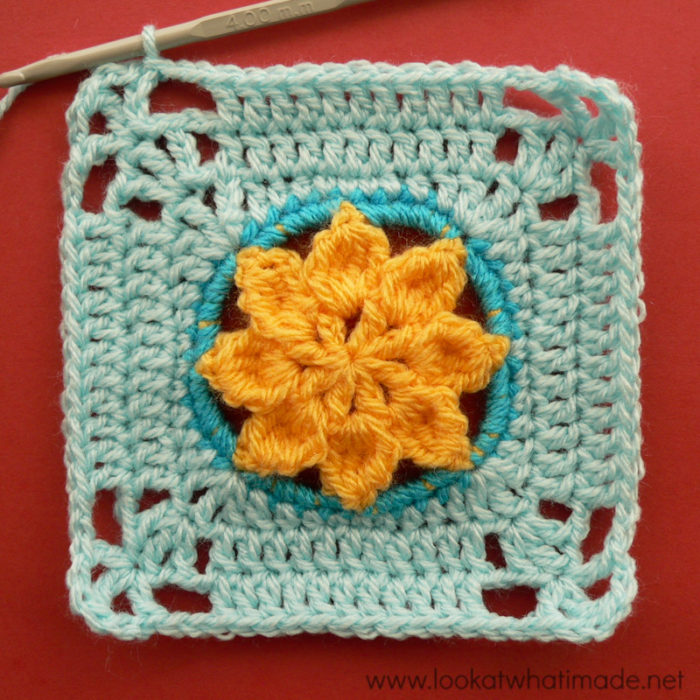
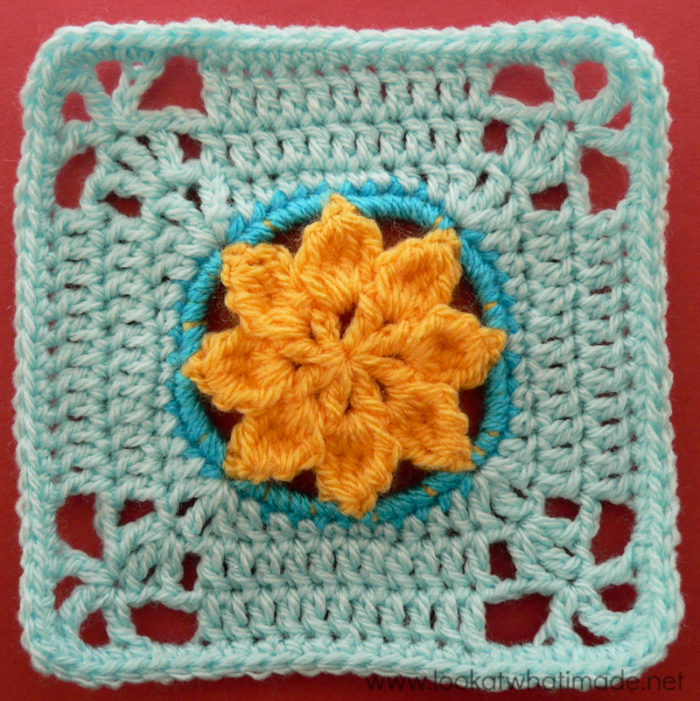
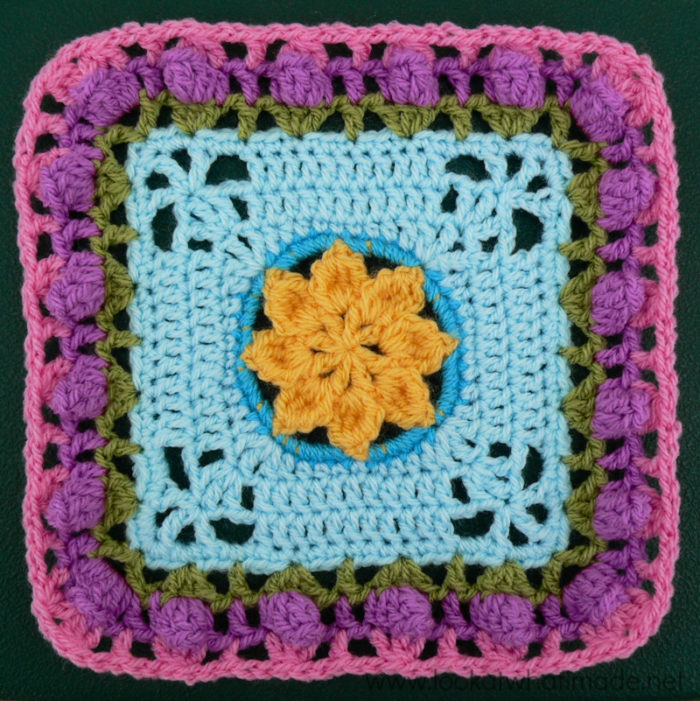
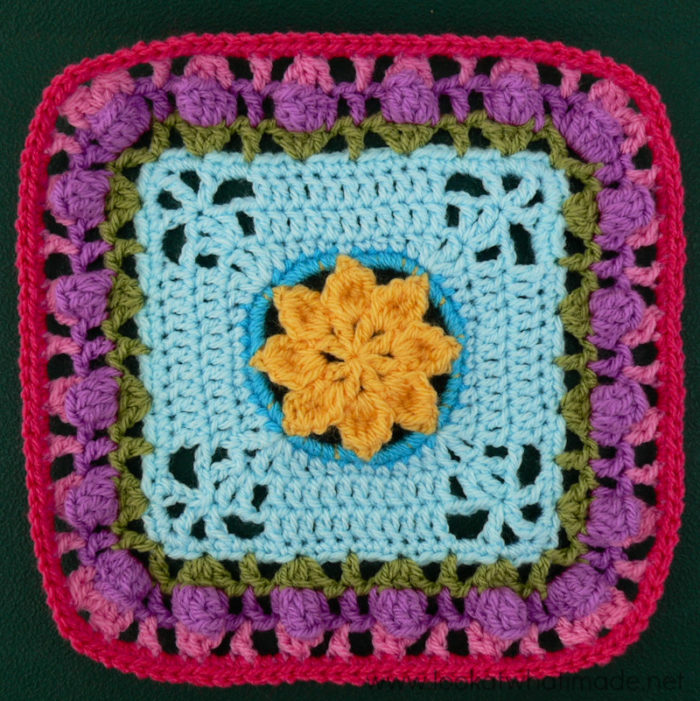
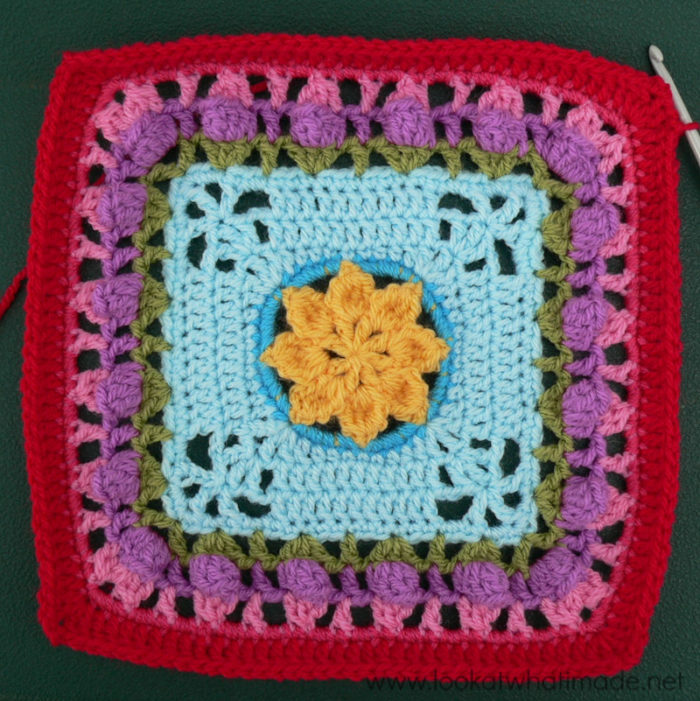
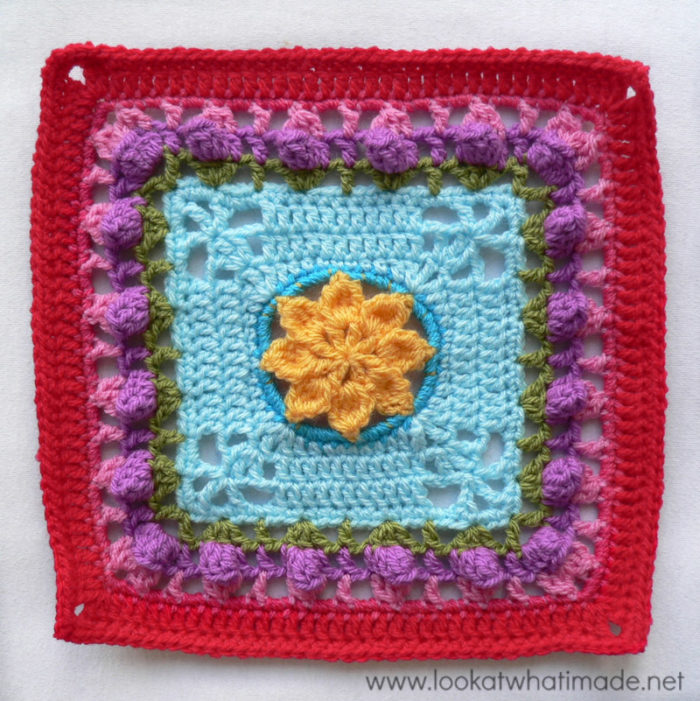
Bonus Block 3 of the Block a Week CAL (hosted by Kimberly Slifer) is Melinda Miller’s dainty Princess Square. This bonus square will bring our total number of squares up to 48, making it possible for you to either make a blanket of 6 x 8 squares, or pick and choose which ones you don’t want to make and do a 5 x 8 blanket instead (or even 6 x 7)…
If you are using the same hook and yarn for all your squares, they will not all come out the same size. I have now added a post outlining the extra rounds I added to each square to get them to the size of Block 1, which was the biggest. You can find that here.
Princess Crochet Square
{Pattern © 2013 Melinda Miller. Photo tutorial done with kind permission}
Pattern
- Available as a Free Ravelry Download.
- Melinda also has a Ravelry Group where you can share your project pictures and ask questions.
Suggested Materials
- 5.5 mm Clover Amour Crochet Hook (US I/9 UK 5)
- Worsted weight yarn
Size
- Using the hook and yarn specified, your square should be a nice even 12″ when you are done.
- Using a 4 mm crochet hook (US G/6 UK 8) and double knit yarn, as I have done, your finished square will be about 8″ big.
My Yarn and Colour Choices
I am using Stylecraft Special DK.
- Saffron (Rounds 1 and 2)
- Turquoise (Round 3)
- Sherbet (Rounds 4 – 7)
- Meadow (Round 8)
- Magenta (Round 9)
- Fondant (Round 10)
- Pomegranate (Round 11)
- Lipstick (Rounds 12 and 13)
Notes
- US Crochet Terminology used. (See this comparative chart if you need help transcribing from US to UK)
- Stitch counts have not been supplied for every round, so I have added them below.
Special Stitches
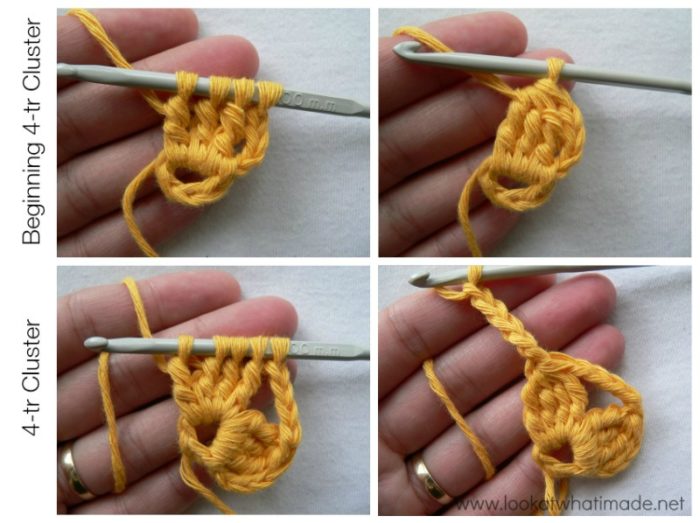
4-tr Clusters
Beginning 4-tr Cluster (beg CL): Ch 3. *Yarn over twice. Insert your hook into the same st/space and pull up a loop. (Yarn over and pull through 2 loops) twice.* Repeat from * to * 2 more times. There should now be 4 loops on your hook. Yarn over and pull through all 4 loops.
4-tr Cluster (CL): Yarn over twice. Insert your hook into the indicated st/space and pull up a loop. (Yarn over and pull through 2 loops) twice. *Yarn over twice. Insert your hook into the same st/space and pull up a loop. (Yarn over and pull through 2 loops) twice.* Repeat from * to * 2 more times. There should now be 5 loops on your hook. Yarn over and pull through all 5 loops.
Princess Square Photo Tutorial
This photo walkthrough is NOT the actual pattern and should not be used instead of the pattern, but rather in conjunction with it.
Thank you very much to Melinda Miller for giving us permission to do this photo tutorial for her Princess Square. And a special thank you to Kimberly Slifer for letting me do these tutorials and for obtaining the necessary permission.
Round 1
You can start this round with a magic ring instead of the initial ch-5 ring.
Magic Ring Instructions for Round 1
Into a magic ring: ch 4 (this counts as dc + ch 1). (Dc, ch 1) 7 times. Join to the third ch of the beg ch-3 with a sl st.
If you are not familiar with working into a magic ring, this video tutorial from Moogly is clear and easy to follow.
Please remember, when working into a magic ring you HAVE to work away your initial tail very well. If you just cut it, your whole square might unravel!
Stitch count: 8 dc’s and 8 ch-1 spaces
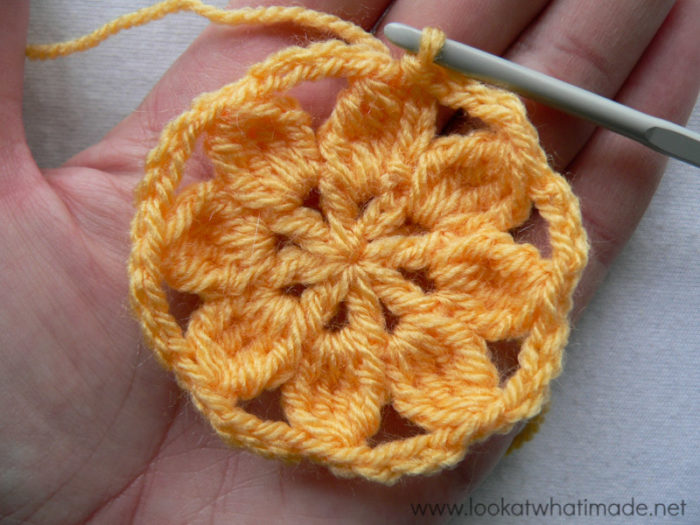
Round 2
As written.
See Special Stitches above if you need help with the cluster stitches.
Stitch count: 8 clusters and 8 ch-4 spaces
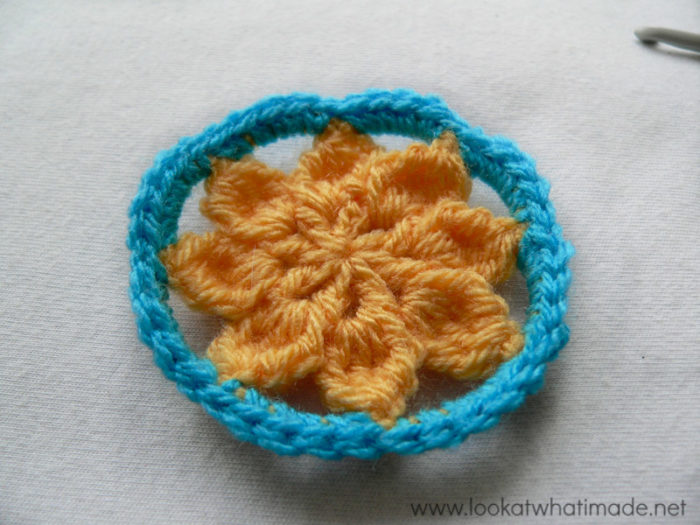
Round 3
- If you are using the same colour, sl st into the next ch-4 space. Ch 1 and make 5 sc’s into the same ch-4 space.
- If you are using a new colour, join your yarn by making a standing single crochet in any ch-4 space around. Make 4 more sc’s in the same ch-4 space.
Make 5 sc’s in each of the remaining 7 ch-4 spaces around. Join to the first sc with a sl st.
Stitch count: 40 sc’s
Round 4
- If you are using the same colour, ch 4 (this counts as your first dc + ch 1). (Tr, ch 1, dc) in the same stitch. This is your first corner made.
- If you are using a new colour, join with a standing double crochet in the first sc of any 5-sc group around. (Ch 1, tr, ch 1, dc) in the same stitch. This is your first corner made.
*Dc in the next st. Hdc in the next 2 st’s. Sc in the next 3 st’s. Hdc in the next 2 st’s. Dc in the next st. (Dc, ch 1, tr, ch 1, dc) in the next st, which will be the first sc of the next 5-sc group.* Repeat from * to * 3 more times, omitting the last corner on the last repeat. Join to the third ch of the beginning ch-4 (or the top of the standing double crochet) with a sl st.
Stitch counts:
- Total: 12 sc’s, 16 hdc’s, 16 dc’s, 4 tr’s, and 8 ch-1 spaces
- Per Side: 3 sc’s, 4 hdc’s, 4 dc’s, and 2 ch-1 spaces per side – not including the corner tr
Round 5
I suggest doing Rounds 5, 6, and 7 in the same colour as Round 4, but if you want to change colours, I have supplied the alternative start below.
If you are using a new colour, join your yarn by making a standing double crochet and ch-1 (instead of the initial ch-4) into any corner tr.
Continue as written.
You want to end up with 11 dc’s and 2 ch-2 spaces along each side, and (dc, ch 1, tr, ch 1, dc) in each corner.
Stitch count: 52 dc’s, 4 tr’s, and 8 ch-2 spaces {13 dc’s and 2 ch-2 spaces per side – not including corner tr}
Round 6
As written. If you want to use a new colour, use the same alternative instructions as for Round 5 (above).
You want to end up with 11 dc’s and 4 ch-2 spaces along each side, and (dc, ch 1, tr, ch 1, dc) in each corner.
Stitch count: 52 dc’s, 4 tr’s, and 16 ch-2 spaces {13 dc’s and 4 ch-2 spaces per side – not including corner tr}
Round 7
If you are using a new colour, start with a standing single crochet in the same stitch as the sl st join (instead of the initial ch-1, sc).
Continue as written. Make sure that you don’t accidentally forget the 3 sc’s in the corner treble. I kept forgetting to do them!
If you know that you have trouble identifying which loops belong to which stitch, consider marking the central sc of each 3-sc corner with a piece of scrap yarn so that you can find these stitches later on.
Fasten off at the end of this round and work away your tails of yarn.
Stitch count: 96 st’s {23 sc’s per side, not including the central corner sc}
Round 8
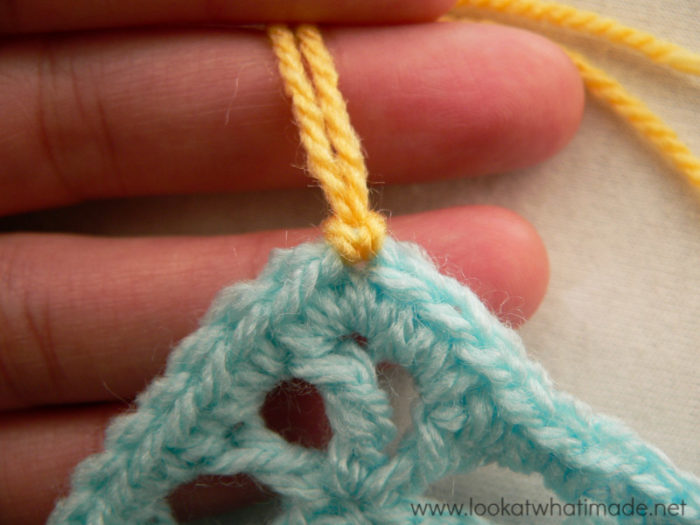
Before you start this round, identify the central sc of any 3-sc corner. Now find the third stitch after this stitch. It should be the second sc made into the first ch-2 space. This is the stitch you will be starting in.
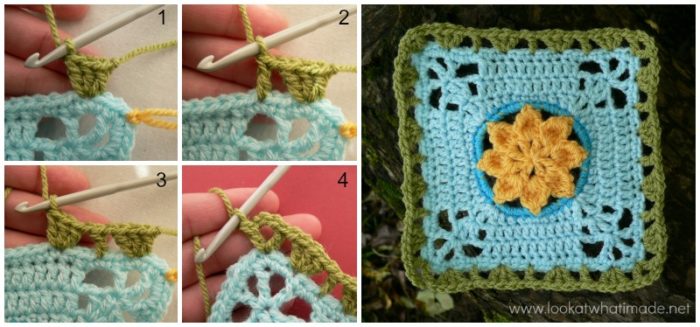
Join your yarn by making a standing double crochet in the above-mentioned stitch. Make 2 more dc’s in the same stitch (Photo 1).
*(Ch 1, skip the next 2 st’s, and dc in the next st – Photo 2. Ch 1, skip the next 2 st’s and make 3 dc’s in the next st – Photo 3) 3 times. Ch 1, skip the next 2 st’s and (dc, ch 3, dc) in the next st, which should be the central sc of the next 3-sc corner (Photo 4). Ch 1, skip the next 2 st’s and make 3 dc’s in the next st.* Repeat from * to * 3 more times, omitting the last 3-dc group in the last repeat. Join to the top of the standing double crochet with a sl st.
Stitch counts:
- Total: 68 st’s, 32 ch-1 spaces, and 4 ch-3 corner spaces
- Per Side: 17 dc’s and 8 ch-1 spaces {5 single dc’s, 4 3-dc groups, and 8 ch-1 spaces per side}
Round 9
If you are using a new colour, join your yarn by making a standing double crochet in the same stitch as the sl st join (instead of the initial ch-3), and continue as written.
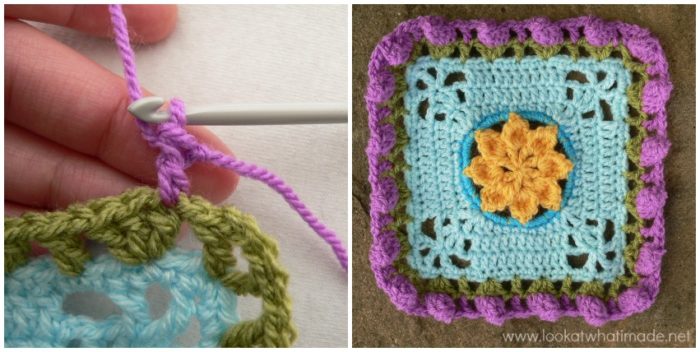
This round is straightforward, but for some reason I had to really concentrate when doing it. If you need help with the popcorn stitches, you can find a tutorial HERE.
Stitch counts:
- Total: 20 popcorns, 60 dc’s, and 40 ch-1 spaces
- Per Side: 4 popcorns, 15 dc’s, and 10 ch-1 spaces per side, not including the corner popcorn
Round 10
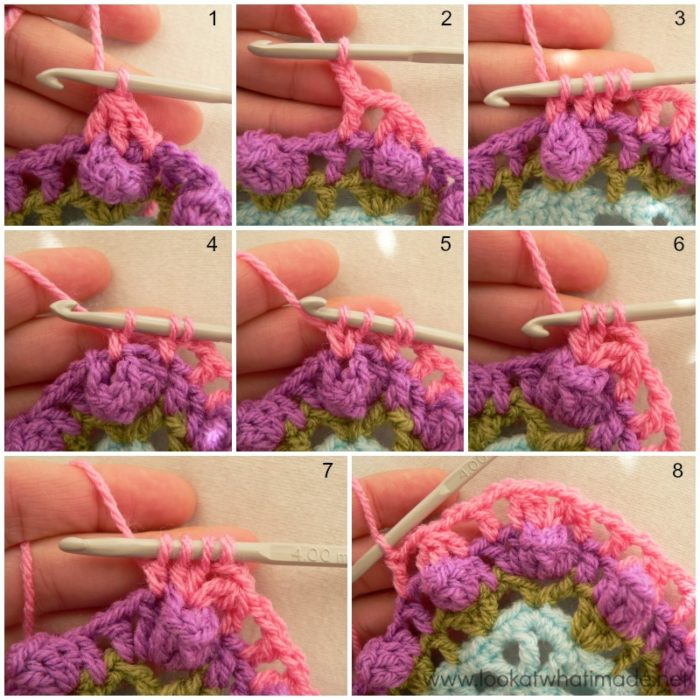
As written. If you need help making the dc3tog, see THIS TUTORIAL.
You will be making a dc3tog over each (dc, popcorn, dc) grouping from the previous round. In Photo 1 below you can see that I have taken the top of the popcorn to be the first dc of the 5-dc popcorn. I advise you to insert your hook into the hole right at the top of the popcorn instead. It makes for neater “clusters” – see Photo 4.
You will be making a single dc over each single dc from the previous round (Photo 2) and the dc’s and dc3tog’s will be separated by ch-2 spaces.
In the corners you will be making 2 modified 3-dc clusters. You will be making each 3-dc cluster over 2 st’s. The first 3-dc cluster will be made with one “leg” in the dc before the corner popcorn and 2 “legs” in the corner popcorn (Photos 4 and 5). The second 3-dc cluster will be made with 2 “legs” in the same corner popcorn and 1 “leg” in the dc immediately after the popcorn (Photos 6 and 7). Photo 8 shows the 2 modified clusters made over the 3 corner stitches.
Stitch counts:
- Total: 16 dc3tog’s, 20 dc’s, 8 modified 3-dc clusters, and 44 ch-2 spaces
- Per Side: 4 dc3tog’s, 5 dc’s, 2 modified 3-dc clusters, and 10 ch-2 spaces per side, not including the ch-2 corner space
Round 11
As written.
Stitch count: 136 sc’s {33 sc’s per side – not including central corner sc}
Round 12
As written.
Stitch count: 148 dc’s and 4 ch-2 corner spaces {37 dc’s per side}
Round 13
As written.
Stitch count: 160 hdc’s and 4 ch-2 corner spaces {39 hdc’s per side, not including central corner hdc}
I have used an Alternative Round 13 to get my final stitch count and size the same as the other squares to date. You can find the instructions HERE.

This blog post contains affiliate links. I only link to products I personally use or would use. All opinions are my own.
