I made these plant bags at the beginning of the summer when I foolishly thought I’d be able to plant some upside down tomatoes. You can just see the tomato plant peeking out beneath the closest pot.
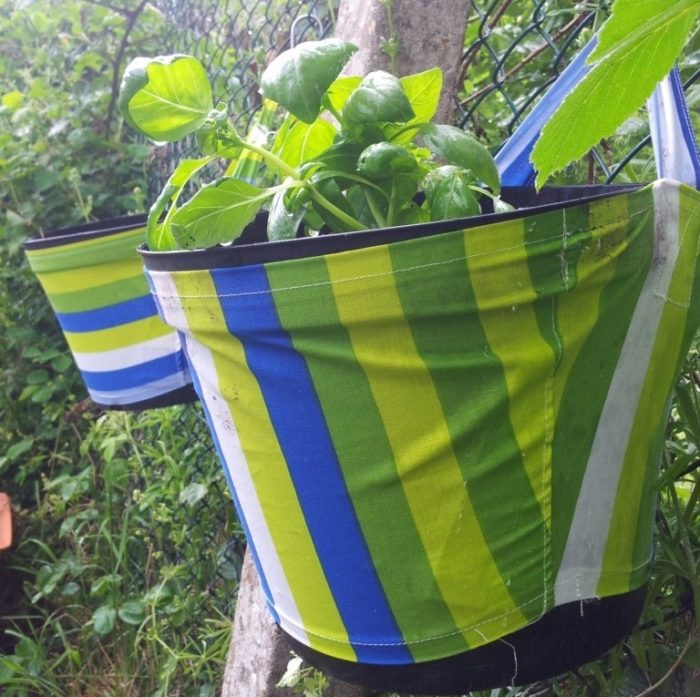
I am sure it would have worked wonderfully if the slugs hadn’t been so vicious this year. They have eaten my Borage (which they supposedly detest), my hanging plants (which they shouldn’t have been able to reach), and even my shrubs (which I was assured slugs NEVER eat).
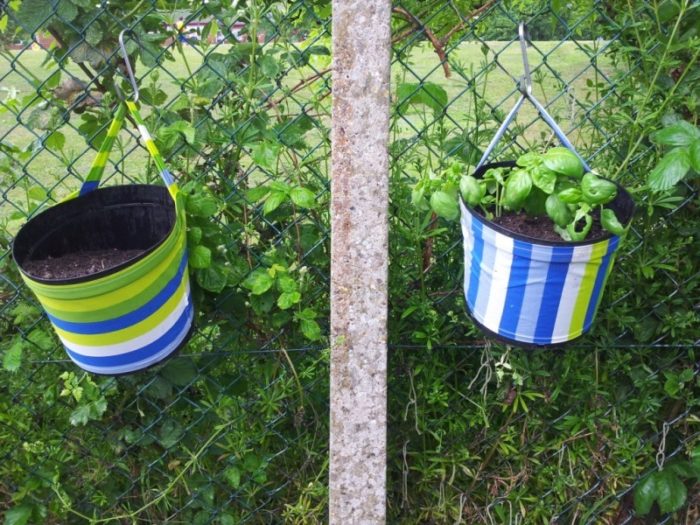
I love the idea of growing plants upside down and was crazy about the converted glass planters you can see all over the Internet. But I was also lazy (and I didn’t have the tools to drill into glass and what not).
So I made a pattern for a fabric bag that will house any standard plastic plant pot and turn it into an upside down planter.
To make one of these upside down planters (vertical garden planters), you will need the following:
- A plastic plant pot
- A drill
- A nice medium weight cotton fabric that is wide enough to go around the pot once and long enough to cover it from top to bottom and then a tiny bit more.
- A sewing machine
Prepare the pot by drilling a large hole in the center of the bottom of the pot so that you can plant your little plant in there. By large I mean more than 1cm but less than 4cm. If you make the hole too small, the stem of your plant will get squished as it grows. If you make it too large, your plant will fall out.
Now make your bag using the instructions below and then pop your pot into your bag. It should fit quite snugly. If you err, err on the side of too tight. The weight of the soil will push it down naturally over the first couple of days. If you look at my photos you can see that my bag fit perfectly when hung up, but then the pot got cheeky and started showing its bottom.
When you’ve got your pot in your bag, place a piece of wet kitchen paper over the hole in the bottom and then put a little bit of soil in it. Hang the pot up before planting the tomatoes (if that’s what you are going to plant in the bottom of the pot).
Poke a hole in the kitchen towel and gently thread the roots of your teeny tiny tomato plant through it. If you find this hard, move some of the soil out of the way. Once your tomato plant is in, pat the soil down around the roots and fill the pot up with soil. Plant a luscious herb in the top and Bob’s your Uncle!
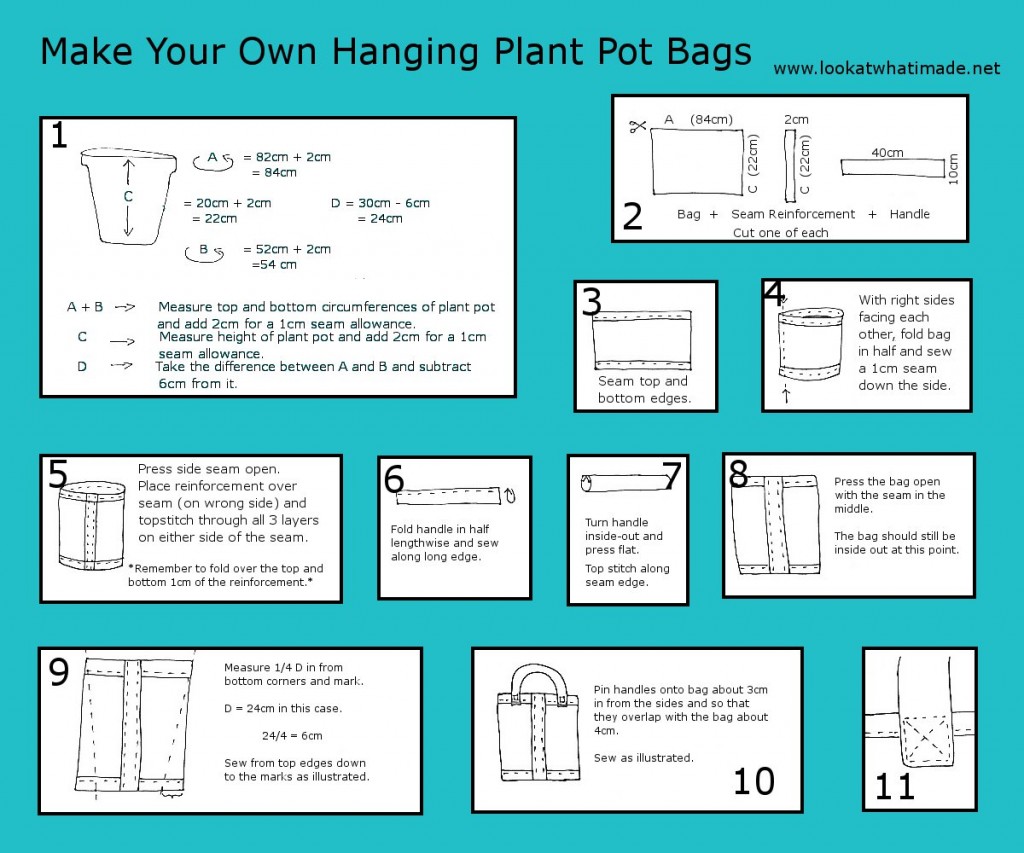
To access the instructions, just click on the image below to enlarge it.
Just in case these instructions aren’t clear enough, I have included some photos of some of the more tricky aspects. I say more tricky, but they aren’t really tricky at all.
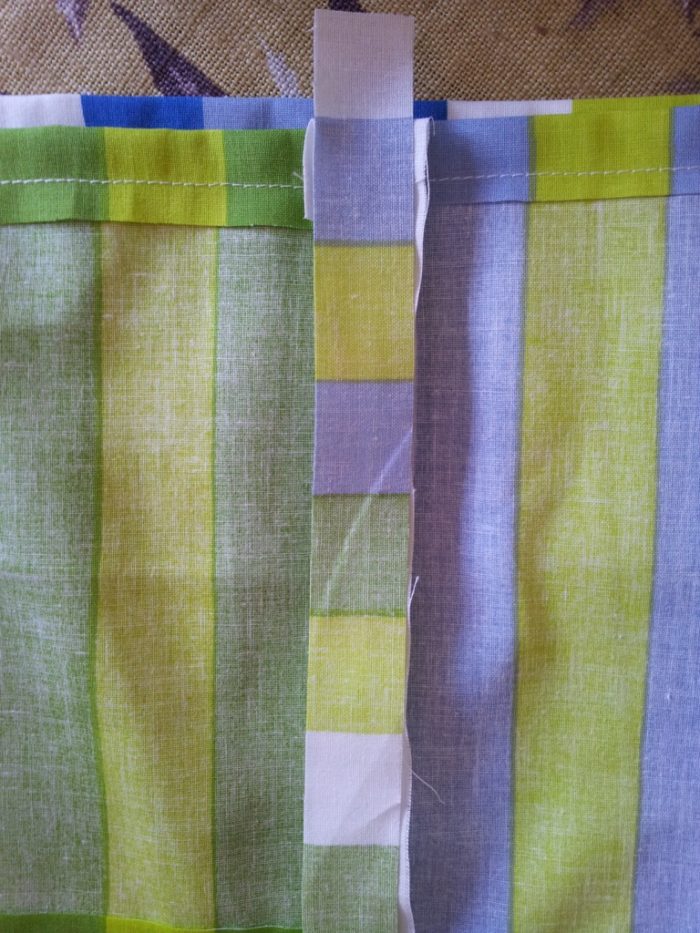
Laying the seam reinforcement strip on the seam.
You will notice that nothing has been serged. I couldn’t be bothered. The top stitching should keep your bag in good nick – as it did mine. It has been hanging all summer with nary a problem.
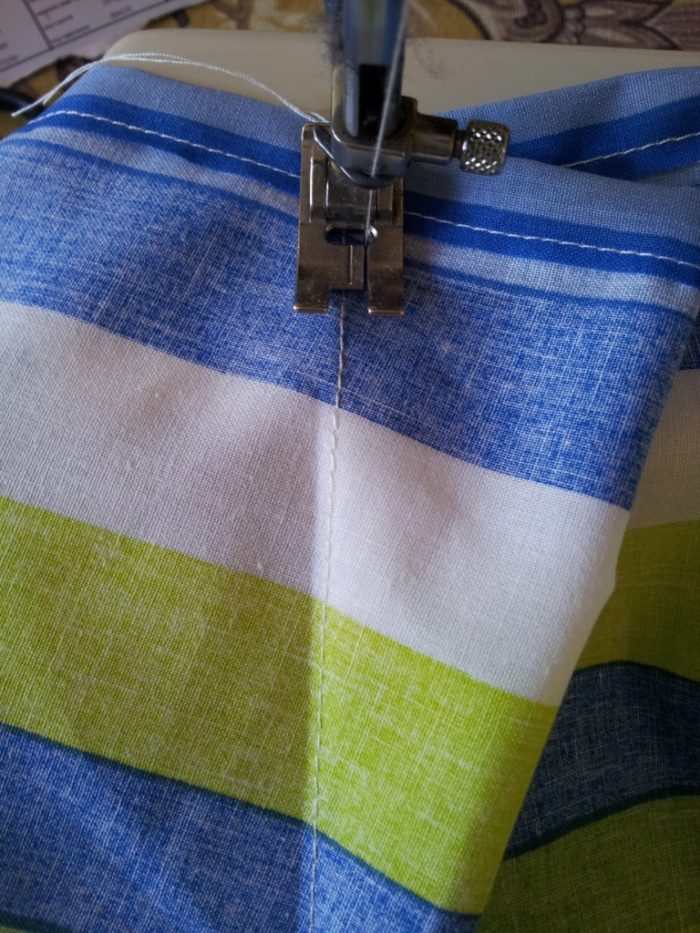
Top stitching on the outside of the seam.
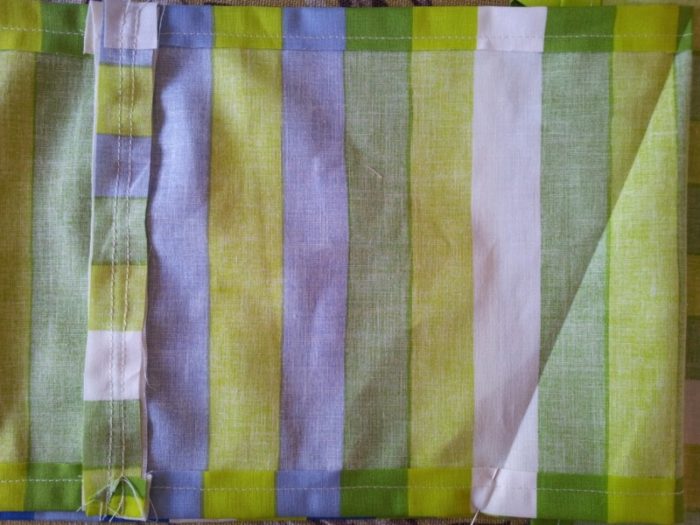
Marking the bottom corners of the bag and the seam after top stitching through it and the reinforcement.
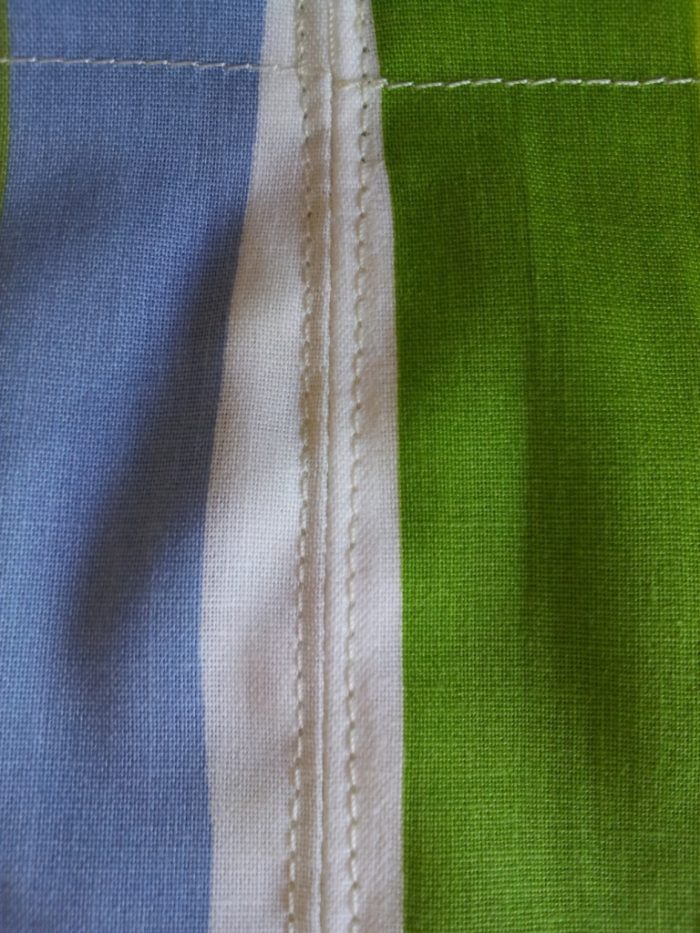
After sewing the side seams, I folded them open and added some more top stitching for added strength. This step isn’t really needed, though.

Side seam top stitched.
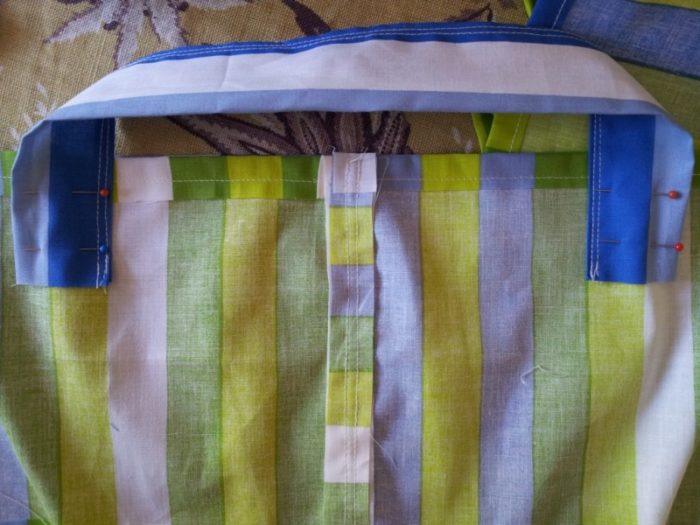
Adding the handles about 3cm from the sides of the bag and 4cm in from top edge of bag.
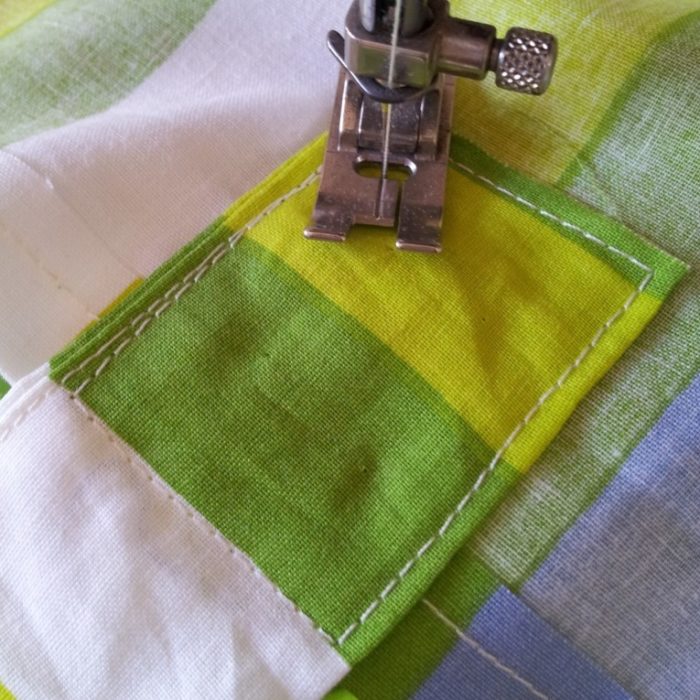
Attach the handle by sewing around it in a square.
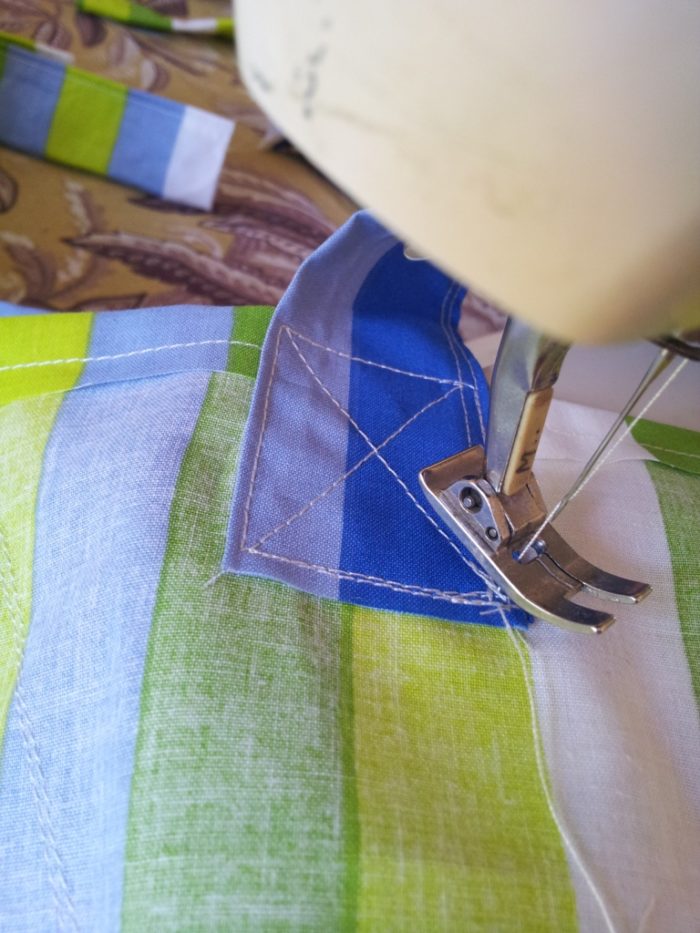
Once the handle has been attached, reinforce it by sewing across from corner to corner, then along one of the edges and back down to the opposite corner. It should look like the above picture.
I hope you have more success than I had with my upside down tomatoes!



Maria says
Excellent idea!!! Would also add colour to a balcony garden! Great way to use up cheap fabric lying around!
Dedri Uys says
Ah…I had forgotten about these planters. They lasted me 2 summers. Unfortunately the plastic containers inside them eventually became more oval than circle, but I did love looking out of my kitchen window and seeing them…