 Valentine’s Day Cupcake Topper Tutorial
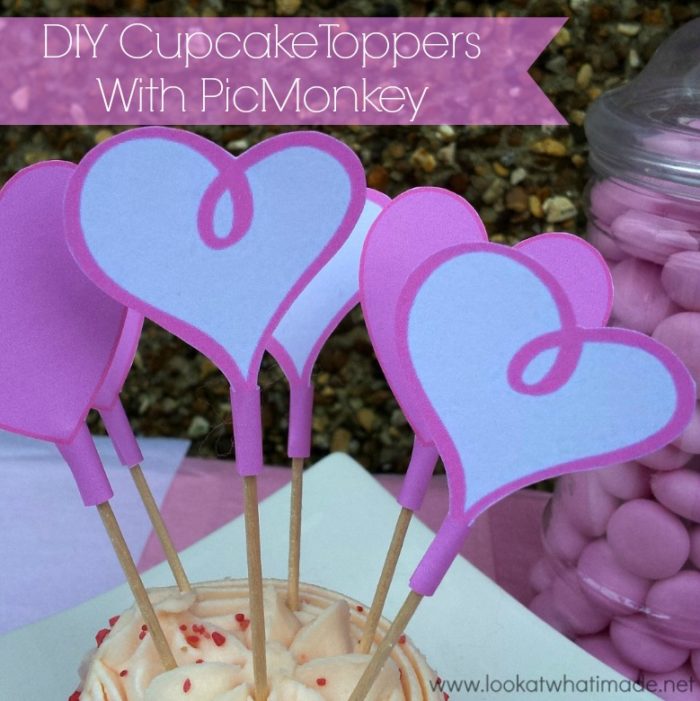
If you fancy making your own Valentine’s Day Cupcake Toppers, then you’ve come to the right place. I will show you how to design them from scratch, using PicMonkey (a free online photo editing tool) and Microsoft Word or Publisher.
These Valentine’s Day Cupcake Toppers are very basic and the idea is that you roll the “foot” of the design (which is basically a rectangle) around the top of a toothpick and glue it in place. This secures the heart to the toothpick. It can then be popped into anything you fancy, including, but not limited to, cupcakes and cake slices.

If you want some Valentine’s Day Cupcake Toppers, but…
“It’s too much work!”
“I don’t have time to read tutorials!!”
or
“Yours is fine, gimme ’em”…
Then you’re reading the wrong post. You want the one about Free Valentine’s Day Cupcake Topper Printables. All the work has been done, you just need to click and save.
For the rest of you, here follows my how-to:
“Designing” your Image in PicMonkey
(also known as nabbing an image from PicMonkey)
You can, of course, create your own blank square, but if you can’t be bothered, just use my little 200 x 200 blank square. To do that, simply click on the image below and save it to your computer.
Update: PicMonkey now has a Design Feature which gives you a blank canvas. The rest of the steps remain the same, but you no longer have to bother uploading a “blank canvas” like the square below.

Now you will need to go to PicMonkey. Once you’re there, click on Edit a Photo and upload your blank square.
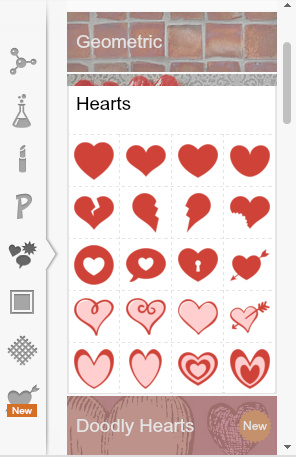
You will see a little side bar on the left with lots of pictures on it. Click on the one with the heart and the speech bubble. Clicking on Hearts will bring up these cute options…
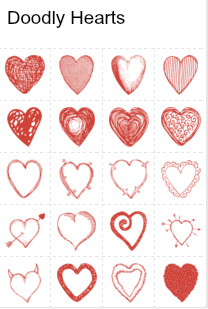
There are also some really cute Doodly Hearts:
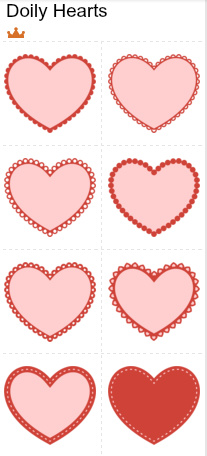
And if you are lucky enough to have a paid membership to PicMonkey, you can also choose one of these lovely Doily Hearts. See the little crown below the word Doily? That means that the doily hearts are a royal feature and can only be used by paying PicMonkers.
Next you will need to choose the design you want to use by clicking on it. It will appear on your working area. Drag it over the blank square and resize it as you see fit. Don’t panic if it disappears behind the square. Just right-click and send to the back or bring forward as you need to. I would suggest making it just smaller than the blank square.
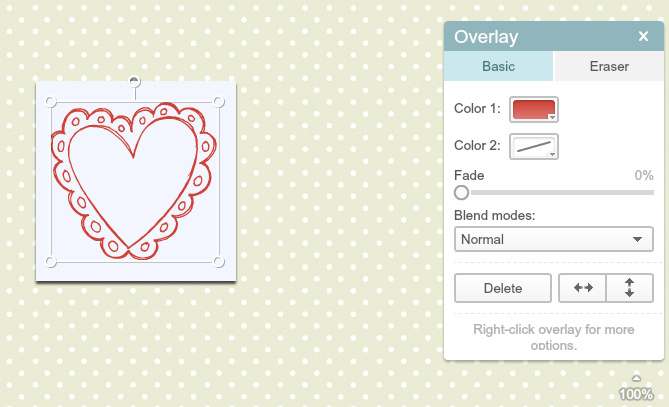
Notice the Color Overlay Box?
You can change the colours by clicking on either Color 1 or Colour 2 and selecting your desired colour from the drop-down box like so:
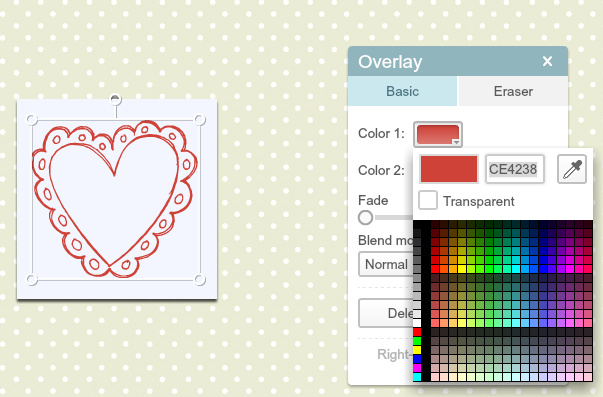
Black, white and the other usual suspects are in the very first column.
When you have chosen your colour and you are happy with your size, click on Save. It brings up this box:
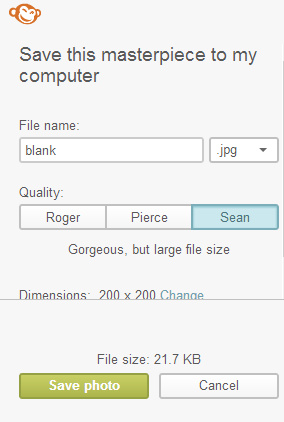
Tell it what quality you want to save your picture as (I go for Sean, he costs me all of 21 KB). Fill in the name. Save.
Adding a “foot” to your heart in Microsoft Word or Publisher
I suggest using Publisher if you have the very latest version of Microsoft Office, because I find it marginally easier than Word. But Word will work!
- Insert your little heart picture into Publisher/Word.
To do this, click on Insert in the Ribbon at the top of the page. Choose Picture. Browse, find your little heart, and insert it.
- Insert a rectangle.
To do this, click on Insert again. Click on Shapes and click on a standard rectangle.
- Change the size of the rectangle.
Double click on the rectangle. This will bring up the Drawing Tools Format menu. Change the size in the top right-hand corner. You want a 1.2 x 4.5 cm rectangle.
- Change the colour of the rectangle.
Do this by selecting the colour you want from the Shape Fill and Shape Outline drop-down menus at the top. I suggest going for the same colour as your heart.
- Marry the heart and the “foot”
Move the rectangle over the point of the heart.

Click on the heart. Ctrl + click on the rectangle. This should highlight both the heart and the rectangle. Right-click and select Group. This will “glue” the 2 pieces together.
Now copy and paste as many of these images as you want onto a page.
Save. Print. Publish as a PDF.
Cut. Roll. Glue.
Smile!
Troubleshooting
Help! The right heart is standing on the left hearts foot!

You can send individual images forward or backwards. In this instance I simply right-clicked on the image on the right…selected Order…and Send to back.
Remember to subscribe to my newsletter if you would like to be kept in the loop. You can also like my Facebook page or follow me on Bloglovin or Google+.
Happy Crafting!

