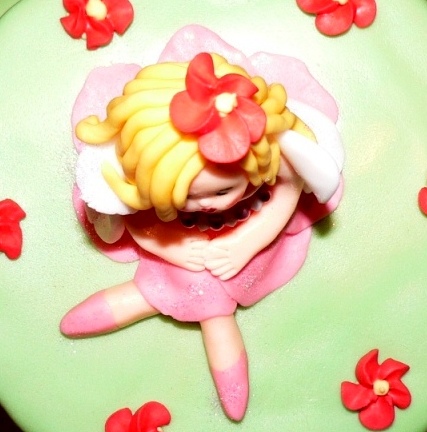
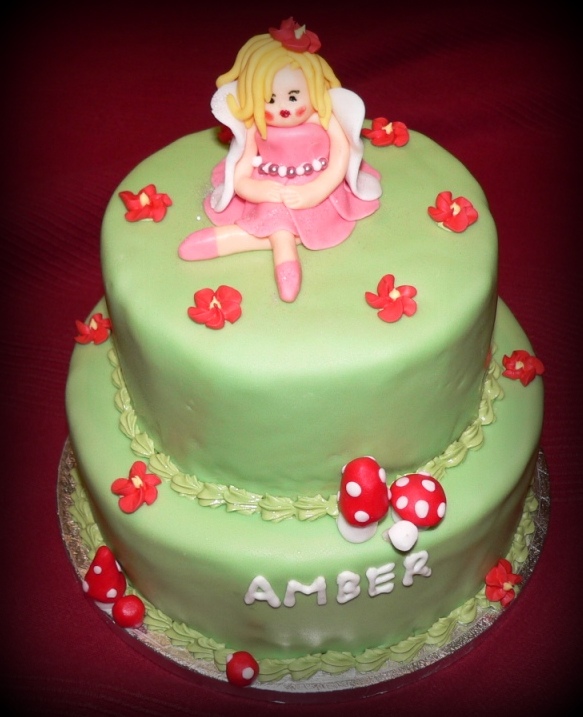
This Fairy Cake is one I made ages and ages ago and just never got around to posting. The fairy started out as a thin little ballerina-like figure and ended up a bit like a hunchback secret eater. But never mind.
I followed this tutorial to make the fairy (albeit quite loosely). It is choc-full of photos and very easy to follow.

I used this recipe for the cake and then covered it in butter cream and green fondant. The flowers were made from left-over royal icing…I can’t bear to throw royal icing away, so if I have any left over, I always squish out a few of these easy flowers to use on cupcakes and what-not.
To make the face, I simply took a piece of white gum paste and squished one of my tiny dolls face first into the gumpaste. After a day it was dry enough to use as a mould.
It was then easy enough to take a ball of flesh coloured fondant and press it into the mould lightly so that the front of the fondant took on the shape of the face. It doesn’t matter what the back looks like as you will cover it with hair anyway.
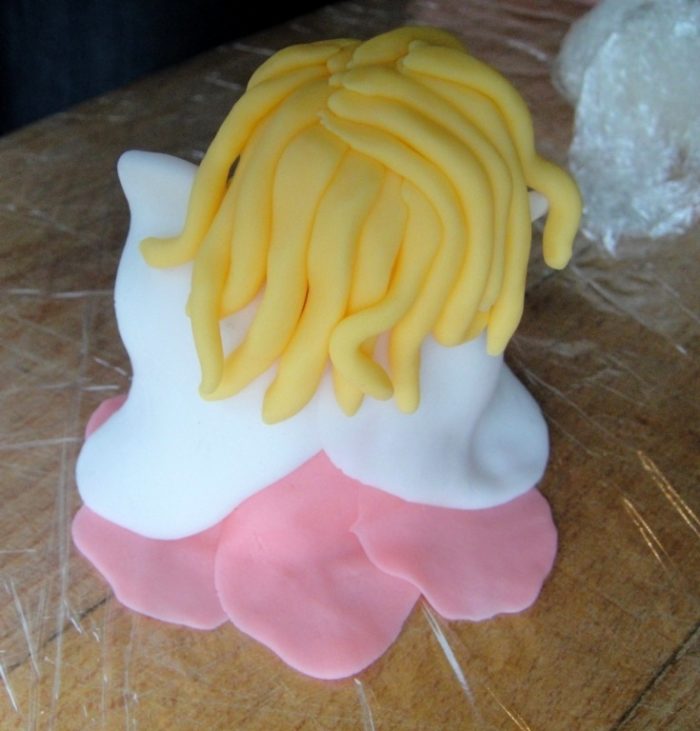
As for the rest, I will let the photos do the story-telling.
Although the fairy was a bit of a disaster and I ended up making her look more like a drag-queen than a dainty fairy, I did learn a lot from this endeavour. I believe you always learn more from your mistakes than from your successes!
So what did I learn?
- If you want your figures to dry hard and fast, use GUM PASTE, duh!
- If you don’t want your body to sag and become fat, let it dry before you plonk on the head and a whole heap of hair.
- Don’t use bright food colouring pens on a pastel fairy’s face! Especially not black!!
- Make the strands of hair thinner than spaghetti, not fat like chopsticks.
- Don’t take photos with a flash!!!!!


I did like the mushrooms, though. So at least that’s something, hey?
Happy Baking, Mama’s!
xxx dedri


