How to make a Cookie Cutter Skull
When I went to make some Halloween Cookies the other day I realized that I didn’t have any suitable cookie cutters. I though: “Hey, a tin can is metal, isn’t it? And it’s bendable. I don’t know if it’s safe, but there’s only one way to find out…”
So I got a tin of kidney beans out of the cupboard, ditched the contents (into our tummies) and washed the tin.
Then I got some pliers and…hang on. Before I get carried away, let me give you a little list of things you’ll need.
Materials for Making your own cookie cutter (Skull)
For the Skull
- Tin can – emptied, washed, and opened on both ends.
- Pliers
For the embossing stamp
- Plastic yoghurt lid
- Black Marker
- Any little round object for tracing the eyes (I used the back of a kids medicine syringe)
- Hot glue gun and glue sticks
Back to my story (or instructions, if you will)
Right, so I took the clean tin can, sans top and bottom, and my pliers, and proceeded to bend the tin can into the shape of a skull.
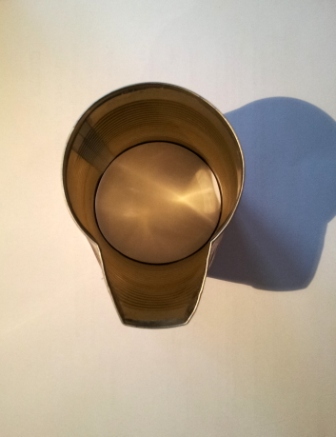
Easily done by doing the following:
Make a 90 degree bend towards the inside of the can anywhere around the circumference. This is one side of the jaw/chin. Make another 90 degree bend about 2 cm away from the first one (again bending towards the inside of the tin). Now you have your chin. To get the skull bit of the skull, make 1 more bend about 3 cm up from both corners of the chin, this time bending out instead of in. And that’s it. You can fiddle about with the shape and tweak it a little bit to get it just so.
Safety?
You might get cut – if you show blatant disregard for the fact that you are using a cut tin can. Please don’t flick your finger around the inside of the tin to see if it actually will cut you, because it will!
I was quite pleased with how my free cookie cutter came out. But let’s be honest. It could just as easily have been a light bulb or a key hole. So I decided to make an embossing stamp as well.
Making an embossing stamp for Cookies
I took a plastic yoghurt lid and traced the outline of my skull onto it.
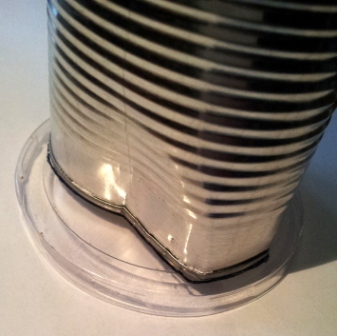
Then I drew on some eyes – using the back of a medicine syringe as a template – and a freaky mouth.
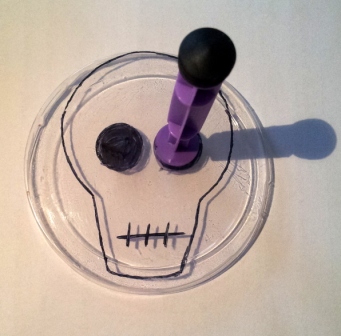
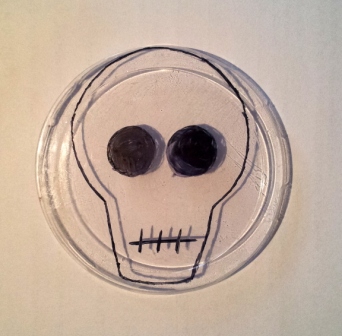
I then hauled out the hot glue gun and traced the lines of the mouth with it. You won’t get millimetre accuracy with this method as the glue spreads a bit before it cools.
The eyes were a bit more tricky, because you could see the swirls of glue where I went around and around to fill the circles up. Luckily one layer of glue wasn’t leaving enough of an indent when I tested the “stamp”, so I applied another layer on top of the first. To smooth it out I simply wet my finger and rubbed it over the glued eyes before the glue cooled completely. Magic!
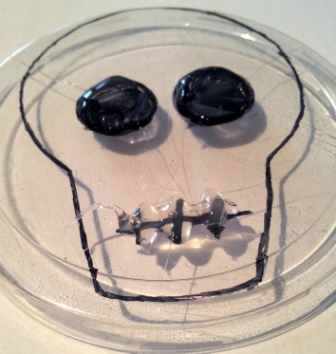
Notice all those stringy bits of glue? Just trim them off with a pair of scissors when the glue has dried completely and you’ll be fine.
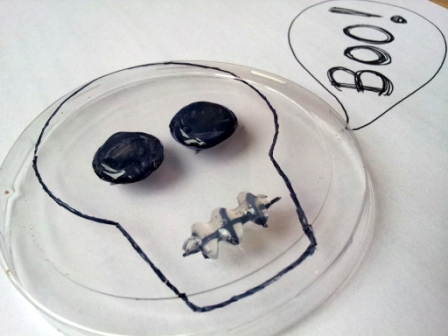
The rest of the story is pretty self-explanatory, so I’m not going to bore you with too many more words.
I used a simple shortbread recipe (1 part sugar, 2 parts butter, 3 parts flour – by weight) and baked the cookies for 12 minutes at 180 °C. If you think my cookies look a bit splotchy, it’s because they are. This bright spark used coarse sugar with grains bigger than the diamonds on her engagement ring. Lesson: never buy cheap ingredients for a blog post and always cream your butter and sugar properly.
I bent the other side of my tin into a ghost and iced the resulting cookies with white and black royal icing. If you want to know how I make my black royal icing, feel free to see my post on making black royal icing.
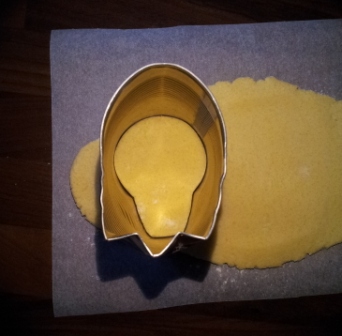
Can you see the ghost on the side of the tin closest to the camera? Looks more like a duck’s foot than a ghost, I know. Or a space rocket?
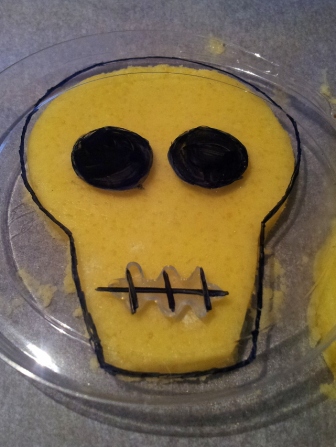
To use the embossing stamp, place it on the dough with the glued side facing down and press, press, press.
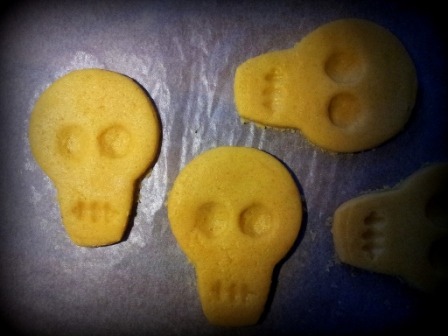

I love upcycling and I love saving money. This project ticked both those boxes and then some.
Why don’t you try making your own cookie cutters from tin cans? What design would you choose and how would you implement it?
If you liked this post, please subscribe to my Weekly Newsletter.


Chris Stevens says
Very clever!
If you have tin snips, you can cut the can down to 3/4″ or 1″ (flat part only – no corrugations.) to get a more traditional cutter. Easier to bend and can handle complicated shapes. You might be able to get one two per can (top and bottom.) You can use very heavy duty scissors that you dont care about instead of tin snips.