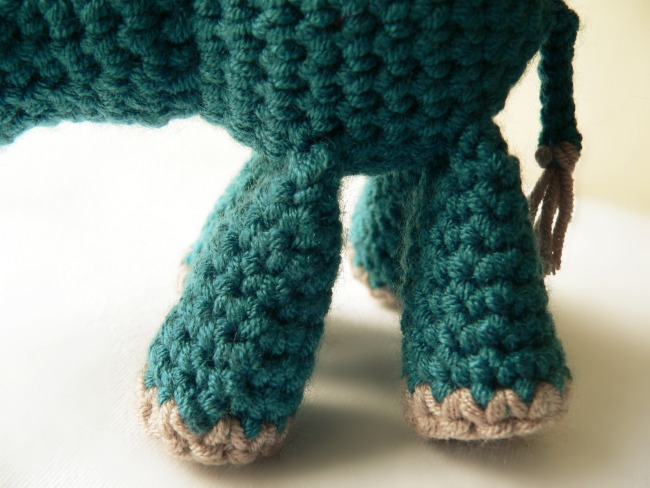
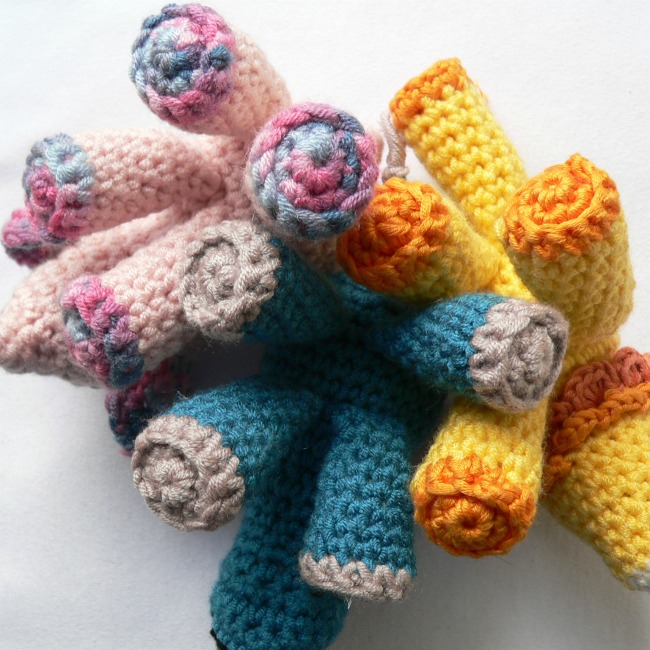
 These crochet animal legs are quick and easy to work up. On their own they aren’t worth much…after all, they are just legs…but if you like designing your own little animals, they just might come in handy.
These crochet animal legs are the ones Anette Bak and I will be using for the Little Zoo and Little Farm crochet animals.
Materials
- 4 mm Crochet Hook (US 6/G UK 8) – you can use a smaller hook if you prefer. It’s not going to make them all wonky, just smaller.
- Double knit yarn (light worsted weight /#3) OR worsted weight yarn in any 2 colour of your choosing
- Yarn needle
- Stuffing
Abbreviations
US Terminology used. (US/UK Comparison Chart)
| CC | Contrasting Colour |
| Ch | Chain |
| MC | Main Colour |
| Sc | Single crochet |
| Sc inc | Single crochet increase – work 2 sc’s in the same stitch |
| Sl st | Slip stitch |
| St/St’s | Stitch/Stitches |
| * | Repeat all instructions between asterisks the amount of times specified.For example: *Sc inc, 3 x sc* x 2 will mean sc inc, sc in the next 3 st’s, sc inc, sc in the next 3 st’s. |
Legs
(Make 4)
Please note: the legs are worked in a spiral, so make the first stitch of each round in the first stitch of the previous round.
- With MC: Ch 8. Sc in the first st of the foundation chain (so the stitch farthest away from your hook). You should now have a ring. Make 7 more sc’s, working into the remaining foundation chain stitches. Don’t turn. Just continue around, making the first stitch of each round in the first stitch of the previous round. (8)
- 8 x sc. (8)
- *sc inc, 3 x sc* x 2. (10)
- 10 x sc. (10)
- 10 x sc. (10)
- *sc inc, 4 x sc* x 2. (12)
- 12 x sc. (12)
- 12 x sc. (12)
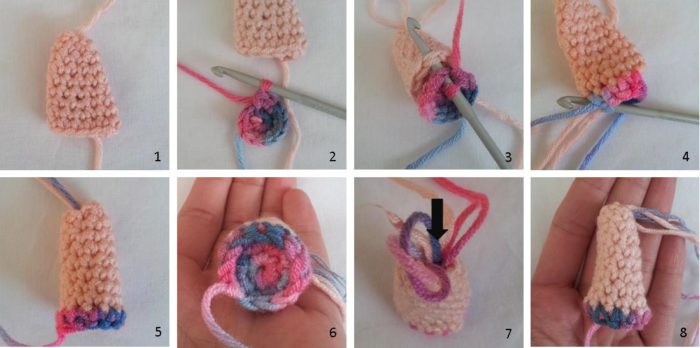
Sl st in the next st. Ch 1 and bind off (Photo 1).
Feet
(Make 4)
- With CC: Into a magic ring: Ch 1. 6 x sc. Don’t turn. Just continue around, making the first stitch of the next round in the first stitch of this round. (6)
- Sc inc in each of the 6 st’s of Round 1. (12)
Place the foot over the opening at the bottom of the leg with the right side of the foot facing you. Insert your hook into the next st of the foot AND from the inside to the outside into any stitch in the last round of the leg (Photo 3). Make a sc through both layers. Continue making 11 more sc’s through both layers (Photo 4). Sl st to the top of the first st. Ch 1 and bind off.
Work away your end tail of yarn. Here’s the lazy-girl guide to doing it: using a yarn needle, sew around the last stitch 2 times and then pull the yarn into the leg.
Use all your tails of yarn to stuff your legs with (Photo 7) and then add enough stuffing to fill the leg 3/4 of the way. I just jab the stuffing in there with the back of a bigger crochet hook. Don’t fill the leg all the way as you will need to be able to flatten the top of the leg during attachment.
If you find stuffing the leg like this too fiddly, consider placing some stuffing into your leg before closing the foot completely.
Make sure that you push the stuffing all the way down into the foot, otherwise your foot won’t be flat.
One of the ladies on Ravelry said her son kept running away with the legs while she was making little Meimei for him. He was most upset that she took his “torches” off him and attached them to the elephant’s belly…
They DO look a bit like torches, don’t they?

Remember to subscribe to my newsletter if you would like to be kept in the loop. You can also like my Facebook page or follow me on Bloglovin or Google+.
Happy Hooking!


