If you have used any of my patterns before, you’ll know that my pointy-thing of choice is a crochet hook, not a knitting needle. But I really wanted to give you knitters out there the opportunity to make a Knit Amish puzzle Ball, so on I missioned with my very basic knitting skills.
I would like to thank Barbara Giguere for her knitting advice and her lovely photos. I would also like to thank Gillian Hall, who made the pieces for my prototype puzzle ball because it took me ages to make just one wedge (although I’m getting faster). Like I said, I’m much more of a hook girl than a needle girl.
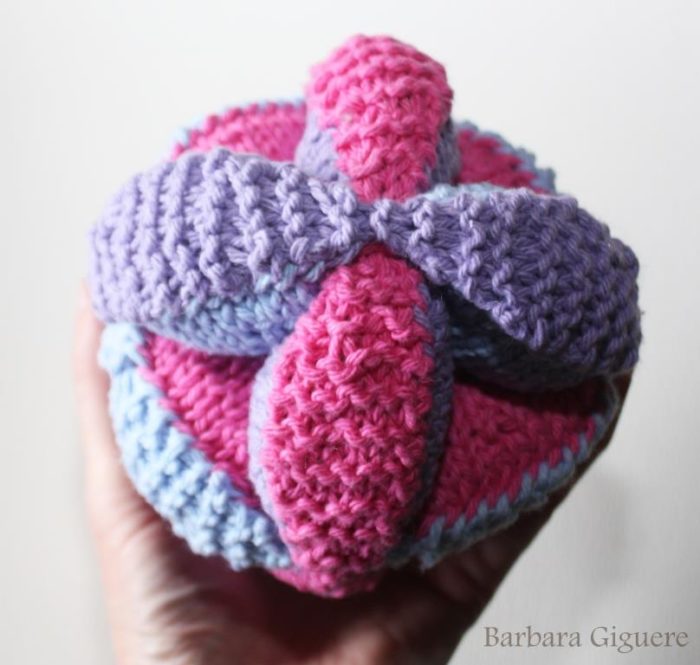
This Knit Puzzle Ball comes apart into 3 segments that can be re-assembled to form a ball. The chunky design is perfect for little hands and you can make it as plain or as colourful as you want! It is the perfect gift for any baby (or mother).
Knit Amish Puzzle Ball Pattern
©Dedri Uys 2013
Watermarked photos ©Barbara Giguere
Materials
- 4 mm Knitting Needles
- Bulky/Chunky yarn in contrasting colours
- Yarn Needle
- Stuffing
Abbreviations
- K – Knit
- Kfb – Knit front and back increase (so knit into the front of the stitch AND into the back of the stitch to increase)
- K2tog – Knit two together
- P – Purl
Instructions
Wedges
Make 12
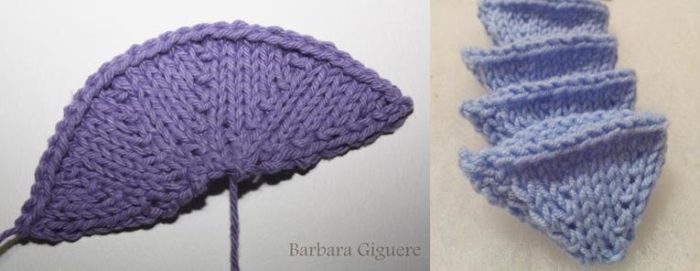
These instructions will yield a half-circle which will be folded in half and sewn together to form a wedge. Your half-circles might not look very half-circlish, but that’s ok. They will be fine when they are stuffed.
Using the long-tail cast-on method, cast on 3 sts.
- Kfb, k1, kfb (5)
- P5 (5)
- Kfb x 5 (10)
- P10 (10)
- *Kfb, k1* x 5 (15)
- P15 (15)
- *Kfb, k2* x 5 (20)
- P20 (20)
- *Kfb, k3* x 5 (25)
- P25 (25)
- *Kfb, k4* x 5 (30)
- P30 (30)
Bind off.
If you are familiar with knitting in the round, you can always eliminate the side seam by working rows 1-12 in the round on double pointed needles. This is probably stating the obvious, but if you do work in the round, you will knit every row instead of knitting one and purling one.
Fold the wedge in half (with right sides together) and sew the open side of the wedge together with a running stitch. Before turning the wedge right-side out, mark the opposite fold with a pin or a piece of scrap yarn. This isn’t necessary, but might help you when you come to sew the wedges to the lids. 
Wedge lids
You will repeat rows 1-22 twelve times in batches of 4.
Using the long-tail cast-on method, cast on 2 sts.
Row 1: K2. (2)
Row 2: As Row 1.
Row 3: Kfb twice. (4)
Row 4: K4. (4)
Rows 5 and 6: As Row 4.
Row 7: Kfb, k2, kfb. (6)
Row 8: K6. (6)
Rows 9 – 16: As Row 8.
Row 17: K2tog, k2, k2tog. (4)
Row 18: K4. (4)
Rows 19 and 20: As Row 18.
Row 21: K2tog twice. (2)
Row 22: K2. (2)
When you get to the end of Row 22, start again at Row 1 and repeat the whole pattern 3 more times. You should end up with a chain of 4 lids. When you have your chain of 4 lids, bind off.
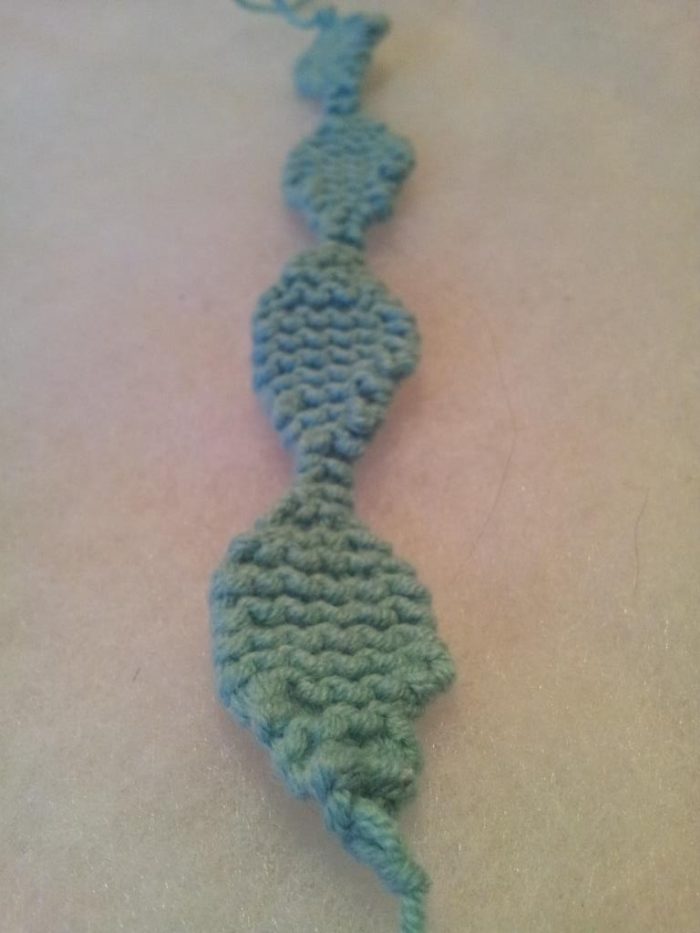
Make 2 more chains so that you end up with 3 chains, each containing 4 lids.
Assembly
If you have made the Crochet Amish Puzzle Ball before, you will be familiar with how the wedges should be attached to the wedge lids. If you have never made one of these, I will try my best to explain it to you in simple terms. But if you get confused, or need a bit more clarity, have a look at my Crochet Amish Puzzle Ball Instructions.
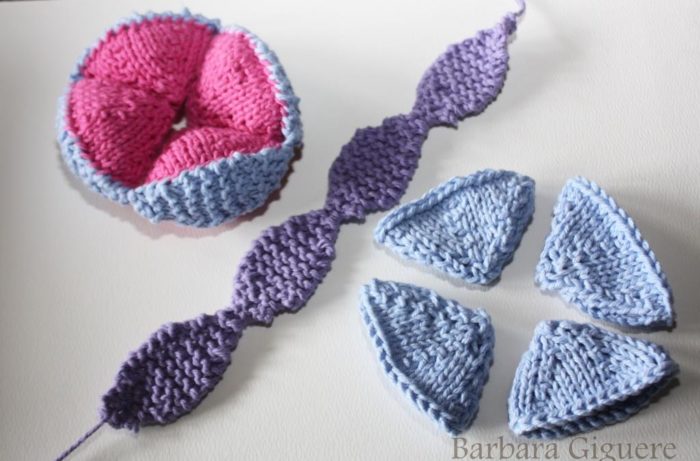
You basically want to attach 4 wedges to each chain of lids. You can do this in a number of ways.
Remember the 4:3 ratio of rows:stitches. This basically means that you need to attach 4 wedge lid rows to every 3 stitches on the bound-off edge of the wedge.
Edging
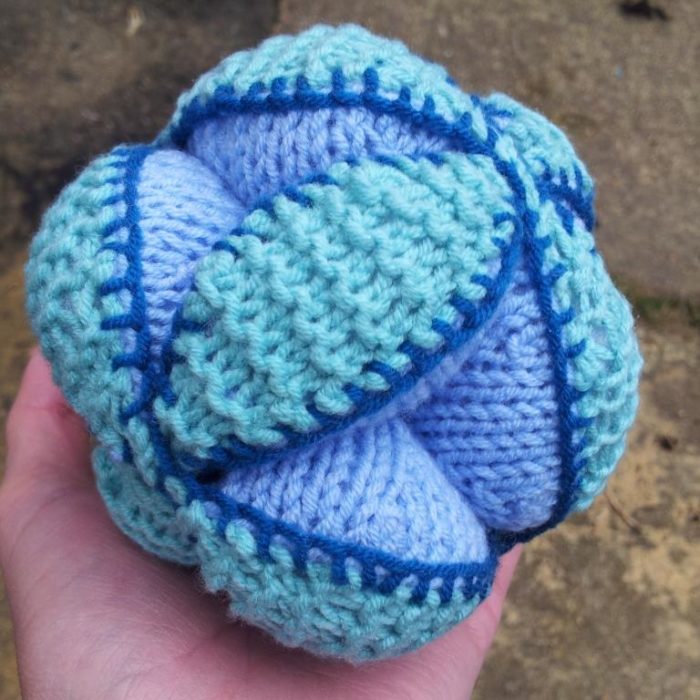
1. Blanket Stitch Edging
Use a contrasting colour.
Place one of the wedges behind the first lid of the chain (right sides facing out) so that the lid covers the opening of the wedge. Sew one side of the wedge opening and one side of the wedge lid together using a blanket stitch. Use the pin/stitch marker as a guide.
When you get to the end of the first lid, attach the 2nd lid to its wedge in the same fashion. Continue until you have sewn one side of all 4 lids/wedges. Stuffing as you go, sew the other side of each wedge and lid together. When you get to the end, use any of the tails of yarn (whichever will be least conspicuous) to attach the first lid to the last lid to form a ring/segment. Do this for all 3 “segments”.

2. Whip Stitch Edging
Use lid colour.
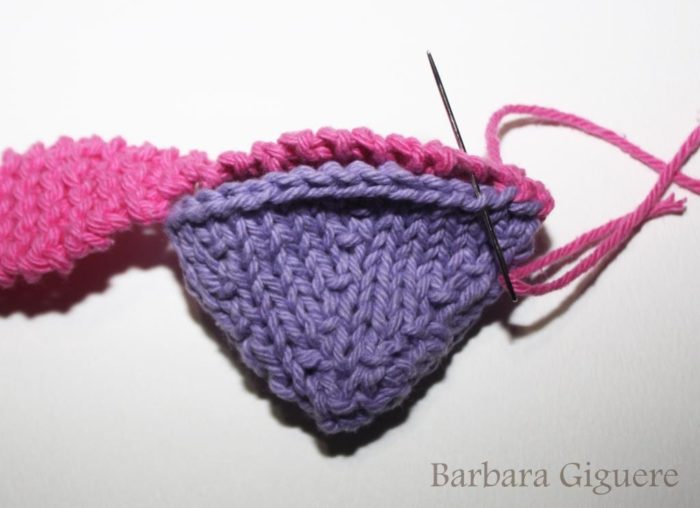
Place one of the wedges behind the first lid of the chain (right sides facing out) so that the lid covers the opening of the wedge. Sew one side of the wedge opening and one side of the wedge lid together using a whip stitch. Use the pin/stitch marker as a guide.
Here Barbara taught me something I didn’t know. If you want a neat finish, work into the bottom loop only of each st around the bound-off edge of the wedge.
When you get to the end of the first lid, attach the 2nd lid to its wedge in the same fashion. Continue until you have sewn one side of all 4 lids/wedges. Stuffing as you go, sew the other side of each wedge and lid together. When you get to the end, use any of the tails of yarn (whichever will be least conspicuous) to attach the first lid to the last lid to form a ring/segment.
Do this for all 3 “segments”.
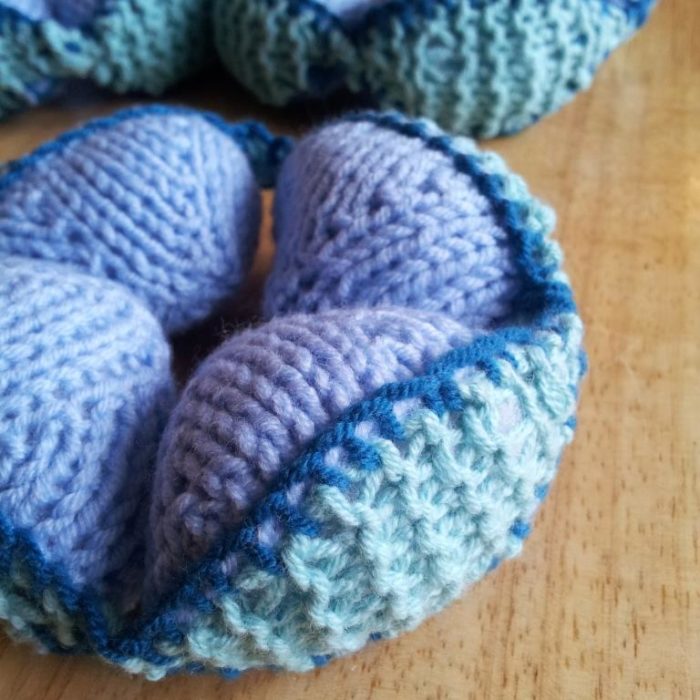
If you prefer, you can completely sew each wedge to its lid before moving on to the next one (see photos below). Both of these methods have their pros and cons. You’ll just have to figure out what works for you :)

3. Crochet Edging
Use a contrasting colour.
If you are looking for a bit of definition on the edges of your wedges, this is the method for you.
Place one of the wedges behind the first lid of the chain (right sides facing out) so that the lid covers the opening of the wedge. Insert your hook into the first row of the lid and the first st of the last round of the wedge and make a sc. Sc through the next 2 rows and st’s, working along the side of the lid that is furthest away from you. (See the picture below of the crochet edge on the Cochet Puzzle Ball)
Skip a st and make 3 more sc’s. (You will want to skip every 4th st on the bound off edge to make the lid and wedge line up.)
Continue in this fashion until you have made a sc into every row of the lid.
When you get to the end of the first lid, attach the 2nd lid to its wedge in the same fashion. Continue until you have worked one side of all 4 lids/wedges. Stuffing as you go, attach the other side of each wedge and lid in the same fashion. When you get to the end, ch 1 and bind off. Use the tail of yarn attach the first lid to the last lid to form a ring/segment.
Do this for all 3 “segments”.
“Building” Your Puzzle Ball
Here’s a little hint (this IS a puzzle, after all). This is how the first 2 segments go together. And because I’m nice, I’ll let you see it from two different angles. You just have to figure out where the third segment goes…and if you really get stuck, Google it :)
Thank you to all the facebook ladies who helped me out by testing the pattern for me!
I hope you have fun making your Knit Amish Puzzle Ball. If you get stuck, just holler! And remember to have a look at my Crochet Amish Puzzle Ball and all my little Amamani critters (those will be the puzzle ball animals).


Ashley says
I love this! So easy to make and so fun. Do you think you’ll be designing any knitted versions of the animals any time soon?
Dedri Uys says
Hi Ashley. I am corroborating with another lady on the knit patterns. But to be honest, most of them don’t lend themselves to knitting as the knit puzzle ball just isn’t as sturdy as the crochet one, making it difficult for the 4-legged animals to stand up and stay up.
But keep your eyes peeled…you never know x