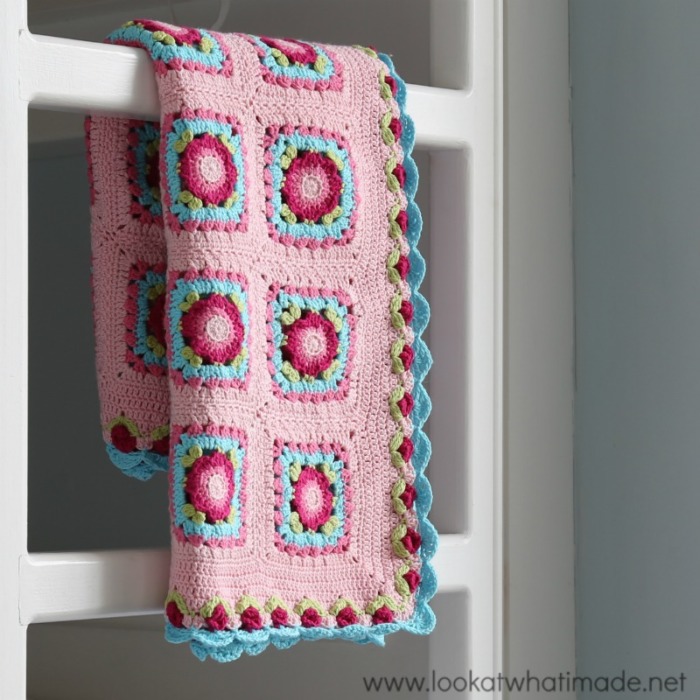
After a whole month of teasing, I am finally going to tell you how to make the Lydia Blanket. Made from Scheepjes Cotton 8, it is light and summery and very pink! This blanket is a baby blanket, but you can easily add more squares to make it bigger.

Materials
- Scheepjeswol Cotton 8 (4 ply/#2) in 5 shades (see Yardages and Yarn Packs below)
- 3.25 mm Clover Amour Crochet Hook (US D/3 UK 10)
- 3.5 mm Clover Amour Crochet Hook (US E/4 UK 9) – last round of border only
Yardages and Yarn Packs
Yarn packs are available from Wool Warehouse (includes printed pattern), Deramores, and Loremar. For a full list of Scheepjes stockists, visit Scheepjes (NL).
| Yardages (in meters) | |||||
| Scheepjes Cotton 8 | Light Pink (718) | Pink (719) | Fuchsia (720) | Light Green (642) | Light Turquoise (622) |
| Squares | 528 | 288 | 96 | 120 | 168 |
| Joining | 75 | ||||
| Border | 235 | 0 | 85 | 58 | 76 |
| Total meters | 838 | 288 | 181 | 178 | 244 |
| Total grams | 246 | 85 | 53 | 53 | 72 |
| Total skeins | 5 | 2 | 2 | 2 | 2 |
Colours Per Round
| Lydia Squares | Rose Border | ||
| Round 1 | Light Pink | Base Round | Light Pink |
| Round 2 | Pink | Round 1 | Light Pink |
| Round 3 | Fuchsia | Round 2 | Light Pink |
| Round 4 | Light Green | Round 3 | Light Pink |
| Round 5 | Light Turquoise | Round 4 | Light Green |
| Round 6 | Pink | Round 5 | Fuchsia |
| Round 7 | Light Pink | Round 6 | Light Pink |
| Round 8 | Light Pink | Round 7 | Light Blue |
| Round 8 | Light Blue | ||
Gauge
Using the suggested hook and yarn, each square should be just over 10 cm (4″) big.
Size
95 cm (37”) x 72 cm (28”)
Crochet Lydia Blanket Pattern
© Dedri Uys 2016. All Rights Reserved.
- You can add this pattern to your Ravelry Queue HERE.
- Dutch Translation by Dianne Baan from Haakdingen.
Making the Lydia Squares
In order to make the Lydia blanket, you will need to make 48 Lydia Squares. You will need to add an extra round (Round 8 below) to each square.
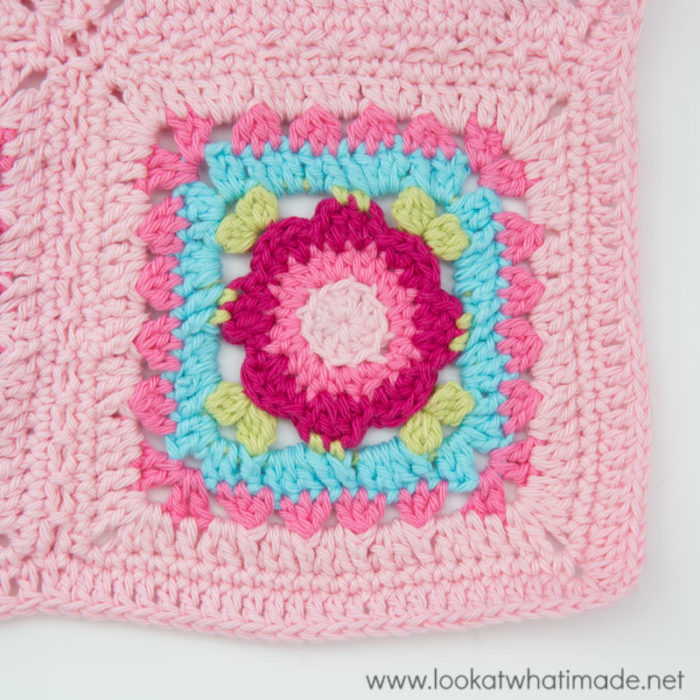
Rounds 1 – 7: Follow the pattern for the Lydia Square HERE, using the colours specified above in Colours per Round.
Round 8: Sl st your way to the ch-2 corner space. (Ch 1, sc, ch 2, sc) into the same ch-2 corner space. Sc in each of the 22 st’s across. *(Sc, ch 2, sc) in the corner space. Sc in each of the 22 st’s across.* Repeat from * to * 2 more times. Join to the first sc with a sl st. Fasten off and work away your tails of yarn. {24 sc’s per side}
Joining the Squares
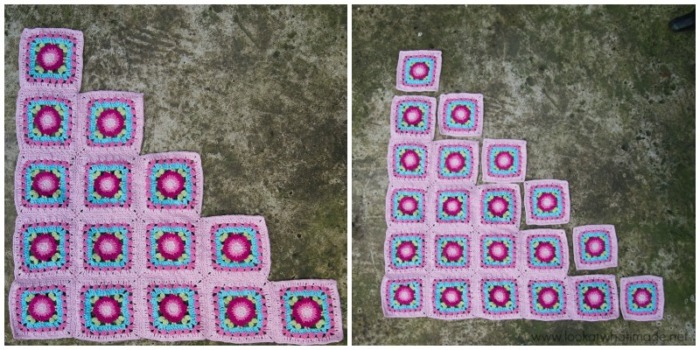
Once you have made all 48 squares, join them to each other using Light Pink. You want to end up with a grid of 6 by 8 squares. You are free to use any joining method you prefer. I used the (Sc, Ch 1, Skip 1) method my granny taught me. You can find a tutorial for that HERE. You will notice that it is a diagonal joining method and I much prefer it, because it leaves the least amount of ends to sew in!

Adding the Rose Border
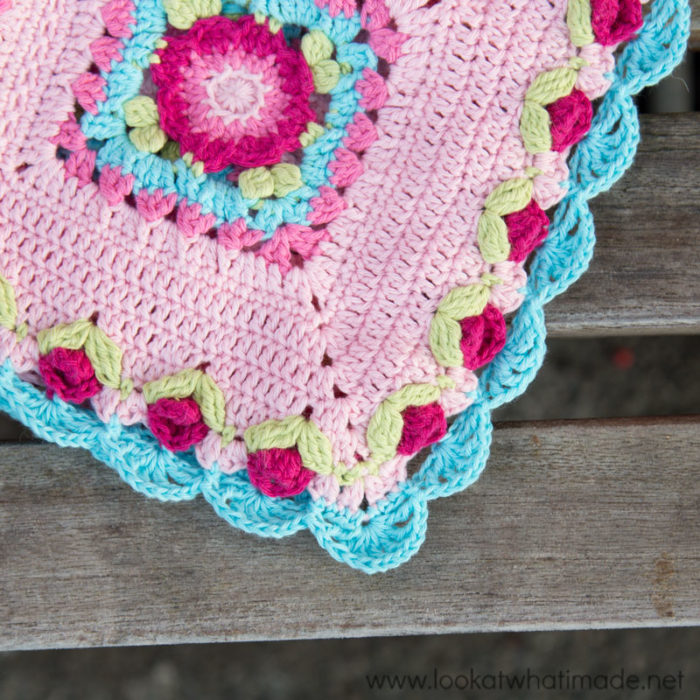
When you have joined all the squares (and you’ve sewn away all the yarn ends), you get to my favourite bit of the whole pattern: The Rose Border!
The border needs a multiple of 8 + 6 stitches per side (not including corner spaces), so we will add a base round around the whole blanket before starting with the border.
Base Round
Because your blanket is rectangular, you will have a short side (6 squares) and a long side (8 squares). Working into each stitch and space (as instructed below) will give you a multiple of 8 + 6 stitches on the short side. On the long side, however, working into each stitch and space will give you 4 stitches too many. You will therefore need to decrease by 4 stitches in order to get the correct stitch count. I suggest making a dc2tog at the center of the first, third, fifth, and seventh squares. Alternatively you can just skip 4 random stitches.
*For the 6-square side: (2 dc, ch 2, 2 dc) in the ch-2 corner space at the start of the short side. Dc in every st and space across, being careful not to skip the first (hidden) stitch. (158)
For the 8-square sides: (2 dc, ch 2, 2 dc) in the ch-2 corner space at the start of the long side. Dc in every st and space across, decreasing by 4 st’s over the length of the blanket (see Note above). Don’t accidentally skip the first (hidden) stitch. (206)*
Repeat from * to * one more time. Join to the first dc with a sl st. If you are going to change colours, fasten off. If you are going to use the same colour, sl st in the next st and in the ch-2 corner space.

Once you have made your Base Round, continue on with the border following the Rose Border Tutorial HERE.

I know I have said it many times, but I LOVE how this blanket turned out, and I would LOVE to see how yours turns out. You can share photos using #lydiablanket.
Want to see more of my Lydia Blanket journey?

This blog post contains affiliate links. I only link to products I personally use or would use. All opinions are my own.


Joey says
In love with your Lydia pattern n intend to make into a queen size blanket needs how many squares?
Jenny says
Hi Joey. You will need an awful lot of Lydia squares for a queen sized blanket, as the squares are quite small.
Jenny
Liesl says
Hi Dedrie! Thank you so much for your generosity in these amazing patterns. I’ve made the Sophie for my son and now making the Lydia for my daughter. Quick question. Why is there a chain 1 in the corner on round 8? I made the blocks using random colours and am now doing all of the round 8s in grey before I join them together. Am about to just standing single crochet join them in so thinking the chain 1 doesn’t really mKe sense to me. Forgive me for any ignorance. I’m still learning. From a fellow Saffa in NZ.
Dedri Uys says
Hi Liesl. You can just start with standing single crochet stitches. The ch-1 is purely because I used the same colour for Round 8 as for Round 7, so there was no need to fasten off and start with a standing, making a (ch-1, sc) start more suitable. The ch-1 is just to get you to the height of the sc and doesn’t count as a st.
suzy says
can I use a heavier yarn with thie pattern? Im struggling to find yarn in a 2
Dedri Uys says
You can, yes, but it will be bigger :)
Cathy Bradley says
Hi Dedri,
Fell in love with the Lydia Blanket. Couldn’t find all the colors in cotton yarn that I wanted so I made mine out of baby yarn. No baby to give or share it with. Made it for me as I loved the color and stitch combinations absolutely brilliant! Thank you so very much for sharing the pattern. Although I did feel a bit like a treasure hunter when I got to the rose border hunting it down. Sharing my pictures today on the face book crochet pages with the yarn I used and your website.
Blessings!
Cathy
Selina Chilton says
Hi Dedri,
I have the yarn pack for the Lydia blanket, and I am planning on starting tomorrow. I was wondering if you made a tension swatch, as I tend to be quite a tight crocheter and often have to go up a hook size, I don’t want the blanket to be too small. If I made one square to check tension would I have enough wool in the yarn pack to make another if the tension was wrong?
I’m really looking forward to making this for my friends daughter Lydia for her 2nd birthday, thank you for the beautiful pattern!
Best wishes,
Selina
Dedri Uys says
Hi Selina. You will have enough yarn for a tension square and the squares in the blanket. I crochet quite tightly myself, so you might find that your tension square will be fine.
Kathy says
Hi Dedri! I literally gasped when I saw Sophie for the first time! I love your use of color and textures! I am making the Lydia baby blanket & this is my first time crocheting granny squares so please excuse my silly question if this pattern correction doesn’t impact the end result. I ordered the color pack and rec’d the hard copy pattern. Since I’m a visual learner, I was delighted to find Esther’s you tube tutorials (It’s All In A Nutshell) for the Lydia square. So I am trying to follow along with her video instructions and your website and hard copy patterns. I need a clarification on Round 4.
The written and website patterns call for making the bobble stitch in the 3rd loop of the SECOND dc. However, Esther says at the 13:25 and 13:29 marks of the video to use the 3rd loop of the FIRST dc. Will this discrepancy matter? I couldn’t find any pattern corrections when I searched for them. Perhaps a note could be posted by you and Esther on the website, pattern and video so other granny square novices like me don’t have to wonder either?
Thanks SO much!
Dedri Uys says
Hi Kathy. Thank you for highlighting this discrepancy. It should be the second dc, but it won’t make much of a difference if you do decide to use the first dc instead.