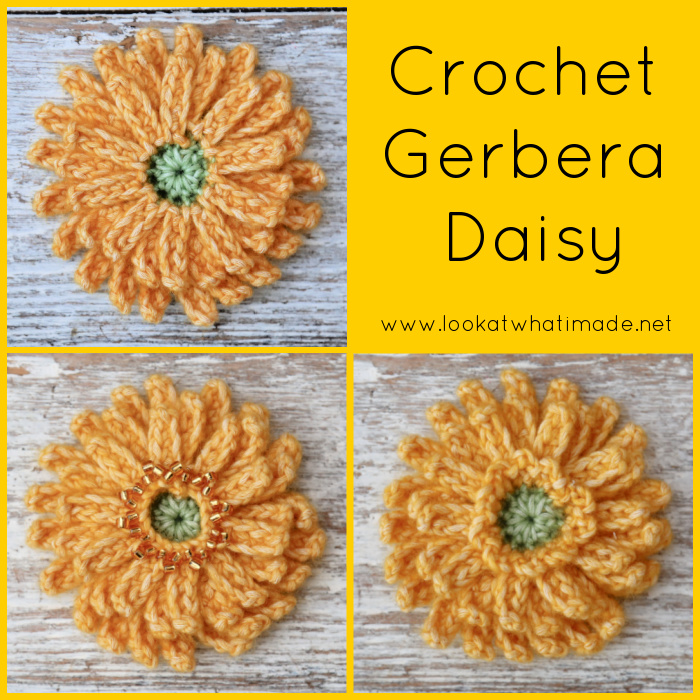
I am so excited about sharing this Crochet Gerbera Daisy pattern with you. As you have probably guessed, I LOVE flowers. ALL. THE. FLOWERS. Gerbera Daisies (or Barberton Daisies, as I know them) are very high on my favourite flower list. I want to say they are top of the list, but I feel like that would be cheating on all the other flowers I love.
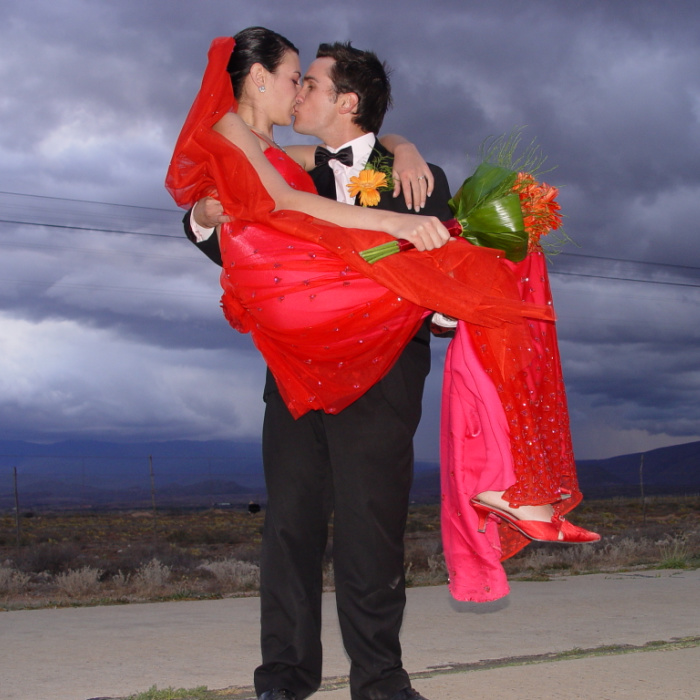
Having said that, I love these flowers so much that we used them for my wedding bouquet, our table decorations, and Christiaan’s boutonniere. That is also why my Instagram handle is what it is: @barbertondaisy.
Just for fancy, I am sharing two photos from that way-back-when day (courtesy of Adri Viljoen). Both were taken on the cement road (back road) between Calitzdorp and Oudtshoorn, with my favourite stormy Karoo skies and ostriches in the background. This is young me and young Mr LAWIM, 30 minutes married, November 2005, clueless and happy. We are still clueless and happy almost 20 years later!
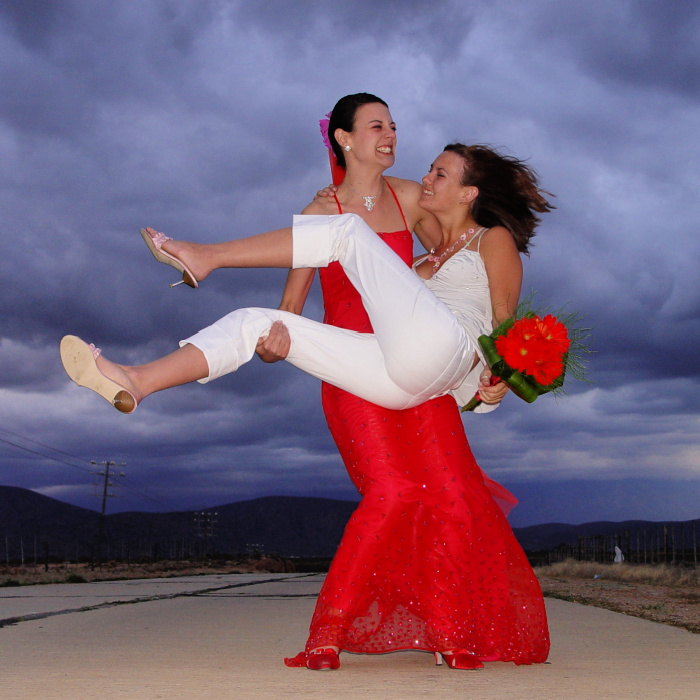
…And this is me and my (baby) sister… and more Gerberas.
*Shakes head and comes back to the present*
Gerbera Daisies symbolise MANY things, my favourites being cheerfulness and all things related to gratitude and friendship. Not only does the flower symbolise many things, but the different colours ALSO symbolise various things. No wonder it’s such a popular flower! For a full dive into sentimentality, I suggest Googling: “gerbera daisy meaning”. Or you could dip your toe in the sentimentality well by reading THIS POST by FLYINGFLOWERS.
Crochet Gerbera Daisy Pattern
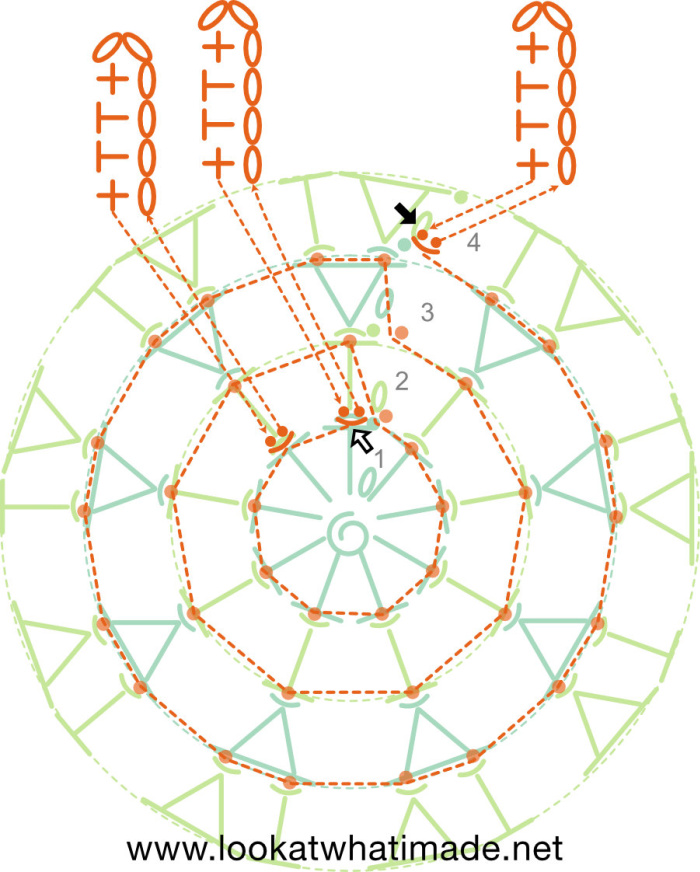
This is a written-only pattern, with charts by the talented Masako Kawahara from Crochethmmm. I’ve included one or two photos where necessary. If you have any problems with the instructions, please look at the Video Tutorials listed below.
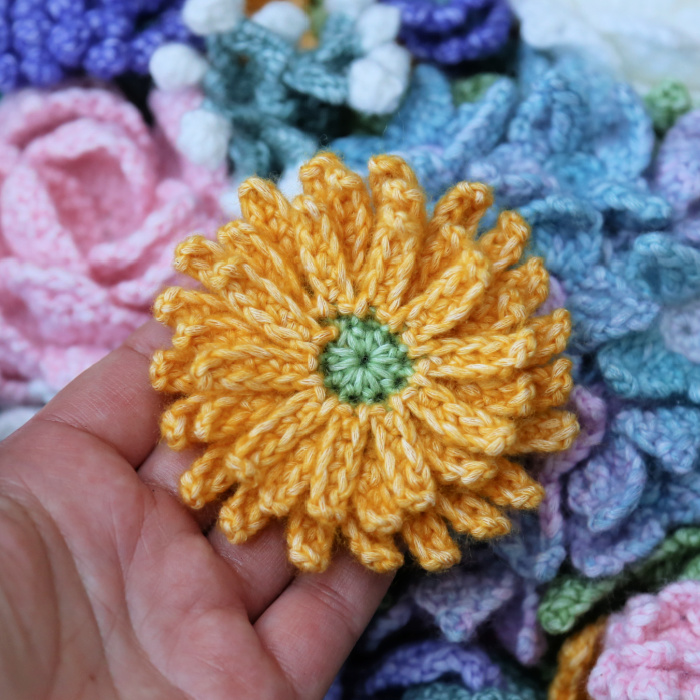
For my Lucy Wall Bouquet, I made one of these Gerbera Daisies.
Resources
- Other Patterns in this Series (as they become available)
- Video Tutorials:
- Instagram: #crochetGerberaLAWIM
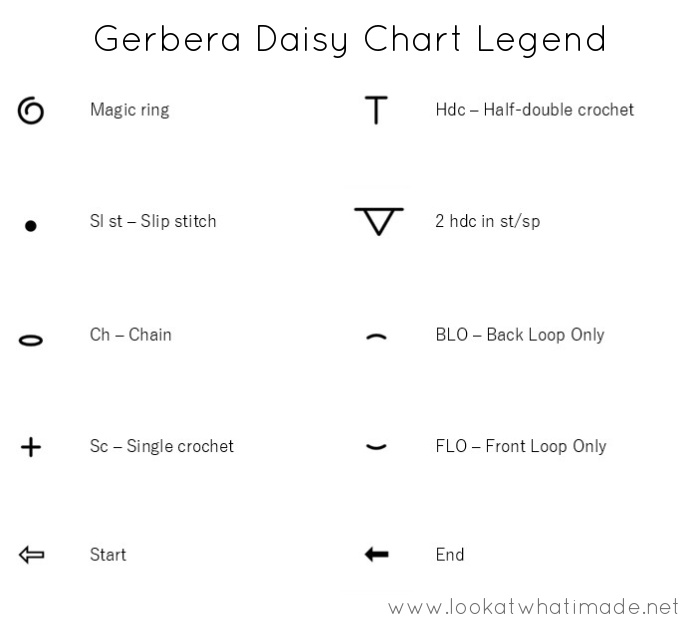
Abbreviations
US Terminology
- Ch – Chain
- Hdc – Half-double crochet
- Sc – Single crochet
- Sl st – Slip stitch
- SM – Stitch marker
- St/sts – Stitch/stitches
- () – Repeat instructions between parentheses the number of times specified
Special Stitches
Back Loop Only/Front Loop Only
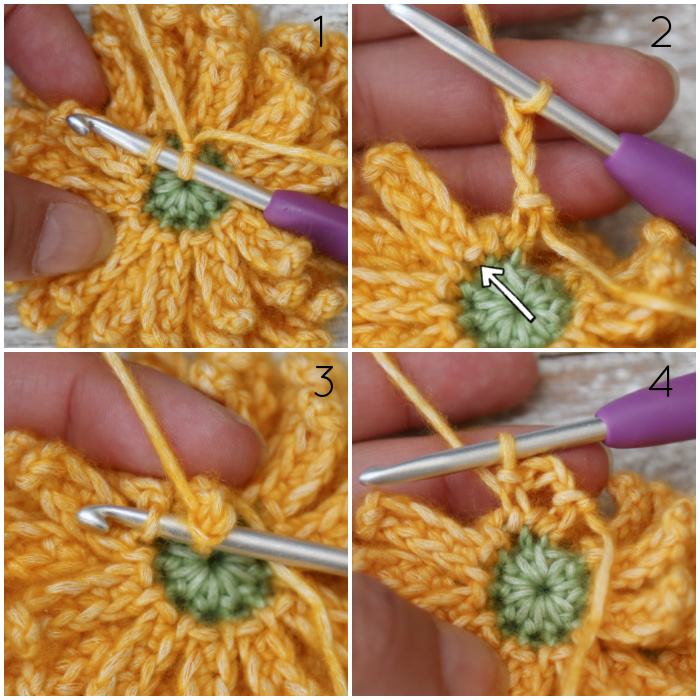
Sometimes, you will want to work only into the front or back loop of a stitch. Working into one loop only means that you can come back in later rounds to work into the other loop.
Just like with chain stitches, the top of each stitch forms a ‘V’. This ‘V’ consists of a front loop and a back loop. The front loop will always be the one closest to you. The back loop will always be the one farthest away from you.
Back Loop Only
Back loop only stitches (BLO) are made by inserting your hook into the back loop only {Photo 1}, not through both loops, and completing the stitch as normal {Photo 2}. Working into the back loop like this creates a decorative ridge on the front of your work.
Front Loop Only
Front loop only stitches (FLO) are made by inserting your hook into the front loop only {Photo 3}, not through both loops, and completing the stitch as normal {Photo 4}. Working into the front loop like this will leave a ridge on the back of your work, formed by the unworked back loops.

Materials
- 4mm crochet hook (I use Clover Amour, available HERE on Amazon)
- Yarnsmiths Pebble Haze DK (50g/145m; 33% acrylic, 67% cotton) – available from Wool Warehouse HERE.
- Light Green – 2C120 Titanite
- Yellow – 2C110 Yellow Amber
- Optional: Size 6/0 beads x 30 and a beading needle (HERE on Amazon.com and HERE on Amazon.co.uk)
Instructions
Gerbera Daisy Base Part
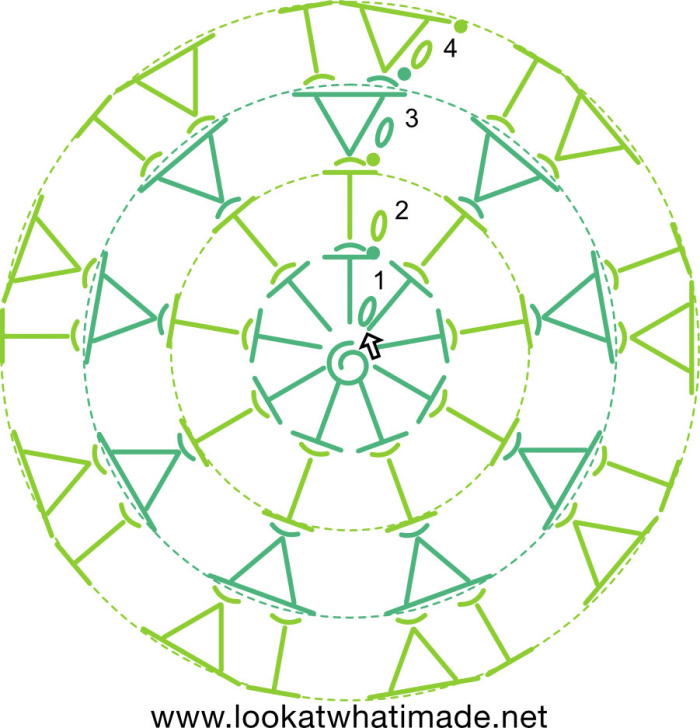
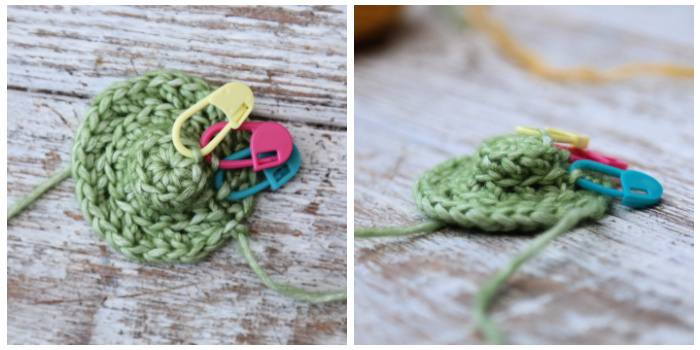
You will be asked to mark a FLO at the end of each round. If you don’t do this, that FLO will get tight and tricky to work into when you go to add the Petals.
Base Round 1
With Light Green and working into a magic ring: Ch 1 (doesn’t count as a st throughout), 9 hdc. Join to the BLO of the first hdc with a sl st. Mark the FLO of this st with a SM. {9 hdc}
Base Round 2
Ch 1, BLO hdc in each st around. Join to the BLO of the first hdc with a sl st. Mark the FLO of this st with a SM. {9 BLO hdc}
Base Round 3
Ch 1, make 2 BLO hdc in each st around. Join to the first hdc with a BLO sl st. Mark the FLO of this st with a SM. {18 hdc}
Base Round 4
Ch 1, (make 2 BLO hdc in the next st, BLO hdc in the next st) 9 times. Join to the first hdc with a sl st. Fasten off and work away ends. {27 hdc}
You will be left with something that looks like a cross between a green hat and a fried green egg.
Gerbera Daisy Petals
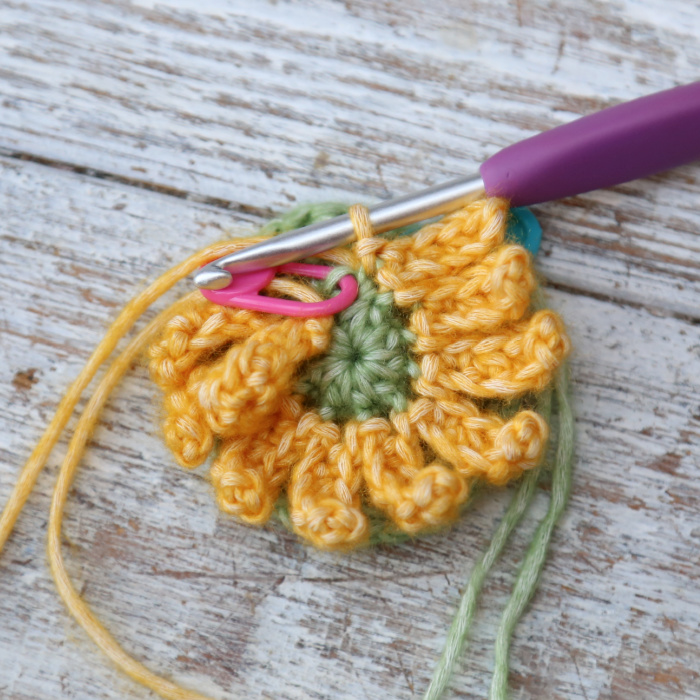
When making the Petals, you will work into the FLO of each st of the Base Part. The last Petal of each Round will fall in the FLO of the joining sl st. This doesn’t usually count as a st, but working into it makes the jump between rounds neater.
Ps. If you miss a Petal or two, no one will know. This bit should be fun, not stressful!
How to Make Each Petal: sl st into the FLO, ch 6, sc in the third ch from the hook, hdc in the next 2 ch sts, sc in the last ch, sl st in the same FLO.
Petal Round 1
Join your Yellow Yarn by making a sl st in the marked FLO from Round 1 of the Base. This will count as the sl st that starts your first Petal. Make a Petal (as above). Make a Petal in each of the next 8 sts. Make a Petal in the FLO of the sl st join. {10 Petals}
Petal Round 2
Starting in the first (marked) FLO of Round 2 of the Base, make a Petal in each of the 9 sts. Make a Petal in the FLO of the sl st join. {10 Petals}
Petal Round 3
Starting in the first (marked) FLO of Round 3 of the Base, make a Petal in each of the 18 sts around. Make a Petal in the FLO of the sl st join. Fasten off and work away your ends. {19 Petals}
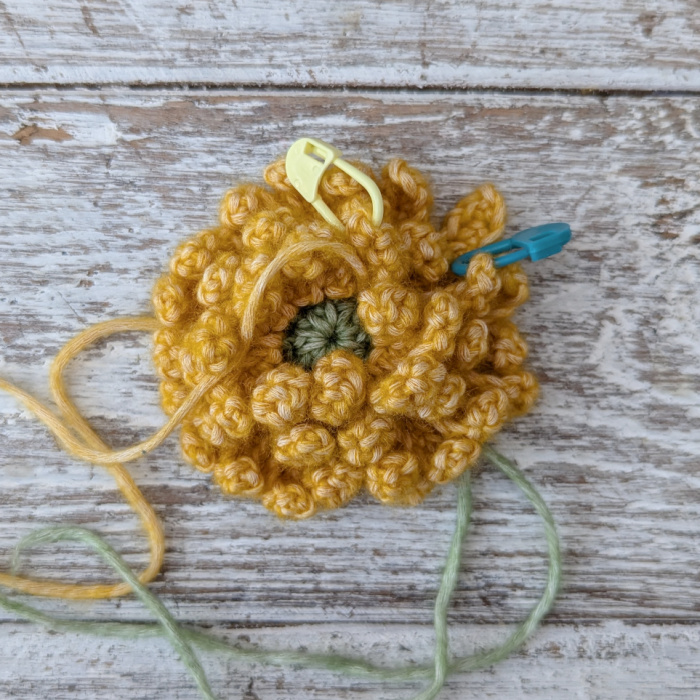
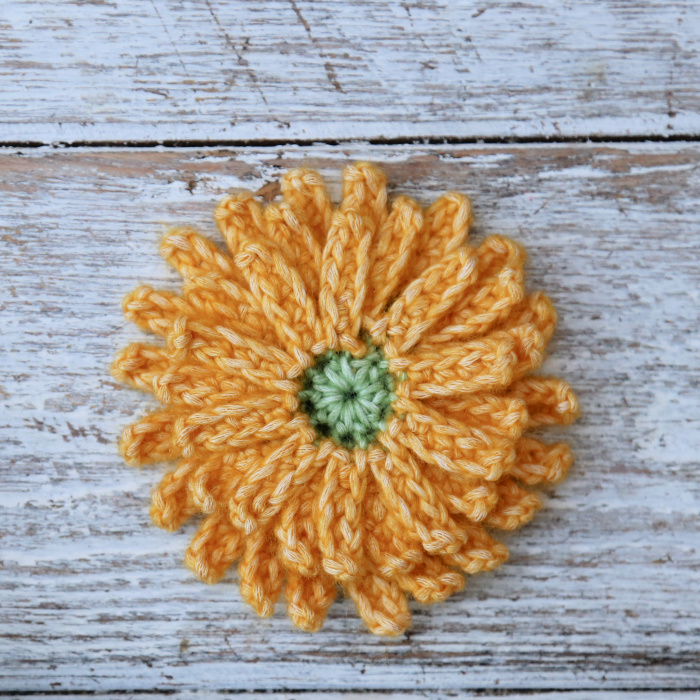
When you have finished your flower, it will be quite puffy. At this point, it will look more like a Chrysanthemum than a Gerbera Daisy. If you like this slightly bed-head look, feel free to use the flower as is.
If you want the Petals nice and flat, though, you will need to block this flower. My favourite way of blocking these is to pin them out and use a steamer.
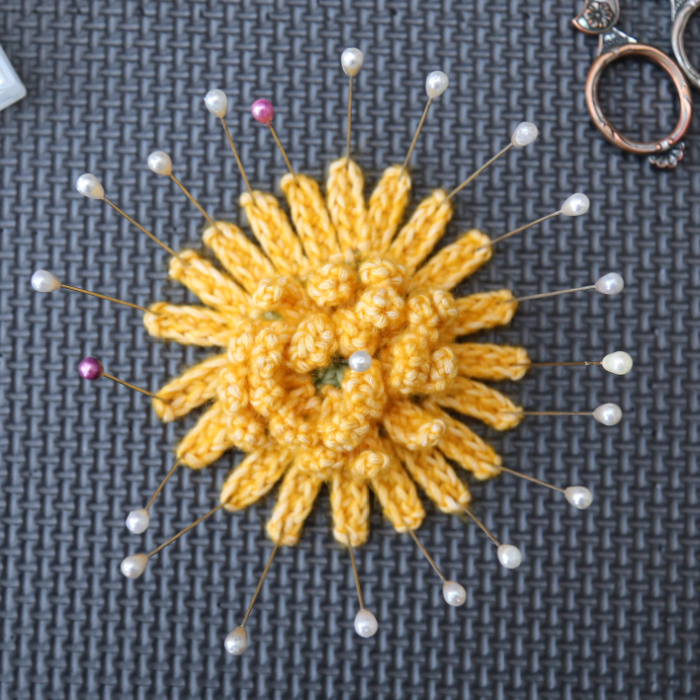
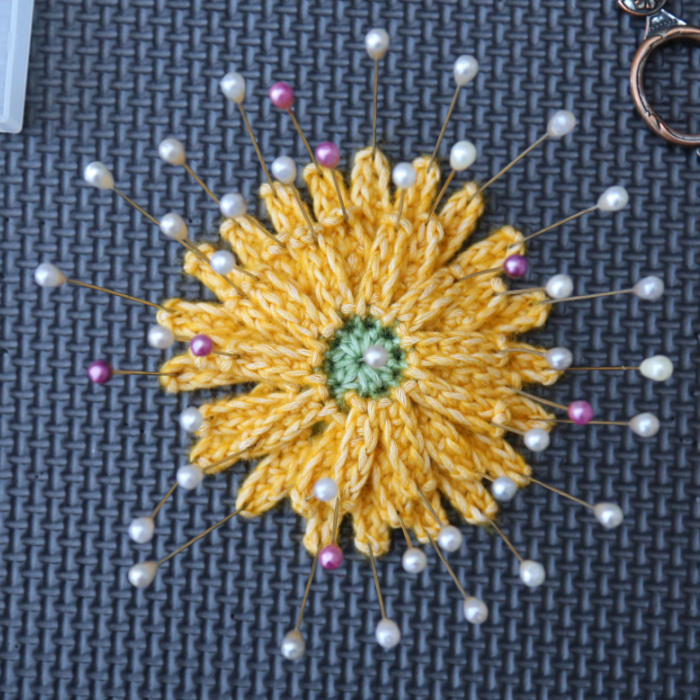
It doesn’t take long at all, and it makes a massive difference.
Optional: Adding a Little “Floof”
If you want to add some fun to your Gerberas and make them look a little bit more authentic, you can do one of the following:
Adding Beads
I find it easier to use a slightly smaller hook for this bit.
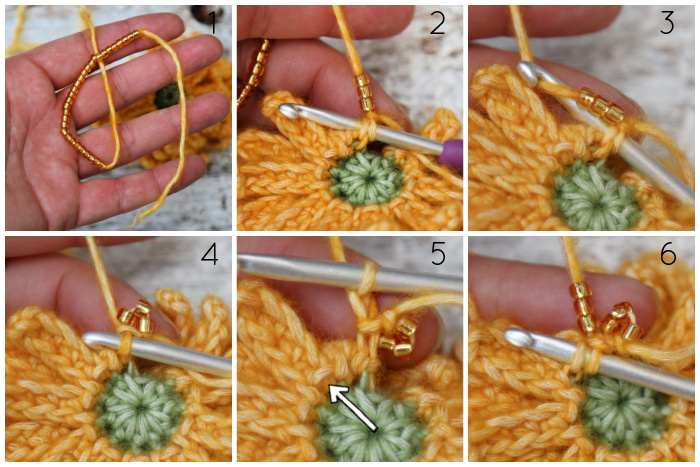
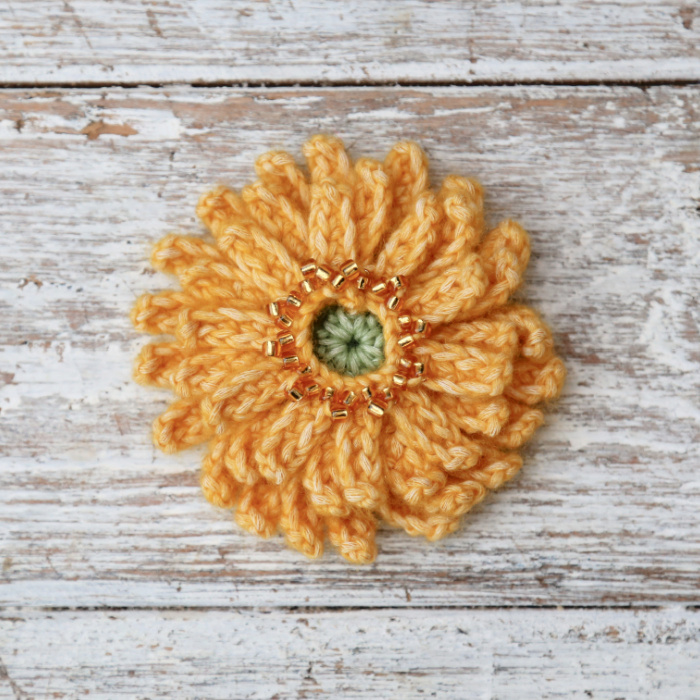
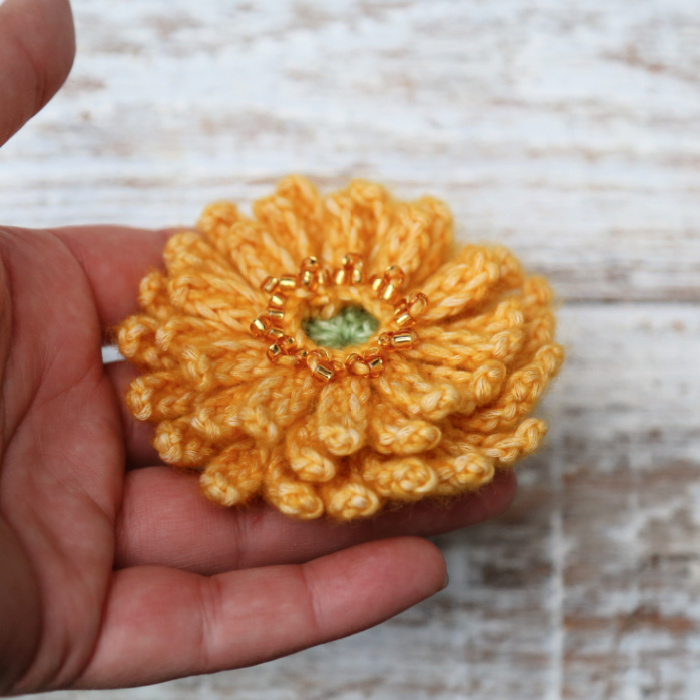
Thread your yarn with 30 size 6/0 beads {Photo 1}. With a slip knot already on your hook, insert your hook from bottom to top into the first sl st of the first Petal. Take the first 3 beads and push them towards your hook so that they abut your work {Photo 2}. Complete the sl st, catching the 3 beads {Photos 3 and 4}. *Ch 1 {Photo 5} and insert your hook from bottom to top into the first sl st of the next Petal {indicated with an arrow in Photo 5 and illustrated in Photo 6}. Push the next 3 beads until they abut your work and then complete the sl st, catching the 3 beads.* Repeat from * to * until you have worked into each of the first 10 Petals. Ch 1, join to the first sl st of the first Petal with a sl st. Fasten off and work away your ends.
Surface Crochet
I find it easier to use a slightly smaller hook for this bit.
Join your yarn by making a sl st in the first sl st of the first Petal, inserting your hook from bottom to top into that first sl st {Photo 1}. *Ch 3 {Photo 2} and make a sl st in the first sl st of the next Petal {indicated with an arrow in Photo 2 and illustrated in Photos 3 and 4}.* Repeat from * to * until you have worked into each of the first 10 Petals. Ch 3 and join to the first sl st of the first Petal with a sl st. Fasten off and work away your ends.
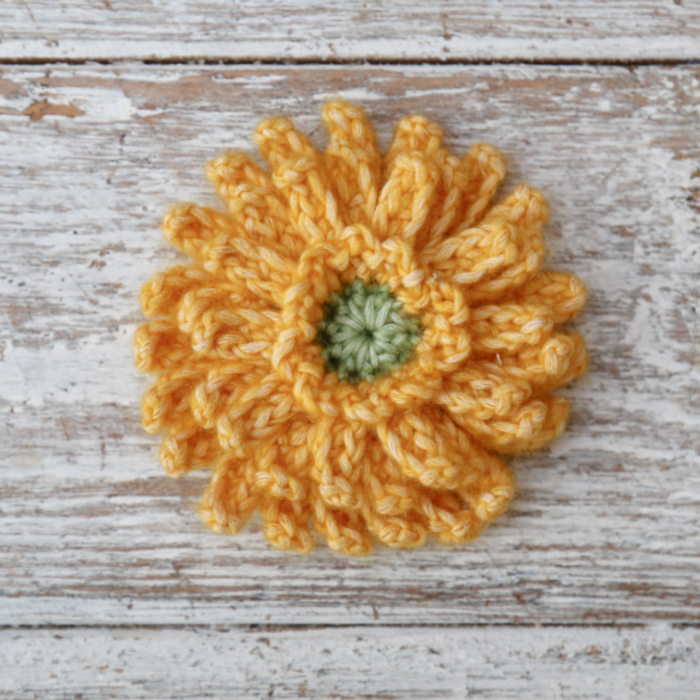
And there you have it :) Crochet Gerbera Daisy three ways :)

This blog post contains affiliate links. I only link to products I personally use or would use. All opinions are my own.


persis says
great
Katherine Gray says
Any chance we will be getting any new flowers for the Lucy Bouquet soon?
Jenny Lowman says
Keep checking back! Who knows what Soring might bring us? :)