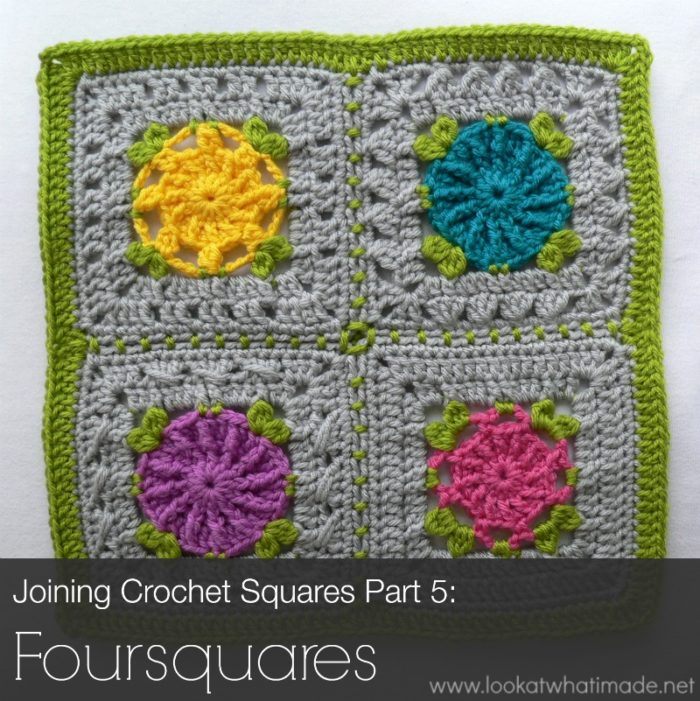
I don’t think “Foursquares” is an existing technical term, but it is what I ended up calling my CAL squares after joining them to each other in fours. You can read more about that HERE. You can also see all the completed Foursquares HERE.
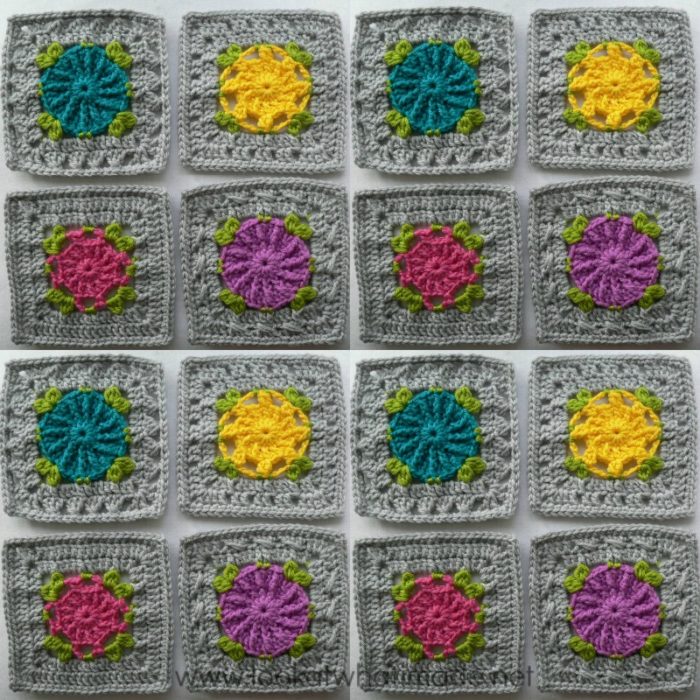
In Part 1 (Preparing to Join Your Squares), I mentioned that you should think outside the box when attaching your squares. Although the traditional grid configuration is brilliant….
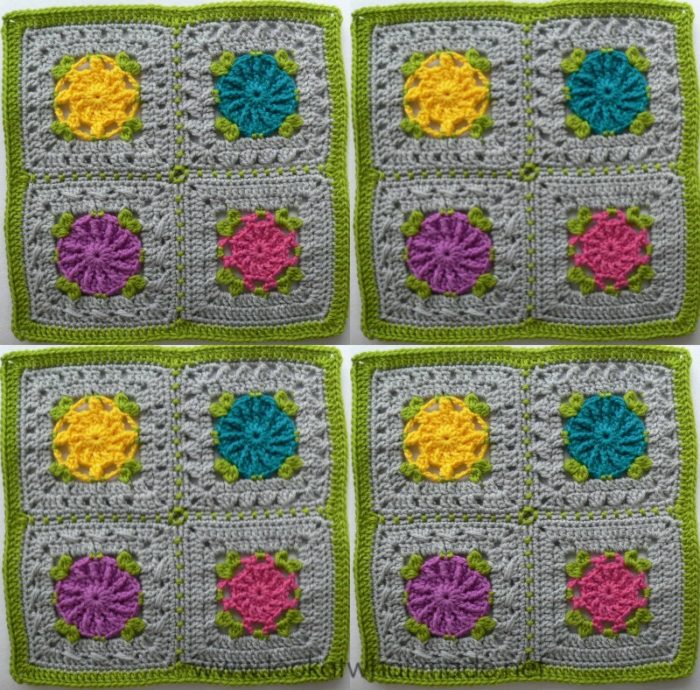
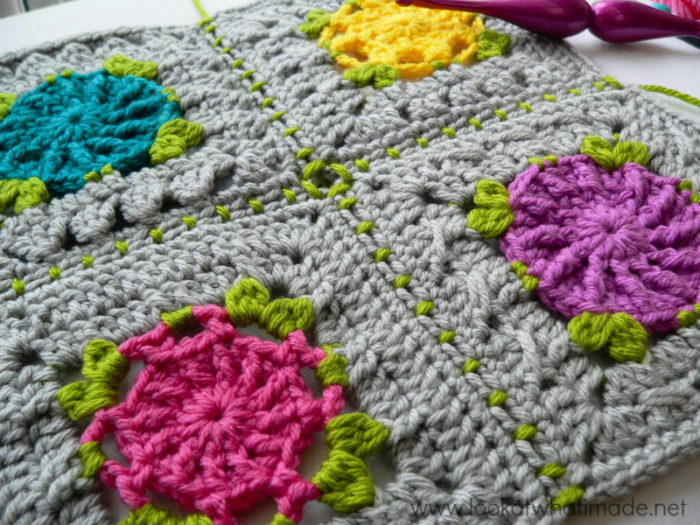
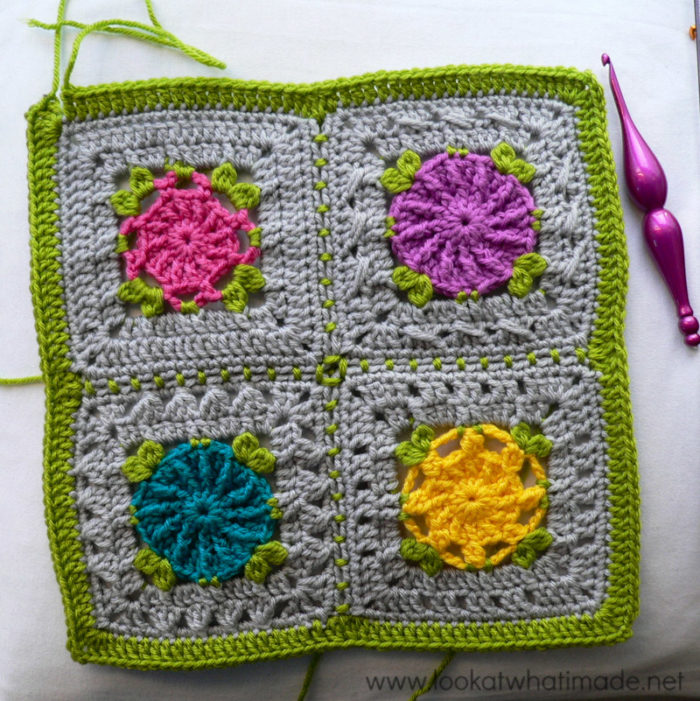
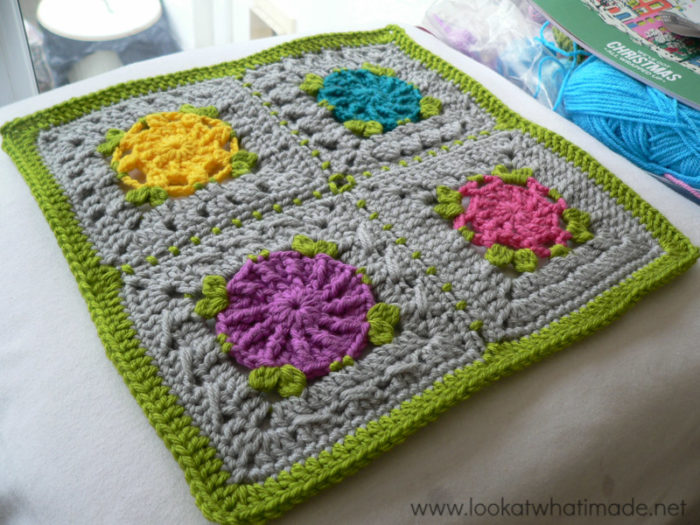
…there are times when you might feel like doing something else. By crocheting 4 squares together, and then adding a border, you can create a completely different feel.
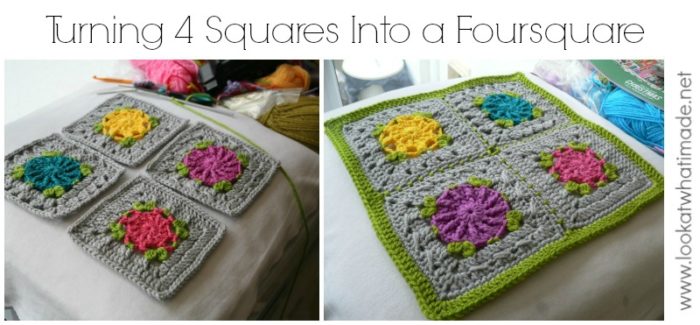
In this tutorial I will show you how to turn 4 afghan squares into a Foursquare by joining them and adding a simple border. You can then join these Foursquares to each other to create your afghan.
Foursquares Tutorial
Join your 4 squares to each other using any joining method you prefer. I have used an (sc, ch 1, skip 1) join, but you are by no means limited. You can use lacy joins or textured joins, solid joins or invisible joins…
Be creative!
Once you have joined your squares you will need to add a border to frame the Foursquare, otherwise it will not be distinguishable between all the other squares in your blanket.
I am using a simple round of double crochet, but again, you can use anything your heart desires!
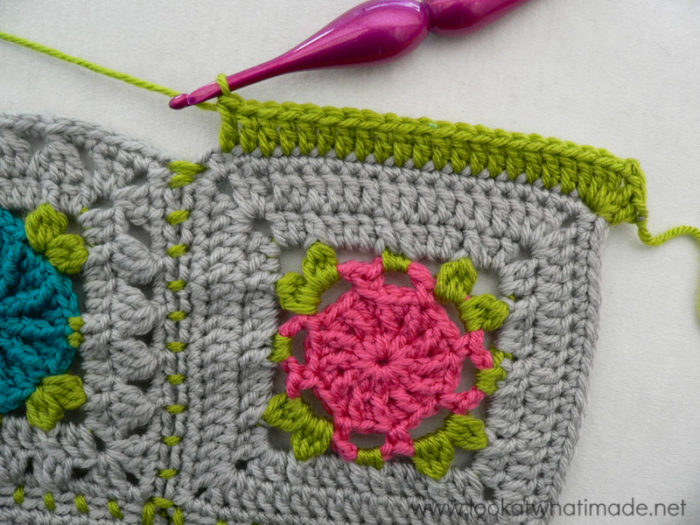
To add a double crochet border, start with (2 dc, ch 2, 2 dc) in any corner around. Please note that this is now considered a single square. When referring to corners I am only referring to the 4 outside corners, not the inside corners that have been joined to each other.
Once you have made your corner, dc in each stitch across until you get the the “inside” corner space of your first square.
Regardless of which join you choose to use, your Foursquare will dip in slightly at this join point because of the corner chain spaces. Depending on your joining method you have 2 choices:
- Work into the join – this will be essential if you have a lacy join that needs to be bridged
- Ignore the join and only work into the corner chain spaces – you can get away with this if your join/seam is very tight and doesn’t need much bridging
Because I have a tight join I am not going to make a separate stitch into the join. What I AM going to do, to avoid a slight gap, is make 2 dc2tog’s over the join so that my border looks fuller in that spot without adding any stitches.
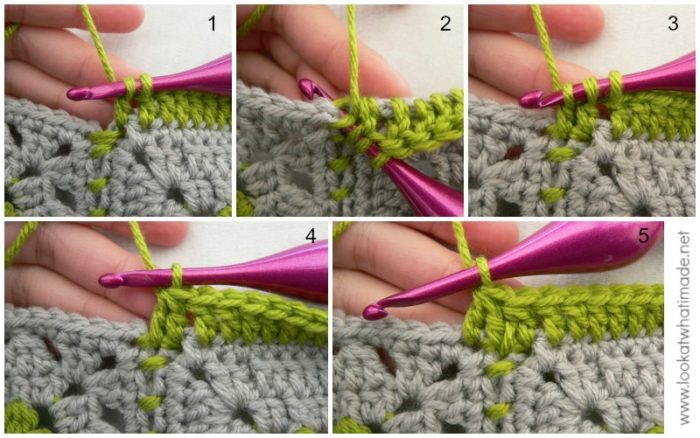
So starting in the “inside” corner space of the first square: yarn over, insert your hook into the corner space and pull up a loop. Yarn over and pull through 2 loops on your hook (2 loops remaining on hook) – see Photo 1. Yarn over and insert your hook into the stitches of the join (Photo 2). Yarn over and pull up a loop. Yarn over and pull through 2 loops on your hook (3 loops remaining on hook) – see Photo 3. Yarn over and pull through all 3 loops (Photo 4). You have now successfully completed one dc2tog over the “inside” corner space and the join.
Repeat the process again, this time making the first leg of the dc2tog into the join (that already contains the last leg of the first dc) and the second leg into the “inside” corner of the second square (Photo 5).
Dc in each of the stitches across the second square. When you get to the corner, make (2 dc, ch 2, 2 dc) into the corner space (as before) and continue around.
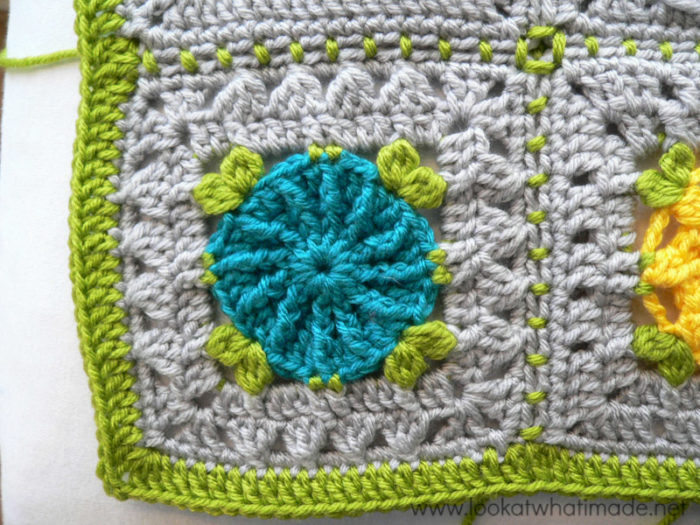
When you have bordered your entire square, fasten off and work away your tails of yarn. I like to use the Invisible Join method when finishing off a square as it yields a very neat (non-bumpy) finish.
Notice how the squares “dip” slightly at each of the 4 join points? This is easily remedied by blocking your Foursquares once they are complete, although this is not strictly necessary. When you join the Foursquares to each other to create your blanket these “dips” will be pulled up to the height of the rest of the stitches.
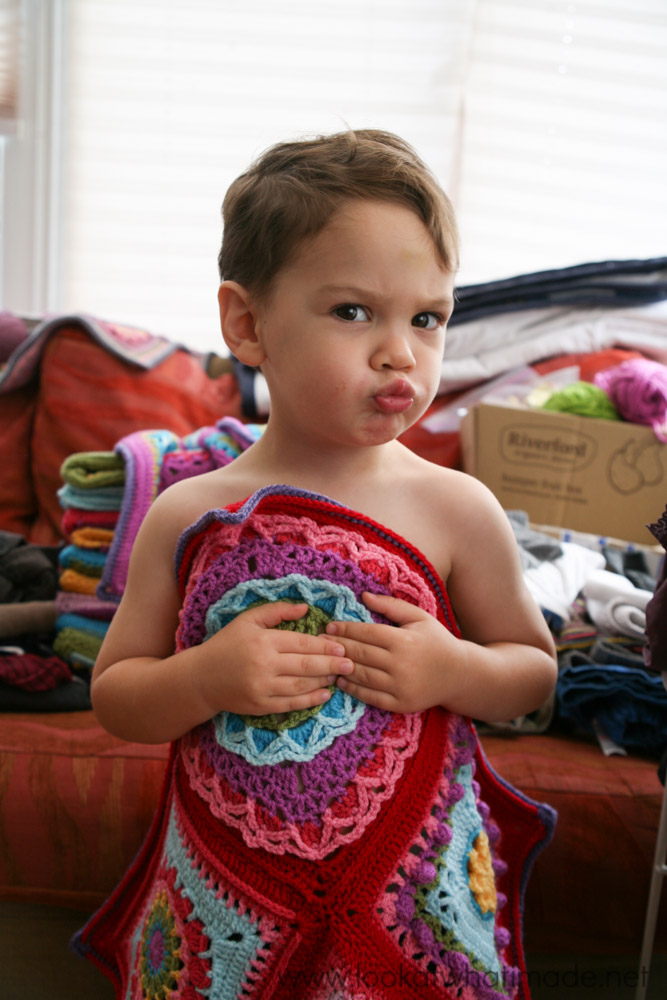
To end off with I will leave you with a photo of my youngest “modelling” one of my Foursquares. He insisted on “wearing” my “yarn”. I didn’t even realize that he’d pulled this “blue steel” face until I looked at the photos later on.
I just love how excited he gets about all my crochet creations :)
Joining Crochet Squares Series:
- Part 1: Preparing to Join Your Afghan
- Part 2: (Sc, ch 1, skip 1) Join
- Part 3: Different ways to Join – a comprehensive list of joining techniques
- Part 4: Joining Squares With Different Stitch Counts
- Part 5: Making Foursquares – This Post
- Bonus: Borders – Coming Soon

This blog post contains affiliate links. I only link to products I personally use or would use. All opinions are my own.


DavetteB says
I’m working on a 4 square now (3 done), then I want to use it for the center of the Around the Bases afghan. This will be my most ambitious project; I usually stick to shawls and ear warmers
Marina Pelser says
Good Morning Dedri
When I saw this CAL I fell in love with it and am now making it as a surprise gift for my sister. I have opted in using Sophie’s Garden as centerpiece and am joining my squares with your foursquare method. I noticed that you made a row of double crochet around the completed foursquare block. When I join Sophie to the rest of the foursquare do I also do it with the sc, ch1 method. Do I have to make a row of dc’s around Sophie before joining it to to foursquare?
Thank you so much for your lovely tutorials that is helping newbies like me tremendously!
Greetings from South Africa!
Dedri Uys says
Hi Marina. Thank you for commenting. I don’t think anyone has joined Sophie to the Foursquares yet, but yes, if you want to, you will need to add a dc round around Sophie as well. You want to end up with the same number of stitches around Sophie as you do around each Foursquare. You would also use the same joining method for the whole blanket.
Diane Branson says
Thank you so much for all the really SUPER HELPFUL TIPS! I’ve been crocheting for a while and am always looking to improve and expand my craft! I actually adore the squares you use for the joining techniques with the grey borders. Can I get a link to those patterns please (or where I can buy them?)? Thanks! Gonna go along with the Sophie’s Universe CAL 2015 I think. Looks fun! Missed last year but am eyeing up the squares for future projects! They are truly magnificant!! :-))
Dedri Uys says
Hi Diane. The pattern for the squares isn’t available yet, but it will be very soon. I am very glad you like them.
Diane Branson says
Thank you, Dedri, for the prompt response! I know you are super busy! Oooooo! At least I know now that one IS COMING and that brings a smile to my face! I might try to figure something out based on the photos, but will keep the grey border simple…the cable stitch one is DIVINE, but that will have to wait for a pattern. I have a goal to complete an afghan for each of my hubby’s sisters and brothers (there are 8!) and I am waiting on BACKORDERED YARN to finish my fourth, and really want to attempt the square and start the fifth since the BACKORDER for the yarn is over a month away. Grrrrrrr…..I can’t get it off my mind! Been through thousands of pinterest pins and YOUR PICADILLY SQUARE is still the winner and the one that excites me the most! It’s worth a try and I wouldn’t dare post a photo on line until you have come up with your design. I just have to give it a try–when I get inspired by a design I get pretty stubborn, ha ha ha! LOVE WEEK 3 rounds for the CAL 2015. Looking good… :-)
Dedri Uys says
Diane, I can’t say when, but soon. I just have to get ahead with the CAL tuts. Really pleased you like them that much!