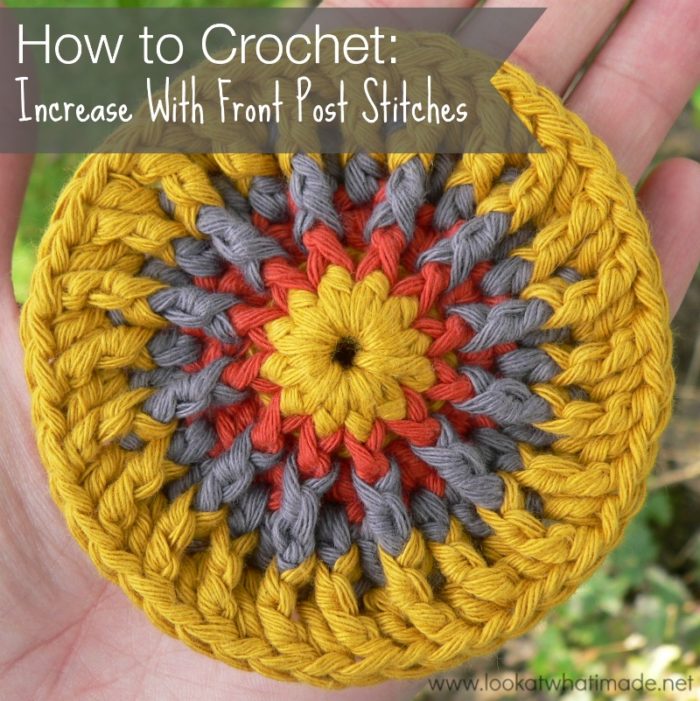
 I love texture, and increasing with front post stitches is an excellent way to add texture to any project.
If you only use front post stitches for the increases, and standard stitches for the rest of the round, your front post stitches will spiral, like in this gorgeous Newsboy Slouch Crochet Hat pattern by Crea8tion Crochet. 
Standard Increases vs Front Post Increases
Traditional increases are made by making 2 st’s in the same stitch. Front post increases are made by making one stitch into the top of a stitch and one stitch around the post of the same stitch. I have used double crochet stitches in the illustration and tutorial below.

When you work around the post of a stitch, the resulting stitch won’t add as much height to your work as when you work into the top of a stitch.
If you are using front post stitches and regular stitches in the same round, the front post stitches will “pull” the regular stitches down to their height, resulting in a smaller end result. Not only will your end result be smaller, but it will also be more dense.
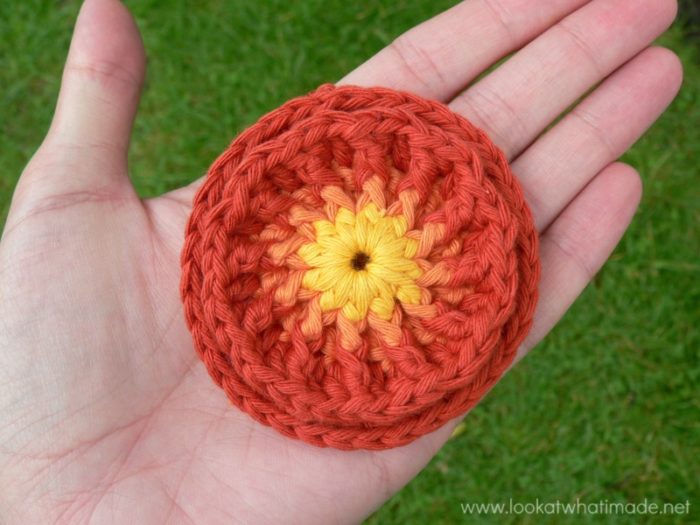
The photo below shows the 2 circles above (with exactly the same number of rounds and stitches). The one on top has been made using front post increases. The one at the bottom (which you can’t see much of) was made using regular increases.
Notice that the top one is smaller than the bottom one.
If you are just following a pattern that already calls for front post increases, you are fine.
If, however, you are wanting to replace the standard increases in an existing pattern, you will need to adjust the front post stitches by making them as “tall” as the regular stitches in the round. You can find additional help on that below the tutorial.
How to Increase with Front Post Stitches
Round 1
This round is just a standard double crochet circle.
Into a magic ring: ch 3 (this counts as your first dc). Make 11 dc’s into the ring. Join to the top of the beginning ch-3 with a sl st.
If you are not familiar with working into a magic ring, this video tutorial by Tamara from Moogly is very good. Please remember, when working into a magic ring you HAVE to work away your initial tail very well. If you just cut it, your whole project might unravel!
Stitch count: 12 dc’s
Round 2
Please Note: In the photos below the dc’s between fpdc’s have been made in the back loop only (blo) because this tutorial was made for a pattern that called for them to be made in the back loop only. It doesn’t matter if you make them in the back loop only or through both loops, so if you are using this tutorial as an aid for another pattern, do whichever one the pattern tells you to do.
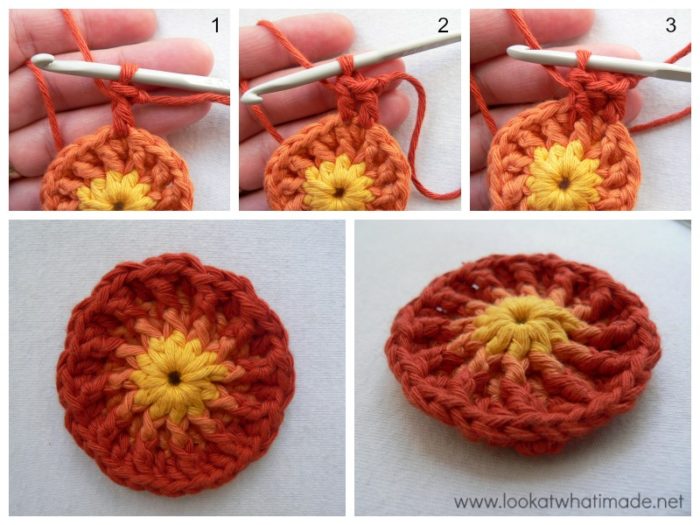
- If you are using the same colour, ch 3 (this counts as your first dc) and make a fpdc around the beginning ch-3 of the previous round.
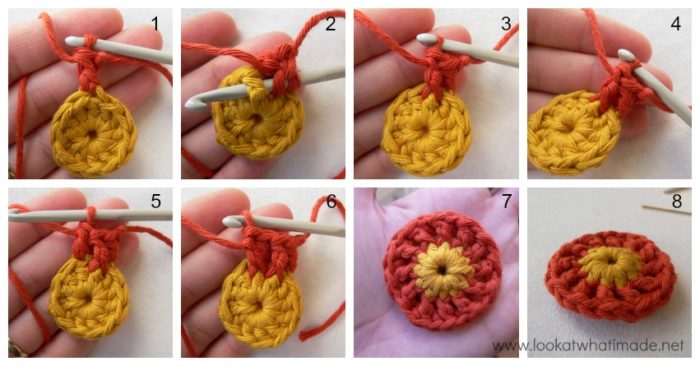
- If you are using a new colour, join your yarn by making a standing double crochet in the same st as the sl st join (Photo 1) and then make a fpdc around the beginning ch-3 of the previous round(Photos 2 – 4) .
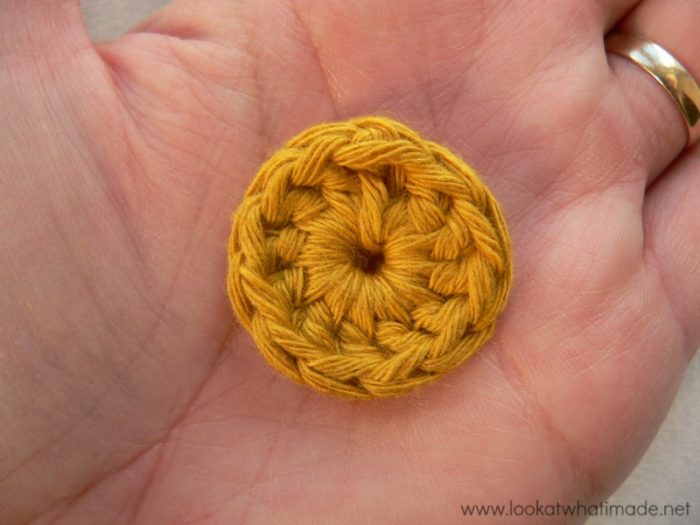
(Dc in the blo of the next dc (Photo 5), make a fpdc around the post of the same stitch – see Photo 6) in every stitch around. Join to the top of the beginning ch-3 (or the standing double crochet) with a sl st. Photos 7 and 8 show you what your circle should look like at the end of this round.
Notice that the regular dc’s between front post dc’s are slightly squished down.
Stitch count: 24 st’s {12 dc’s and 12 fpdc’s}
Round 3
- If you are using the same colour, ch 3 (this counts as your first dc).
- If you are using a new colour, join your yarn by making a standing double crochet in the same st as the sl st join (Photo 1).
*Dc in the next st (which will be the fpdc from the previous round – see Photo 2) and make a fpdc around the post of the same stitch (Photo 3). Dc in the next st.* Repeat from * to * 11 times. Omit the last dc on the last repeat. Join to the top of the beginning ch-3 (or the standing double crochet) with a sl st.
Stitch count: 36 st’s {24 dc’s and 12 fpdc’s}
Replacing Standard Increases in an Existing Pattern
As I have already mentioned, using front post stitches will “pull” the regular stitches in the round down to their height. To avoid this, you need to make longer front post stitches. In this example I will therefore change my fpdc’s to fptr‘s. I will demonstrate this with an alternative Round 3.
Alternative Round 3
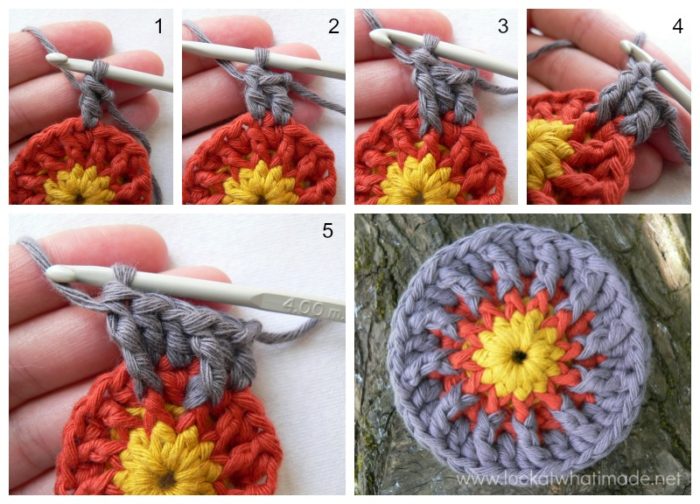
- If you are using the same colour, ch 3 (this counts as your first dc).
- If you are using a new colour, join your yarn by making a standing double crochet in the same st as the sl st join (Photo 1).
*Dc in the next st (which will be the fpdc from the previous round – see Photo 2) and make a fptr around the post of the same stitch (Photos 3 and 4). Dc in the next st.* Repeat from * to * 11 times (Photo 5). Omit the last dc on the last repeat. Join to the top of the beginning ch-3 (or the standing double crochet) with a sl st.
You will notice that the dc’s aren’t squished down. If anything, they are now “pulling” the fptr’s down to their heigh. This circle will be the same size as the standard dc circle.
Stitch count: 36 st’s {24 dc’s and 12 fptr’s}
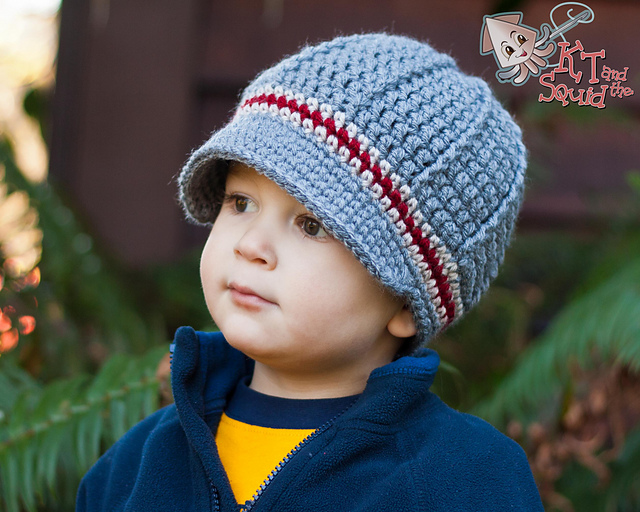
 If you would like to try your hand at front post increases, KT and the Squid has an awesome Perfect Striped Newsboy Hat pattern, which can buy here.
Sooo…what would happen if both the stitches of the increase were front post stitches? This Eccentric Beanie pattern by MNE Crafts uses that technique. Why not have a look? 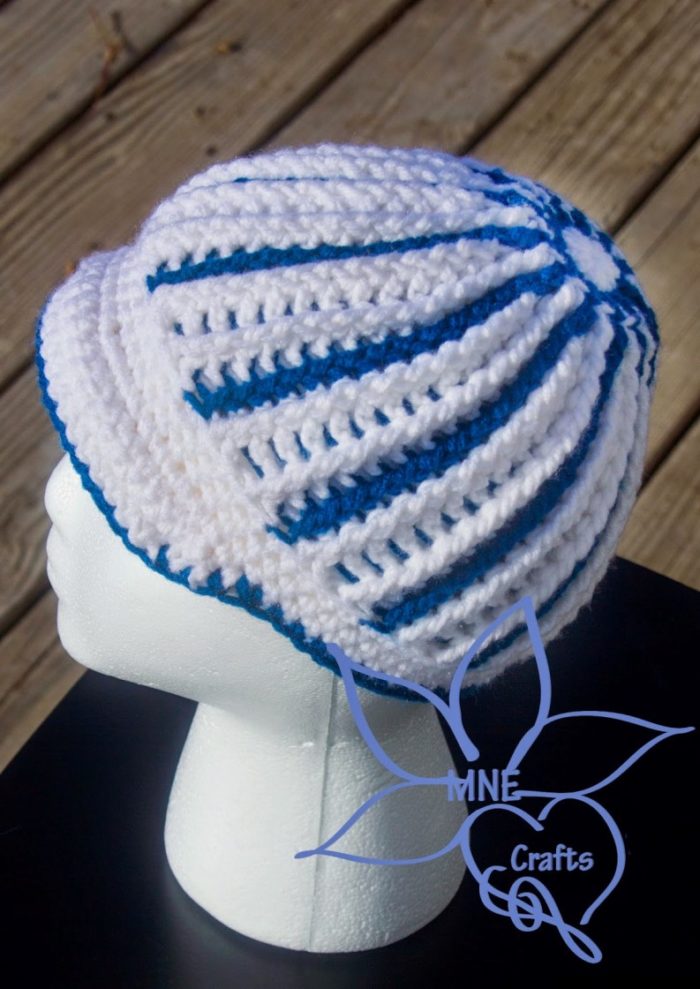
If you are after a more slouchy hat, this cute Button Up Brimmed Hat by Maz Kwok is just the ticket. No, it is not a toy hat, it is a full-sized hat. Isn’t the giant teddybear model cute? 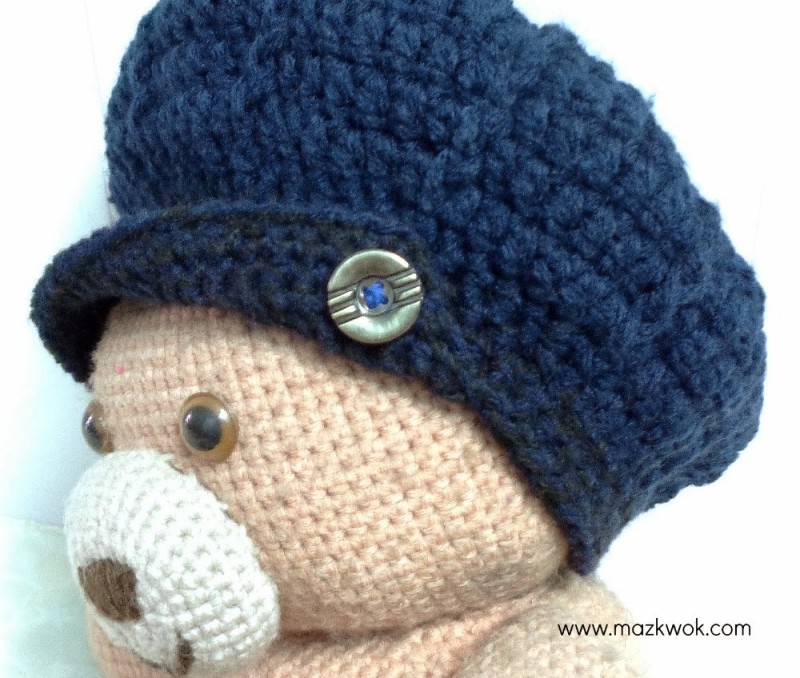
More Tutorials
- Crochet Cable Stitch
- Crochet K-Stitch {Treble Cross}
- Crochet Linen Stitch
- Corners and the Elusive Hidden Stitch
I hope you have found this tutorial useful.

This blog post contains affiliate links. I only link to products I personally use or would use. All opinions are my own.


Carolynne Tovenar says
Thank you for the tip on making the fpdc taller by using fptr. That is perfect! I do have a question, however, that I hope you can please help me with. I am making a beanie and I am wondering, do I continue working the rest of my fpdc increases with fptr or do I alternate rows of fpdc and then fptr again or what? Then when I am finished increasing, do I just stick with fpdc? Any help would be fantastic. Thanks!
Dedri Uys says
If you keep using fptr, you might find that they are ‘too tall’. I usually alternate fptr in one row and fpdc in the next to keep the hight more or less the same. I hope you understand what I mean :)
Angie says
New to crochet, just followed a slouchy beanie tutorial, learned how to fpdc and i love it. BUT, trying to learn how to fpdc increase from a magic circle. You wouldn’t happen to have a video i could follow, would you? If not, can you suggest one, or a person who has one? Too new to get it from pictures alone, and the lingo and abbreviations is still confusing.
Dedri Uys says
Hi Angie, if I understand you correctly, you want to fpdc straight into the magic ring? As there are no posts to work around when you are making the first round, I don’t quite understand how you can fpdc increase. There is only a ring to work into… Or am I completely misunderstanding what you are asking?
Maja says
Thank you soooooooo much for this tutorial. Found it exactly at the right time. You saved my sunday afternoon :-)
Dedri Uys says
I am so pleased to have been of assistance :)
Judy says
I love your tutorials.
Dedri Uys says
Thank you, Judy.
Leah says
Great Tutorial. How do you get your FPdc’s so perfectly uniform in size?
Any advice?
Dedri Uys says
I’m not quite sure what you mean, Leah. My tension is just very controlled. The fpdc’s are the same as standard dc’s. It’s the tr’s and dtr’s that wreak havoc!
Lorainne says
Thank you for tutorials. Always willing to learn.