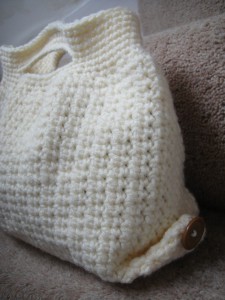
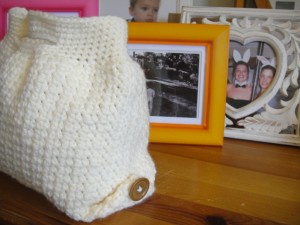
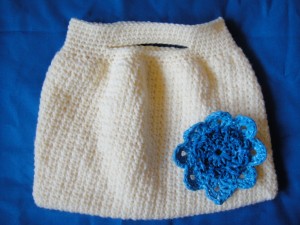
This crochet bag pattern is a kind of no-brain crochet project. If you are looking for something to while away the time between inspirations, this is the project for you. I have deliberately kept it very plain so that it can be decorated to suit any fancy.
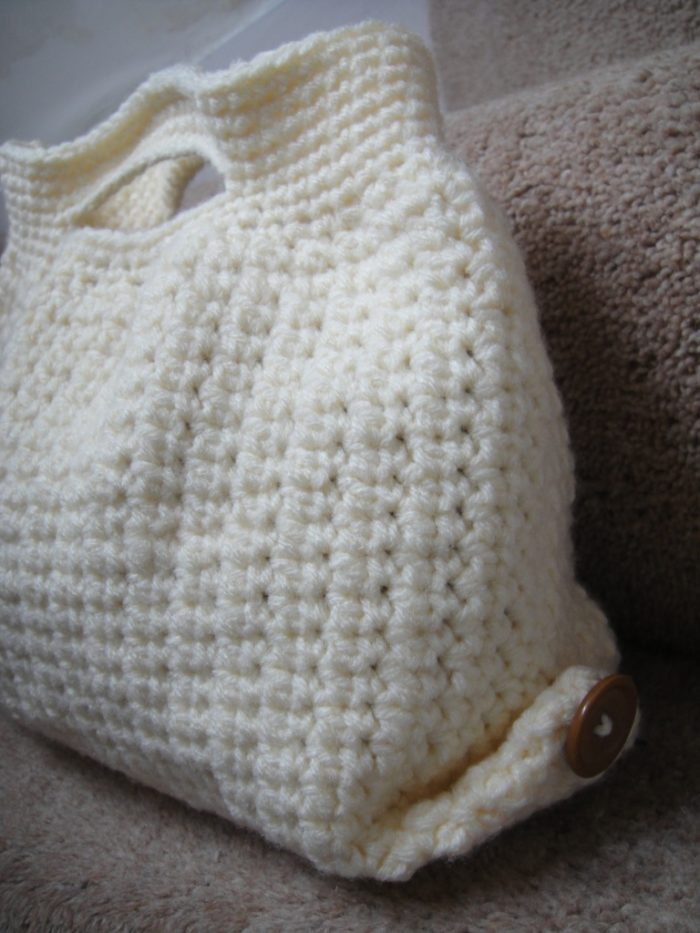
The Blank Canvas Bag is worked in a pattern of (sc,dc) that gives it just a little bit more character than a standard sc or dc bag, without making it any more complicated.
You can adjust the size to make it as big or small as you need it to be, but the suggested size is perfect for toting around 3 skeins of yarn and a small project.
Blank Canvas Bag Pattern
© Dedri Uys 2013. All Rights Reserved.
Abbreviations
US Crochet Terminology Used {US/UK Conversion Chart HERE}
- Ch – Chain
- Dc – Double crochet
- Sc – Single crochet
- Sc2tog – Single crochet two together
- St/sts – Stitch/stitches
- () – Repeat all instructions between parentheses the number of times specified.
Materials
- 5 mm Crochet hook
- 2 strands of double knit yarn OR 1 strand of worsted weight yarn
- Yarn needle
Gauge
16 sts and 10 rows per 10 cm (4″) square.
Size
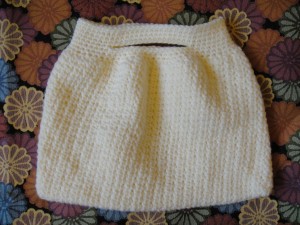
If you work to the suggested gauge, the bag will be 30 cm wide by 25 cm high. If you want a bigger bag, use a bigger hook and thicker yarn. Alternatively you can add more starting chains (in multiples of 2) and work one extra row for each multiple of 2 chains added.
Hint
Use a long piece of yarn as a Running Stitch Marker to help you keep track of the beginning of each round. If you are not familiar with this technique, see THIS TUTORIAL.
Instructions
Chain 48 to start.
Round 1: Sc in the top loop only of the second ch from the hook, and in each of the next 45 chs. Make 3 sc in the last ch. Continue around, working into both the remaining loops of each foundation chain. Sc in the next 45 chs. Make 2 sc in the last ch. Don’t join with a slip stitch. Just continue around, making the first st of the next round in the first st of this one. If you are going to use a Running Stitch Marker, place it over your work now. {96 sc}
Rounds 2 – 25: Sc in the first st of the previous round. Dc in next st. (Sc in next st, dc in next st) until you have worked into every st around. {96 sts}
You will notice that the first st of every round will creep ever so slightly to the right (to the left if you are left-handed). Because you want to end up on the side of the bag when it is folded flat, we will now work a Bridge Row.
Bridge Row 26: (Sc in the next st, dc in the next st) twice. Sc in the next st. Mark this as the new beginning of your round. When you fold the bag flat, your hook should be right on the fold. If it isn’t (for whatever reason), do whatever you have to do to get it there (either crochet on until you get to the side, using the established pattern, or pull out a few stitches).
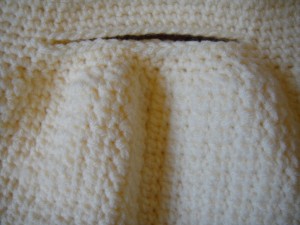
You will now start shaping the bag and adding the handles.
Round 27: (Sc in the next st, sc2tog) 32 times. This should bring you back to the stitch marker. {64 scs}
Rounds 28 and 29: Sc in every st around. {64 scs}
Round 30: Sc in the next 9 sts. Ch 16 and skip the next 16 sts. Sc in the next 16 sts. Ch 16 and skip the next 16 sts. Sc in the last 7 sts. {32 scs and 2 ch-16 spaces}
Round 31: Sc in each of the first 9 sts. Sc in the back bump of the next 16 chs. Sc in the next 16 sts. Sc in the back bump of the next 16 chs. Sc in the last 7 sts. {64 scs}
Rounds 32 – 34: Sc in every st around. At the end of round 34, ch 1 and fasten off. Work away your tails of yarn.
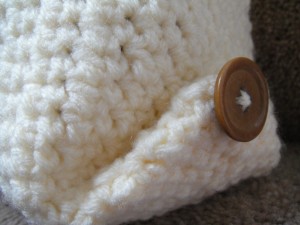
To add the buttons to your bag, open the bag up and flatten the corners against your work surface so that they form 2 triangles. Fold these triangles up against the side of the bag and sew through all 3 layers (the 2 layers of the corner AND the side of the bag). Add a button when you’re done.
Folding the corners up in this way gives you a box base. Folding them up only a little bit will give you a skinny base. Folding them up significantly will give you an almost square base.

This blog post contains affiliate links. I only link to products I personally use or would use. All opinions are my own.
