Block 30 of the Block a Week CAL (hosted by Kimberly Slifer) is Chris Simon’s Cygnus Square. We have featured a few of Chris’ designs and I love each and every one of them! In fact, I love them so much that I approached Chris about using the center for her Lace Petals square in a Mandala I was designing. Luckily for me, Chris agreed to let me use her center.
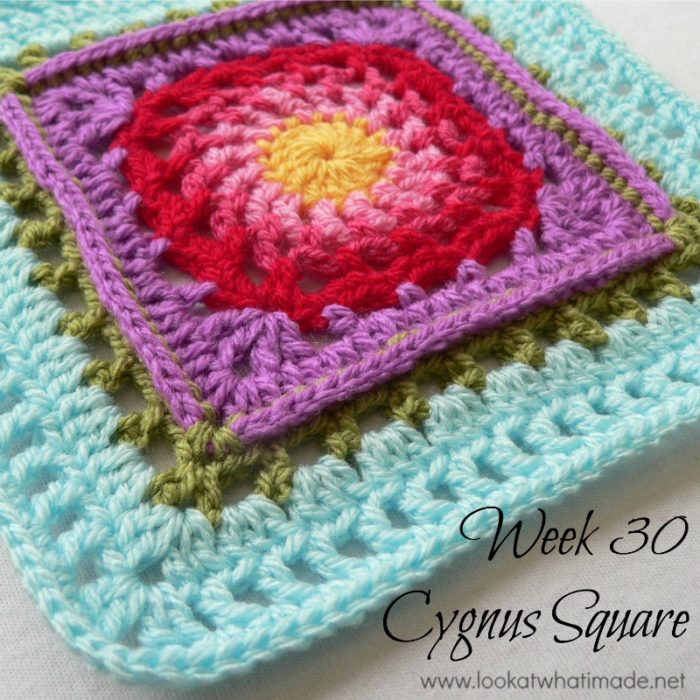
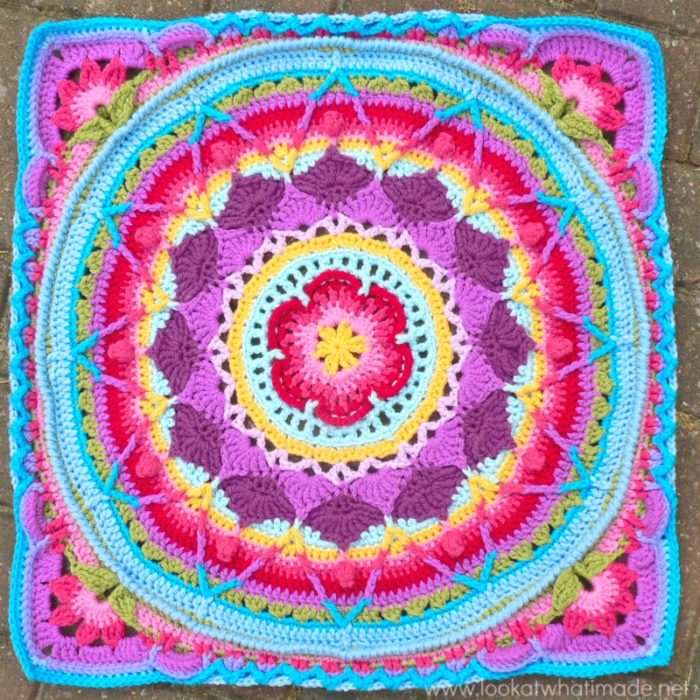
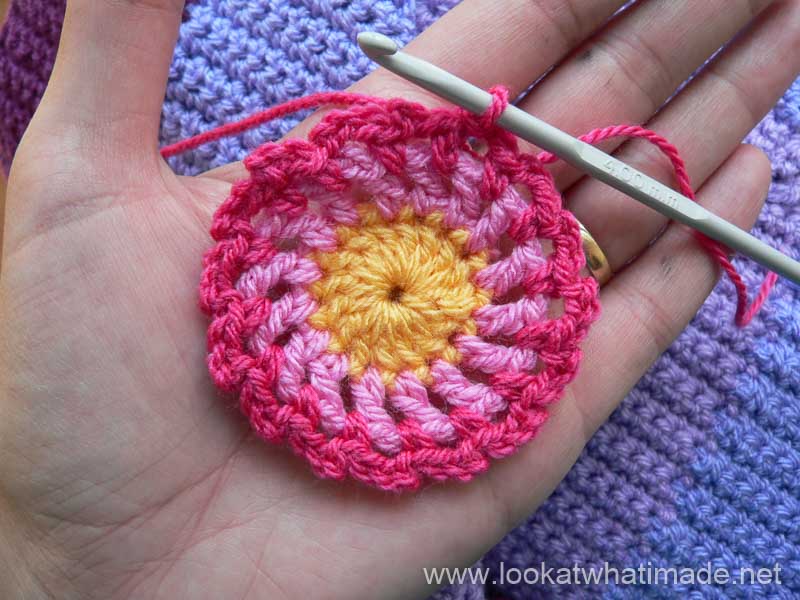
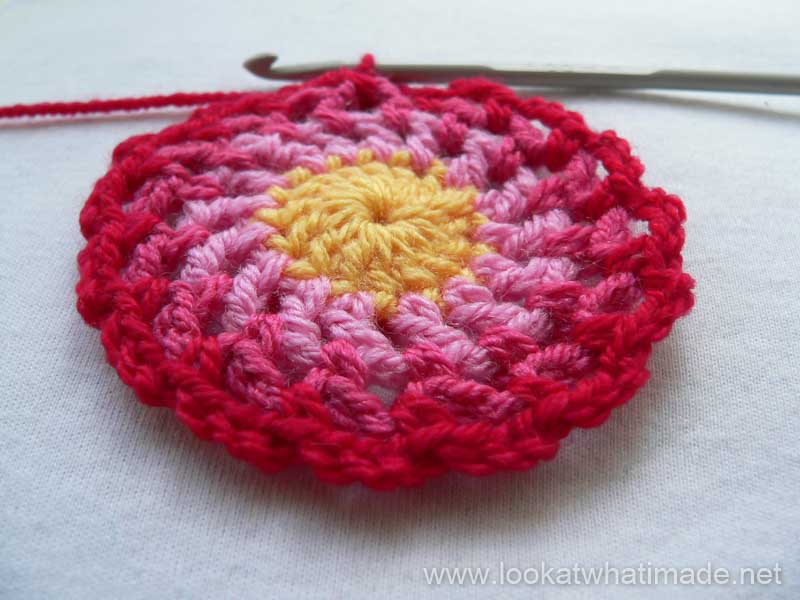
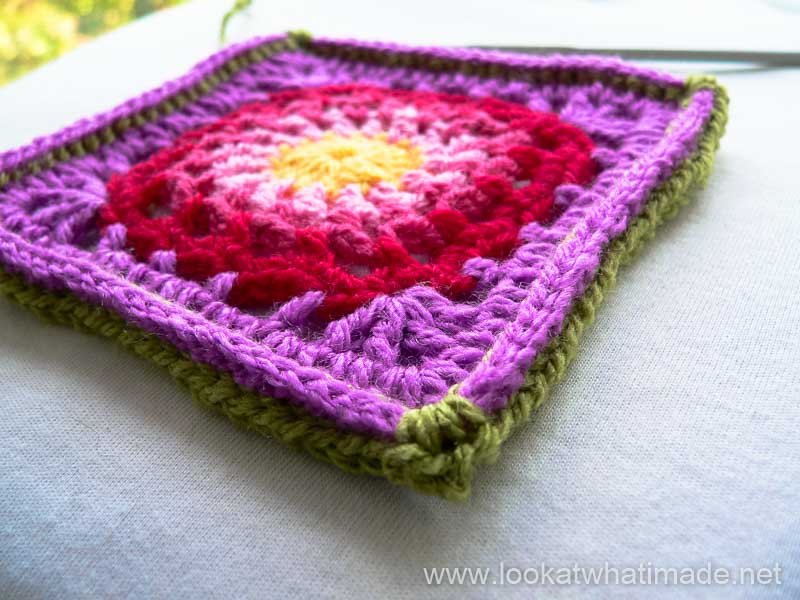
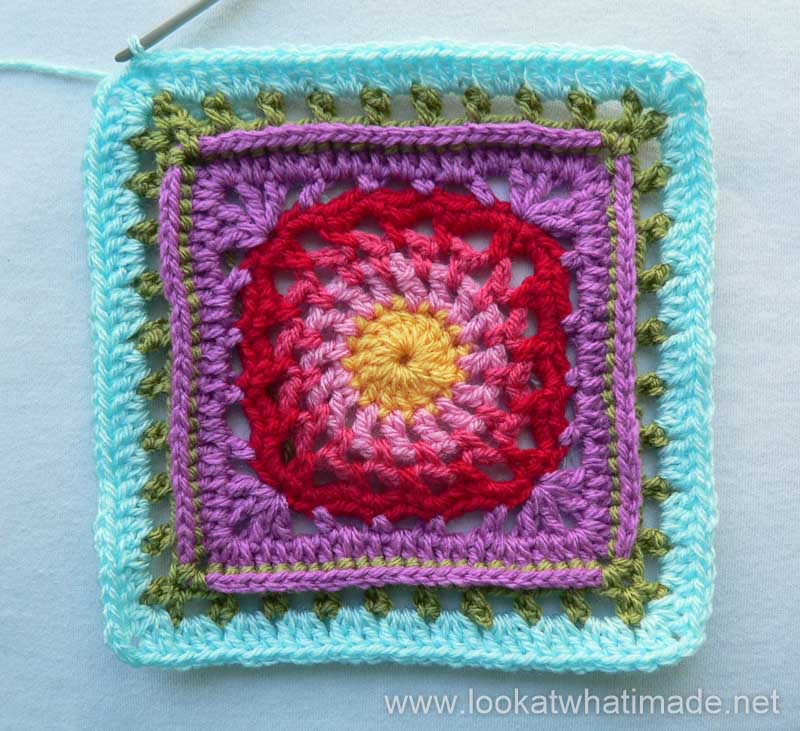
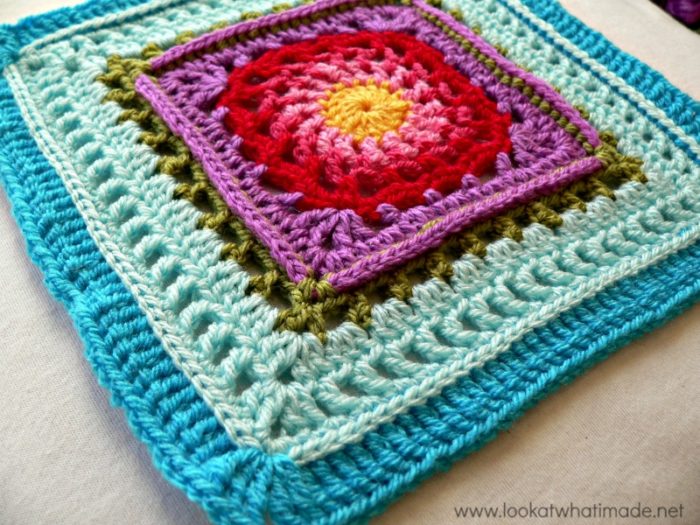
Ironically, once the mandala was done I started getting requests for turning it back into a square. Go figure. So now I am playing around trying to square up Sophie’s Mandala. I thought you might like a peek at my progress so far. And then we will get back to the CAL :)
Update: You can now find this pattern (Sophie’s Garden) as Parts 1 – 4 of Sophie’s Universe.
This week the training wheels are coming off! This square is so easy that I didn’t do step-by-step photos. I did do a step-by-stepper for Round 6, but it really wasn’t necessary.
I have included stitch counts for each round, because they weren’t included for each round in the pattern. I have also included a photo of each round.
Cygnus Crochet Square
{Pattern © 2004 Chris Simon. Photo tutorial done with kind permission}
Pattern
- Add it to your Ravelry Queue
- Find the pattern here
Suggested Materials
- 5 mm Clover Amour Crochet Hook (US H/8 UK 6)
- Worsted weight yarn
Size
- Using the hook and yarn specified, your square should be a nice even 12″ when you are done.
- Using a 4 mm crochet hook (US G/6 UK 8) and double knit yarn, as I have done, your finished square will be about 7″ big. It is one of the tinier ones.
My Yarn and Colour Choices
I am using Stylecraft Special DK.
- Saffron (Round 1)
- Fondant (Round 2)
- Pomegranate (Round 3)
- Lipstick (Rounds 4 and 5)
- Magenta (Rounds 6 and 7)
- Meadow (Rounds 8 and 9)
- Sherbet (Rounds 10 – 12)
- Turquoise (Optional Round 13)
Cygnus Square Photo Tutorial
This photo-walkthrough is NOT the actual pattern and should not be used instead of the pattern, but rather in conjunction with it.
Thank you very much to Chris Simon for giving us permission to do this photo-tutorial for her Cygnus Square. And a special thank you to Kimberly Slifer for letting me do these tutorials and for obtaining the necessary permission.
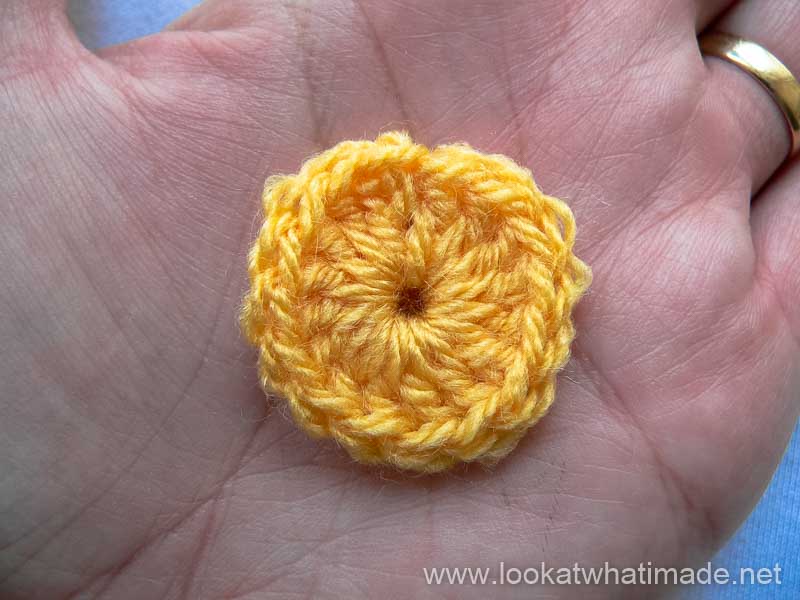
Round 1
You can start this round with a magic ring instead of the initial ch-5 ring.
Magic Ring Instructions for Round 1
Into a magic ring: ch 3 (counts as your first dc) and make 15 dc’s. Join to the top of the beginning ch-3 with a sl st.
If you feel like practising the invisible join I talked about last week, feel free to use it instead of the sl st join. Make sure that you understand which stitch to join to if you do use it!
If you are not familiar with working into a magic ring, this video tutorial from Moogly is clear and easy to follow.
Please remember, when working into a magic ring you HAVE to work away your initial tail very well. If you just cut it, your whole square might unravel!
Stitch count: 16 dc’s
Round 2
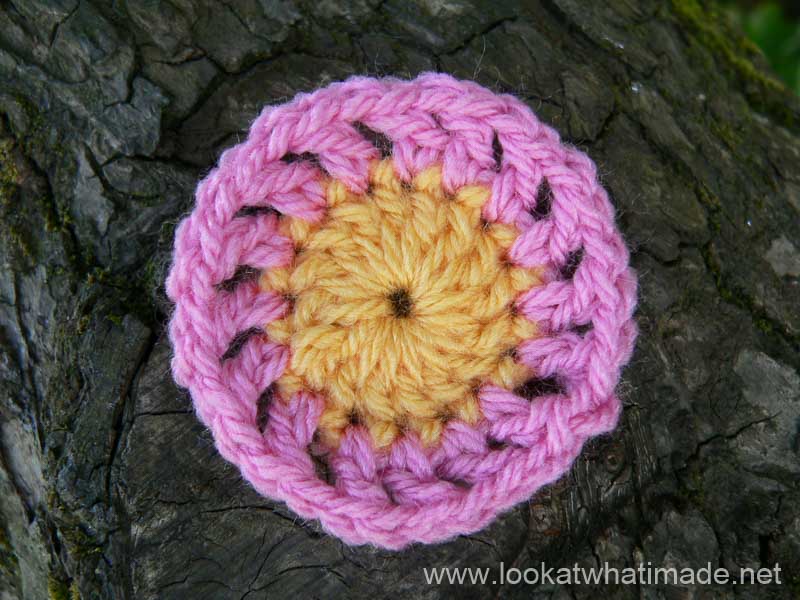
As written.
Stitch count: 16 dc’s and 16 ch-1 spaces
Round 3
As written.
Stitch count: 16 sc’s and 16 ch-3 spaces
Round 4
As written.
Stitch count: 16 sc’s and 16 ch-3 spaces
Round 5
As written.
Stitch count: 64 sc’s
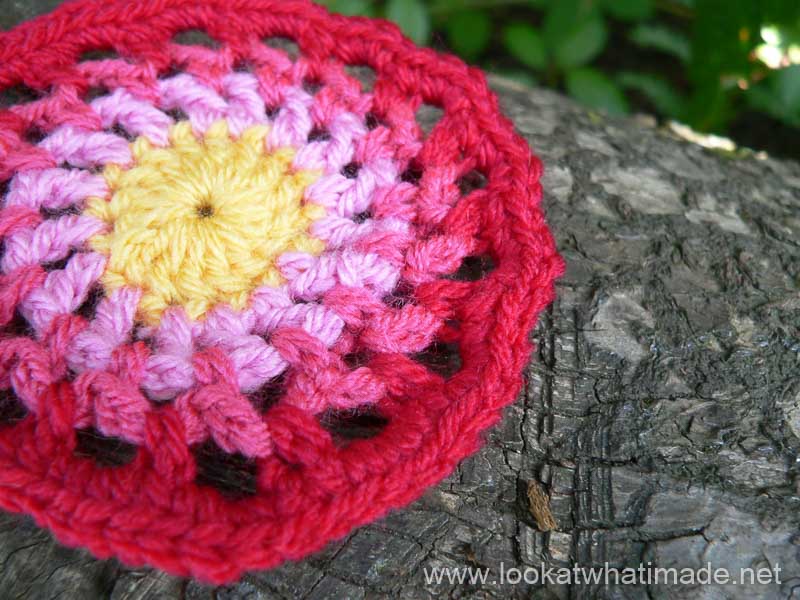
Round 6
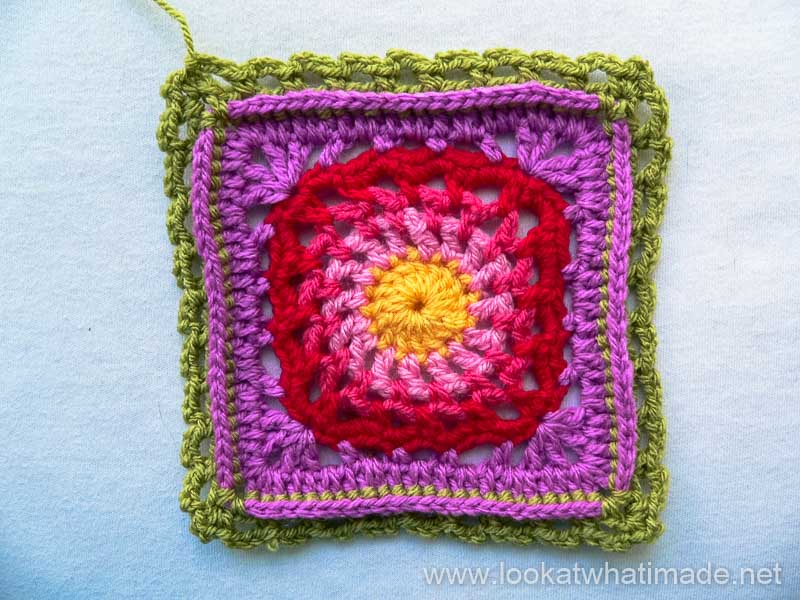
- If you are using the same colour, ch 4 (counts as your first dc and ch 1). (Dc, ch 2, V-st) in the same stitch. This counts as your first corner.
- If you are using a new colour, join with a standing double crochet in the same stitch as the sl st join. Ch 1. (Dc, ch 2, V-st) in the same space. This counts as your first corner (Photo 1).
* Ch 2 (Photo 2). Skip the next sc and hdc in the next sc (Photo 3). (Ch 2, skip 3 sc’s and sc in the next sc) twice (Photo 4). The 2 sc’s should fall in the middle of each ch-3 space from Round 4. Ch 2, skip 3 sc’s and hdc in the next sc (Photo 5). Ch 2 and skip the next sc. (V-st, ch 2, V-st) in the next sc (Photo 6). This corner should fall in a sc between ch-3 spaces.*
Repeat from * to * 3 times, omitting the last corner on the last repeat. Join to the third ch of the beginning ch-4 (or the top of the standing double crochet) with a sl st.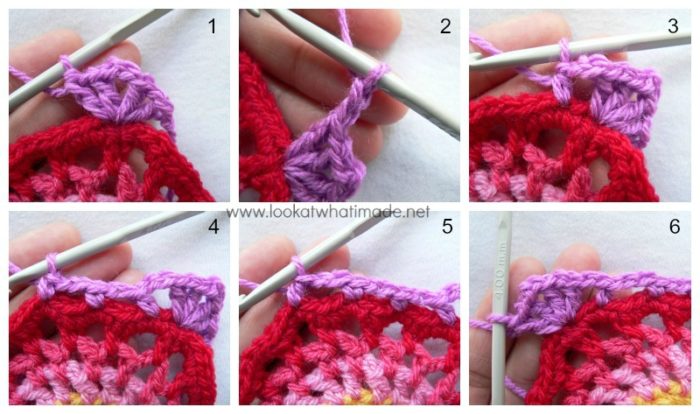
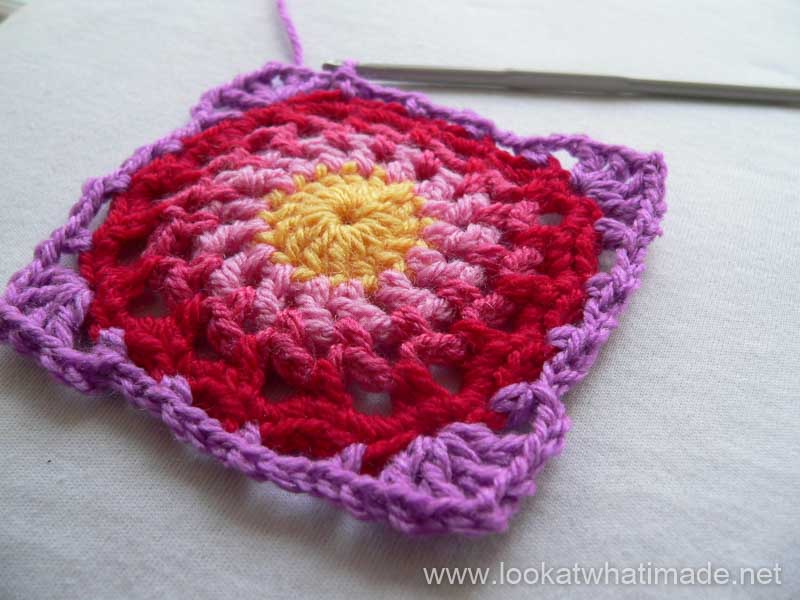
Stitch count:
- Per Side: 8 st’s and 5 ch-2 spaces {2 V-st’s, 2 hdc’s, and 2 sc’s}
- Total: 32 st’s and 20 ch-2 spaces {8 V-st’s, 8 hdc’s, and 8 sc’s}
Round 7
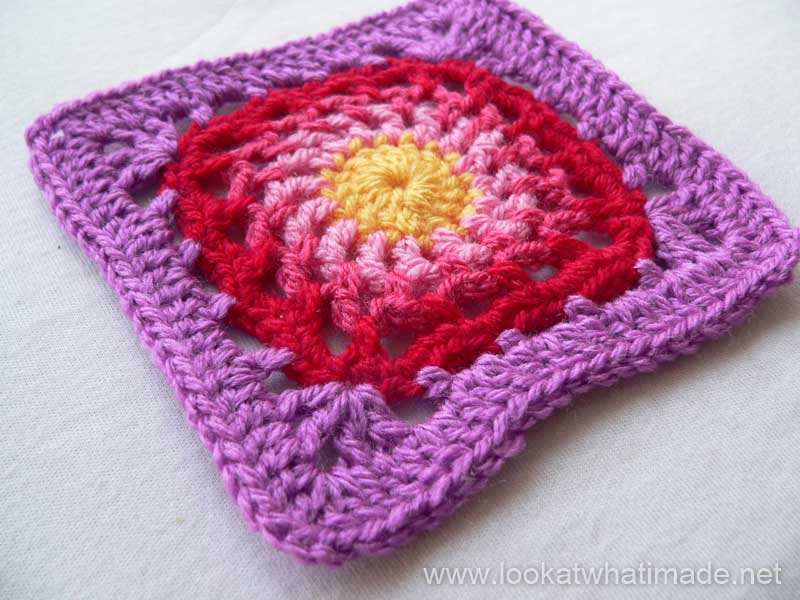
As written. Remember that the top loops of the first dc after every corner will be slightly hidden by the stitches of the corner. Don’t accidentally skip it. See this tutorial if you need some visual help.
It is also a bit tricky to get into the loops of the hdc’s after the ch-2 spaces. Hdc’s are always tricky to get into if they follow chain stitches. If you really can’t get your hook into the loops of the hdc, just make the stitch into the ch-2 space before the hdc. It’s not the end of the world!
My Round 7 looks a bit wonky, but that’s just because I didn’t straighten it up before taking the photo. Whoopsy!
Stitch count: 96 dc’s and 4 ch-2 corner spaces {24 dc’s per side, 20 dc’s between corners}
Round 8
Right…my apologies, girls. It seems that my brain went on holiday in this round. The round is written as BLO (back loop only), but I read (and crocheted) it as Back post instead. Thank you to Viv Voster for pointing that out.
Obviously your round shouldn’t look like mine when it’s done…
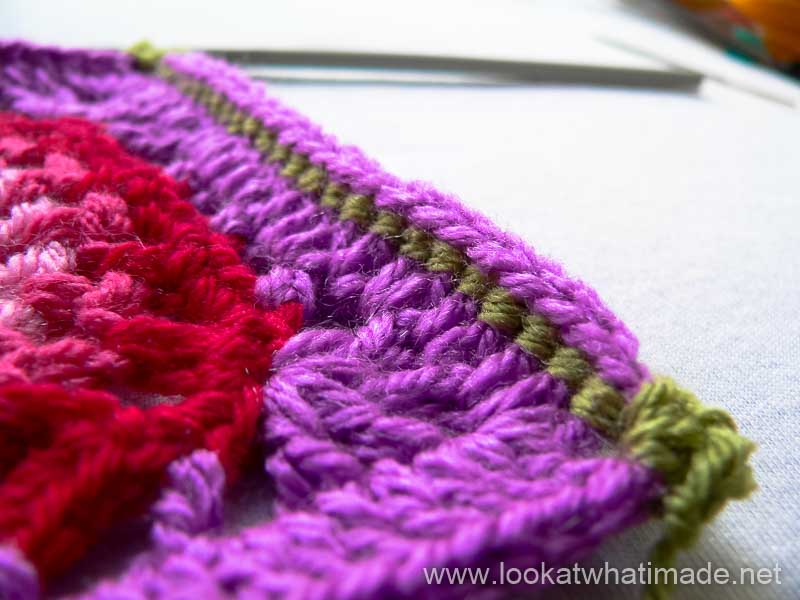
… but aren’t the raised stitches pretty regardless?
Stitch count: 96 bpsc’s, 8 sc’s, and 4 ch-2 spaces {24 bpsc’s and 2 sc’s per side}
Round 9
As written.
Remember to count that first hidden stitch after the step when skipping the first 2 sc’s on each side!
Stitch count: 40 sc’s, 36 ch-3 spaces, and 4 ch-2 corner spaces {10 sc’s and 9 ch-3 spaces per side}
Round 10
As written.
Stitch count: 124 dc’s and 4 ch-2 corner spaces {31 dc’s per side, 27 dc’s between corners}
Round 11
As written.
Remember that the very first stitch you skip on each side will be the hidden stitch.
Stitch count: 76 dc’s, 64 ch-1 spaces, and 4 ch-2 corner spaces {19 dc’s and 16 ch-1 spaces per side}
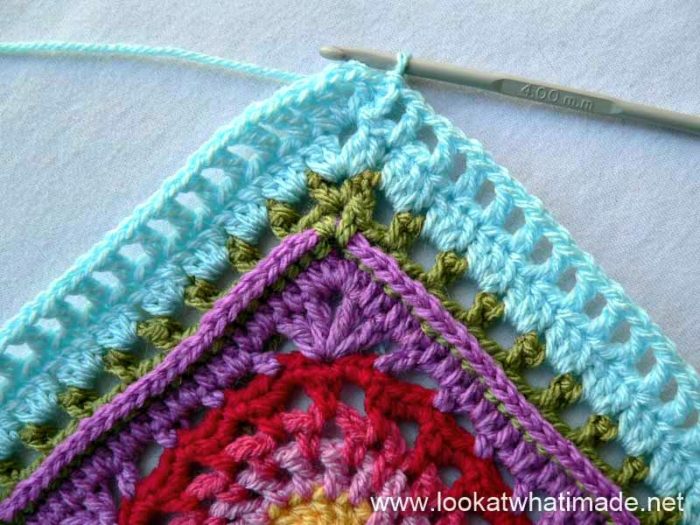
Round 12
As written.
Stitch count: 152 sc’s {37 sc’s per side, not including the central corner sc}
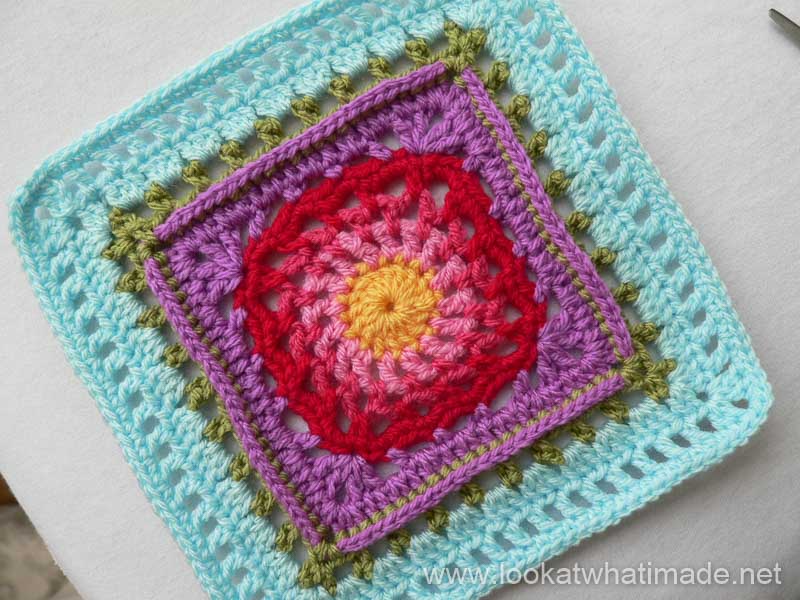
I have added an optional Round 13 to my square to get it to the same size (and stitch count) as the largest of the squares. You can find the instructions for that here.
Remember to subscribe to my Weekly Newsletter if you would like to be kept in the loop. You can also like my Facebook page or follow me on Bloglovin, Google+, Pinterest, Twitter, or Instagram.
Happy Hooking!




Dedri Uys says
Hi Viv. It should be BLO. I don’t know WHAT I was thinking. Thank you :)