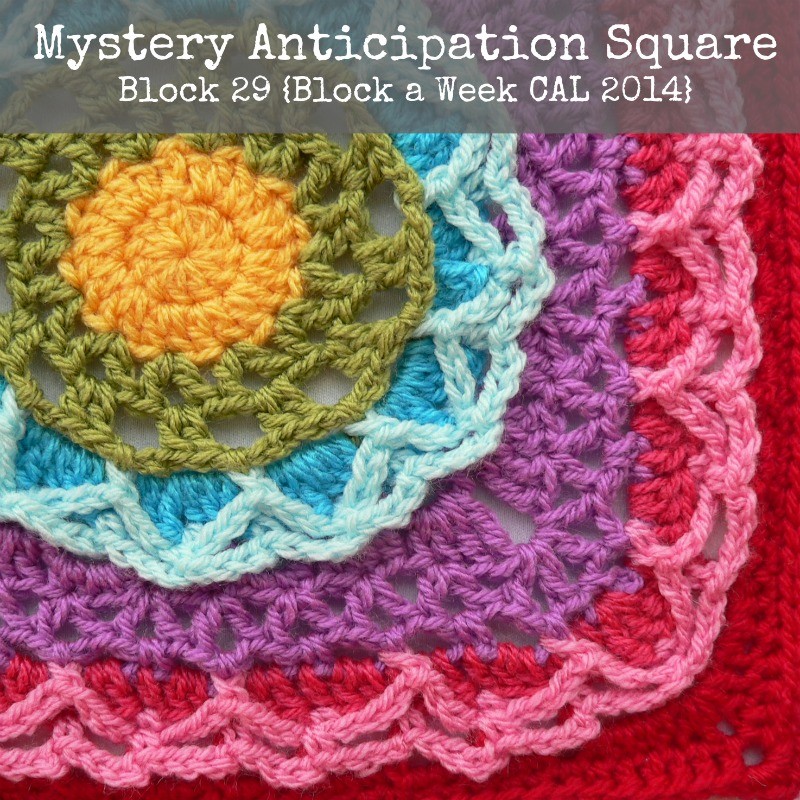
Block 29 of the Block a Week CAL (hosted by Kimberly Slifer) is Margaret MacInnis’ Mystery Anticipation Square. I am getting another break this week, because Margaret has already done a photo tutorial for the square.
This beautiful square was featured in the SpinCushions CAL last year. It was also the first square to be featured in the Moogly CAL (2014). It is another one of those cup-of-coffee-and-a-quiet-corner ones. Round 10 in particular will need a fair bit of concentration. It is not hard, it is just involved.
I have now added a post outlining the extra rounds I added to each square to get them to the size of Block 1, which was the biggest. You can find that here.
Mystery Anticipation Square
{Pattern © 2012 Margaret MacInnis}
Suggested Materials
- 5 mm Clover Amour Crochet Hook (US H/8 UK 6) AND 5.5 mm crochet hook (US I/9 UK 5)
- Worsted weight yarn
Size
- Using the hook and yarn specified, your square should be a nice even 12″ when you are done.
- Using a 4 mm crochet hook (US G/6 UK 8) and double knit yarn, as I have done, your finished square will be about 8.5″ big.
Pattern
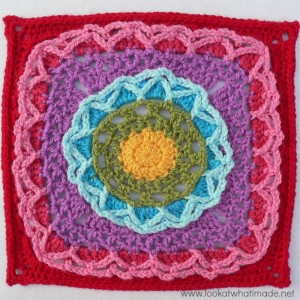 Available as a Free Ravelry Download.
There are 3 downloads to choose from:
- US Terminology
- UK Terminology
- Photo Tutorial
I suggest that you download the photo tutorial, especially for the 4 surface slip stitch rounds and Round 10!
My Yarn and Colour Choices
I am using Stylecraft Special DK.
- Saffron (Rounds 1 – 3)
- Meadow (Rounds 4 and 5)
- Turquoise (Round 6)
- Sherbet (Rounds 7 and 8)
- Magenta (Rounds 9 – 12)
- Pomegranate (Round 13)
- Fondant (Round 14)
- Lipstick (Rounds 15 – 18 and Optional 19)
Hints
The first bout of surface crochet is in Rounds 7 and 8. The pattern and tutorial advise you to use a larger hook for these rounds. As you already know, I use a 4 mm hook. I couldn’t find my 4.5 mm hook, so I just made my chain stitches VERY loose in these two rounds and it worked just fine.
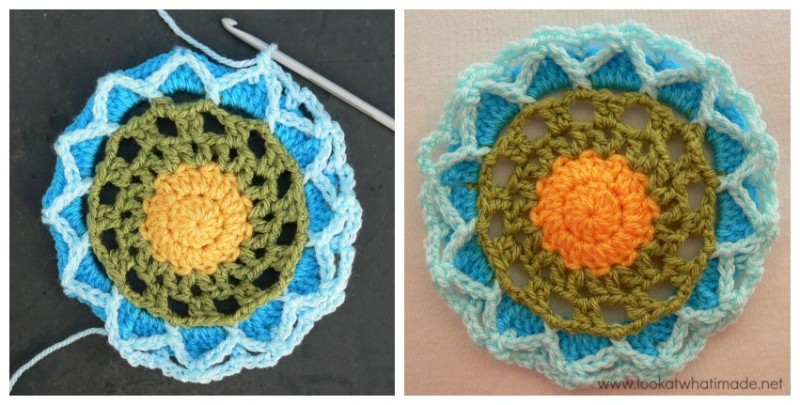
In Round 9 you will be working into the back loop only of the stitches of Round 6. It’s not the end of the world if you can’t identify the second and sixth stitches of each 7-dc group. As long as your sc’s fall between the sc’s of the surface crochet rounds, you will be fine.
You should have 24 ch-3 spaces at the end of this round. You will be making the stitches of Round 10 into these spaces.
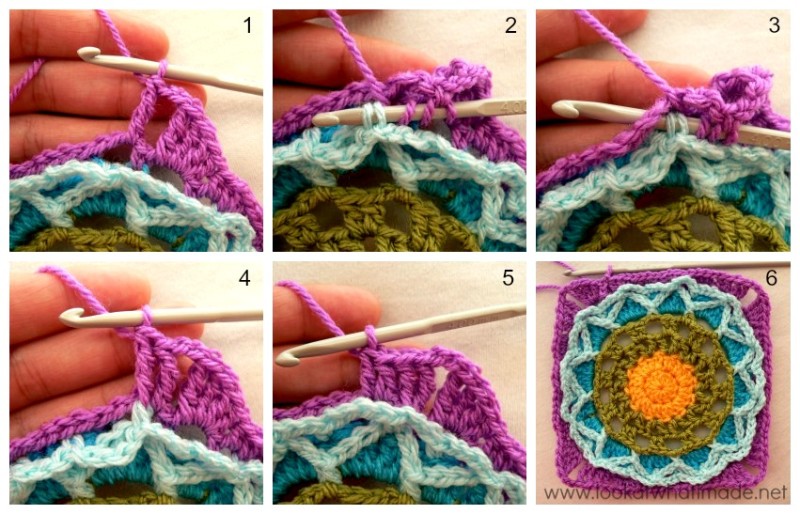
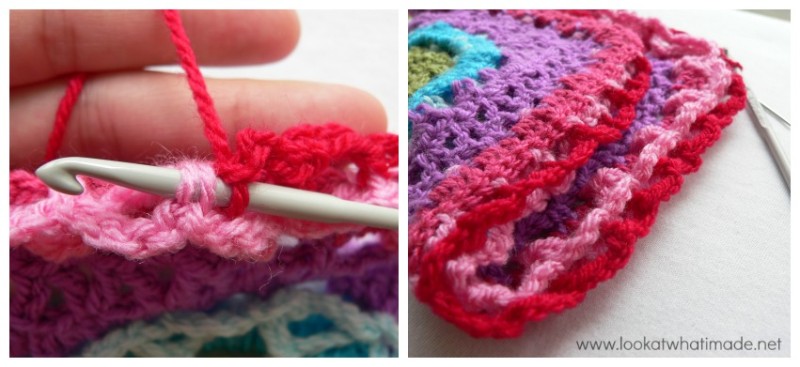
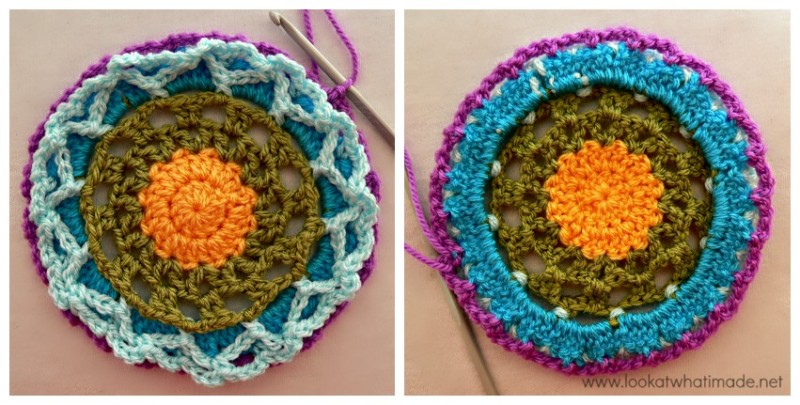 Round 10 needs a cup of coffee. Like I mentioned before, it is not hard, but it IS involved. If you follow Margaret’s photo tutorial slowly and carefully, you will be just fine. To help you get started, I have photographed the stitches as set out in Ch-3 space 2 of her photo tutorial (p. 9 of the tutorial).
Into ch-3 space 2:
Make a tr (Photo 1). “Tack” the surface crochet with the next tr by doing the following: yarn over twice, insert your hook into the 2 vertical bars at the back of the next sc from Round 8 (Photo 2), insert your hook into the ch-3 space behind the sc (Photo 3) and complete a tr as normal (Photo 4). Make 2 dc’s in the same ch-3 space (Photo 5).
Here’s Round 12 all done. So far, so good.
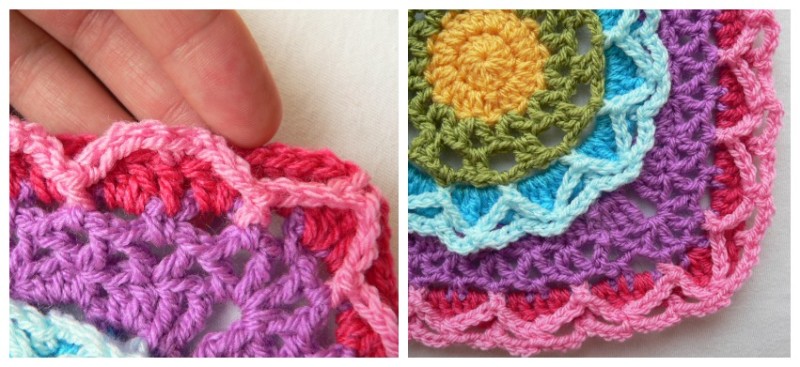
In Round 13 you will have made 2 dc’s in each ch-3 space along the sides, and 1 dc in each sc between spaces. Have a look at the photo below (left). Can you see that the sc falls in the top of the dc from Round 13 between ch-3 spaces? It might not seem like much of a tip, but I found it a lot easier than having to count 5 st’s to skip each time.
Again I chained very loosely for Rounds 14 and 15, using my 4 mm hook throughout.
Pretty :)
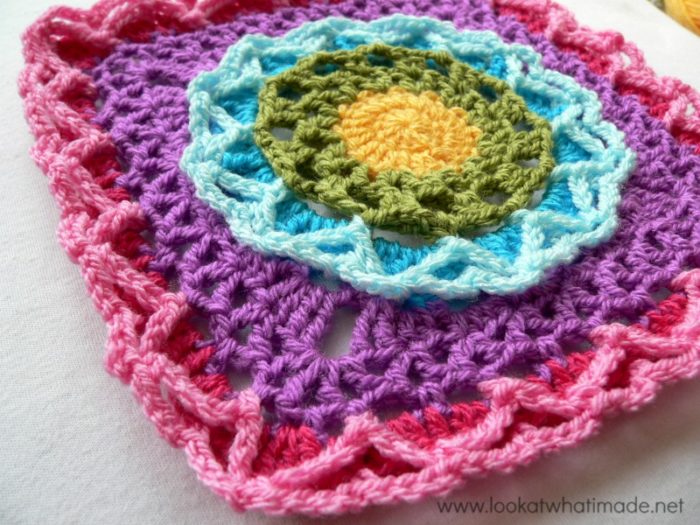
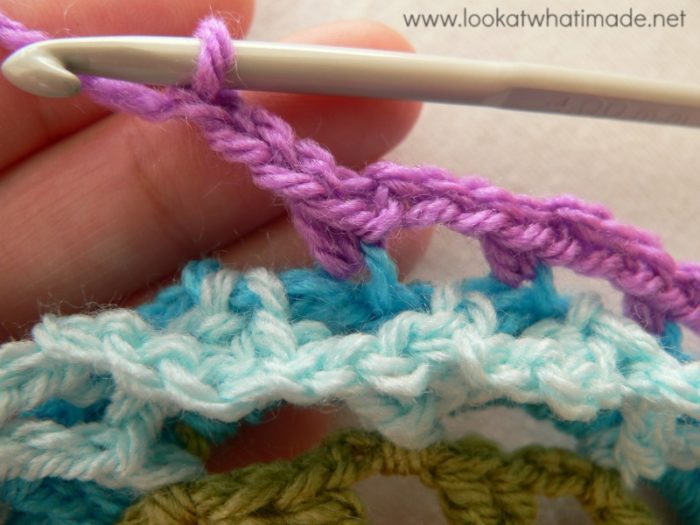
In Round 16 you will again be working into the 2 vertical bars on the back of each sc from Round 15, forming the spaces you will work into in Round 17.
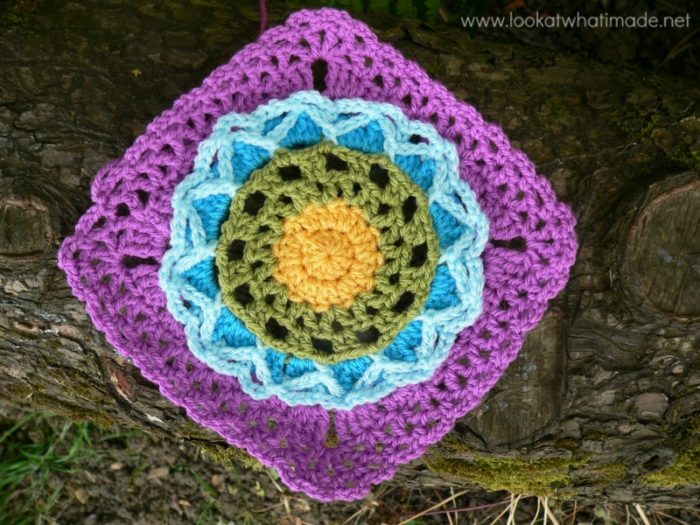
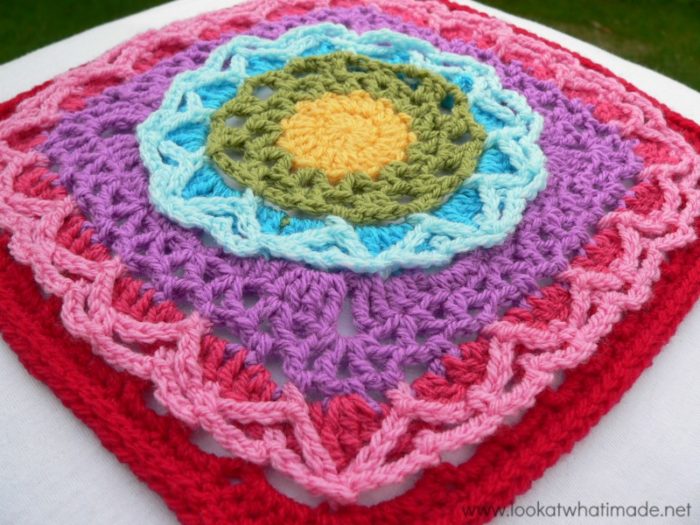
At the end of Round 18, you will have 152 st’s (38 st’s per side). Your square should be well and truly big enough at this point. In fact, it might even be a tad bigger than any of the others so far!
As you probably know by now, I am adding additional rounds to get all my squares to have 164/168 st’s in the last round. To that end, I have added an additional round to this square, but don’t worry, it is done in such a way that it doesn’t add any height. Curious? You’ll just have to have a look at the instructions for Optional Additional Rounds.
Remember to subscribe to my Weekly Newsletter if you would like to be kept in the loop. You can also like my Facebook page or follow me on Bloglovin, Google+, Pinterest, Twitter, or Instagram.
Happy Hooking!




Phillipa Godfrey says
Should rounds 5-6 be Turquoise. Looking at the photo that is what I am seeing
Jenny says
Hi Phillipa. I think you are right. I am sure Dedri will comment soon if that is incorrect.
BW
Jenny
EDITED: Hi Phillipa. Dedri here. Round 5 is definitely Meadow. Only Round 6 is Turquoise. Round 5 forms green chain spaces that you work the blue round into. The blue hides the green, which is why it looks like only two green rounds.
Dedri
DavetteB says
I love this square! Lots of frogging in one section, but the result is worth it.
I may have to do another foursquare with all Anticipation squares.
Aase Oeverdick says
Ohhh it was a tough one :/
Dedri Uys says
Lol