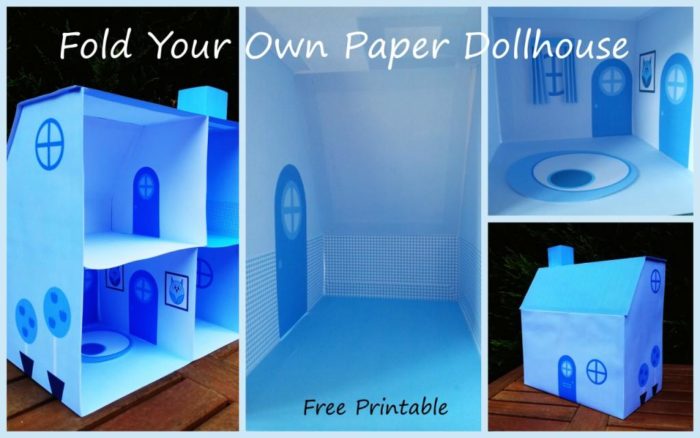
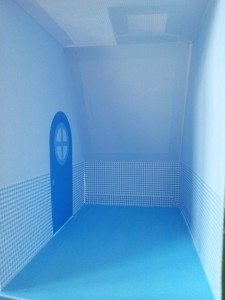
And so I make my way into the world of paper art: with a Blue Paper Dollhouse. I didn’t make this dollhouse for anyone. I just made it to make it. I realized that designing stuff on the computer is a completely free craft (if you use Microsoft Word – don’t laugh – and provided you don’t actually print anything). Unfortunately I have had to print quite a few drafts of my paper toilet as I just wasn’t getting it right, but more on that in a later post.
One of my dad’s many sayings is: “If you’ve got something in your head, you’ve got it in your ass as well.” Now don’t go splitting hairs about the spelling of ass…you know what I mean. And what HE means is that I cannot stop obsessing about something once I’ve thought of it.
This little paper dollhouse is a case in point. Lucky for me it was a bank holiday weekend and Christiaan didn’t have to work over the weekend, so I got to spend most of Saturday designing this A4-sized house. I will also admit that I dreamt about it – and the furniture I am busy designing – all of Friday (and Saturday) night. Sad? Maybe.
What I was actually supposed to be doing was tagging the boys’ faces in Picasa, but after a good many hours staring at hundreds of faces I could no longer distinguish one of them from the other, so I gave my eyes (but not my mind) a welcome rest.
Now, although this house is plain, I think it is cute enough to make a whole bunch of people sit up and take notice, but I have been wrong before about what might (and might not) interest people. So I am not going to say any more about it…
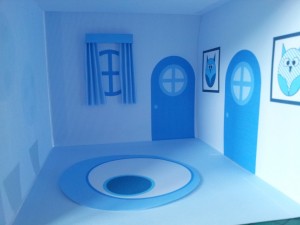
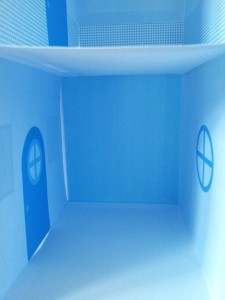
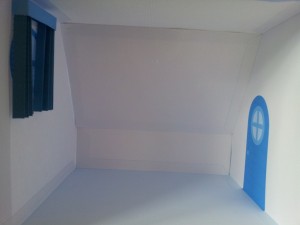
…except that it is 15 cm deep, 25 cm high and 25 cm wide. Included in the printable for the Inside are 2 rugs, 2 sets of curtains and 2 owl portraits.
Here are the free printable PDF files
Assembling Blue Paper Dollhouse
Handy to know: when I refer to the left and right panels/sides of the house, I am talking about the left and right when looking at the house from the inside (open side).
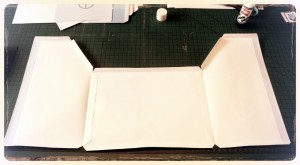
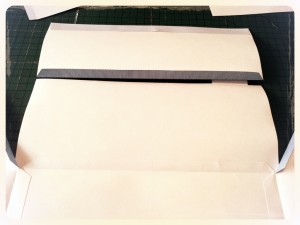
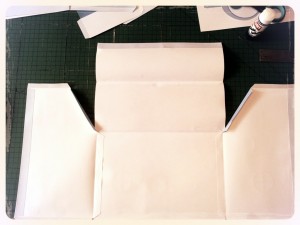
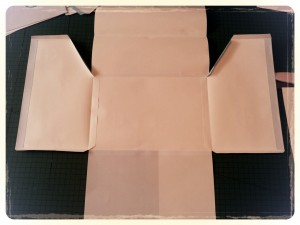
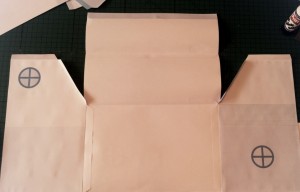
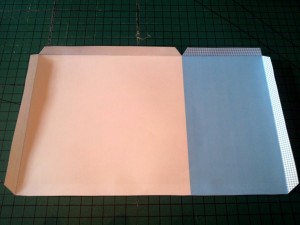
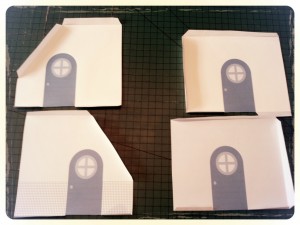
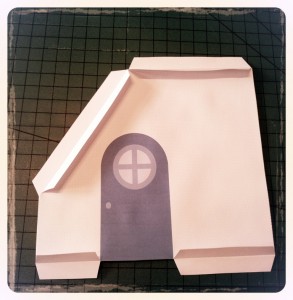
Print out all the parts on card stock and fold over all the tabs for the 3 outside panels.
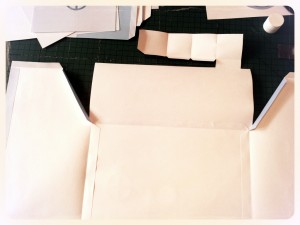
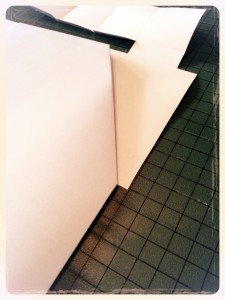
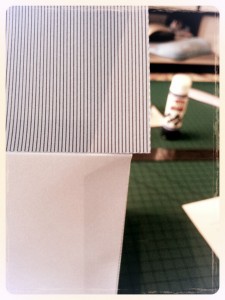
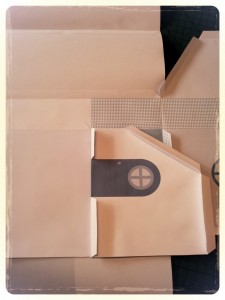
Glue the side panels to the inside of the front panel. Glue the outside edges of the side panels down. These are labeled “reinforcement” and are optional. I would suggest doing this, though, as it will give your house a more sturdy frame.
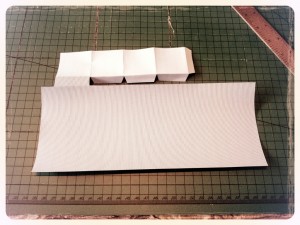
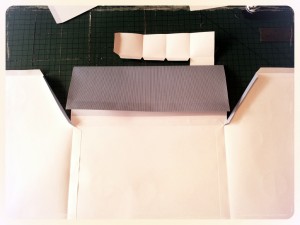
Take the front section of the roof (the bit with the chimney attached) and fold along all the dotted lines.
Turn it over and attach it to the top tab of the front panel of the house. You will notice that it is slightly longer than the front panel so that you will get a bit of overhang on each side of the house.
Fold the top of the roof along the dotted lines and glue down the reinforcement. Lay it on top of the chimney and glue it to the front section of the roof.
You will notice a little “bridge” between the front section of the roof and the chimney.
Glue this bit onto the top section of the roof.
If you do not want to use my design for the inside of the house, glue the downstairs floor to the front and sides of the house now. Make sure that the floor lies on top of the tabs, otherwise you’ll have ugly tabs showing on your floor.
If you are planning on using my design for the inside of the house, leave the floor to one side for now.
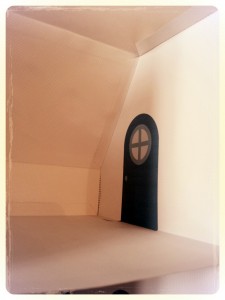
Place the left and right inside walls on top of the left and right outside walls and glue down. (This will hide your reinforcements btw)
Place front inside wall on top of front outside wall and glue down.
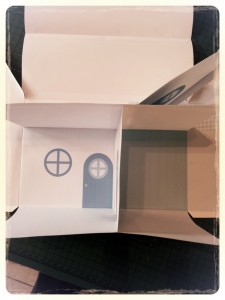
NOW you can attach your floor, but only to the bottom tab of the front panel of the house.
Adding the Inside Walls and Top Floor
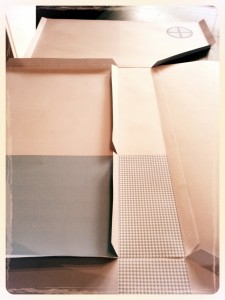
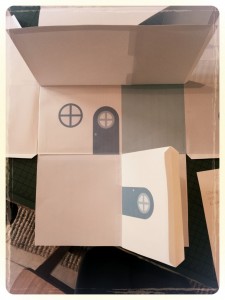
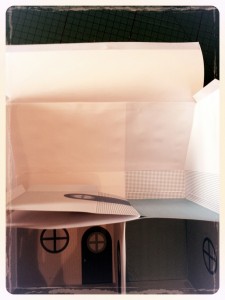
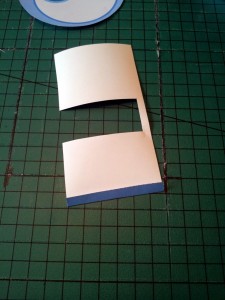
Fold along the dotted lines for the upstairs floor and all 4 dividing wall panels (2 for each wall). Make sure you fold all your tabs forward.
Stick the panels of both dividing walls together (but not the tabs).
Now line the top floor up to the front wall of the house and glue down the tab.
Fold the tabs of the upstairs dividing wall up and line the bottom of the wall up with the line on the floor.
Glue tabs down on one side and then flip the wall to that side so that you can attach the tabs on the other side.
Repeat the same process for the downstairs dividing wall.
Glue downstairs dividing wall to the downstairs ceiling.
Now attach the tabs on the left to the side of the house: downstairs floor first, then the upstairs floor and finally attach the front section of the roof to the side of the house.
Fold upstairs divider down and attach the inside front ceiling to the front section of the roof. (It is a good idea to turn the house on its head so that the front section of the roof is resting on your work surface. This makes it easier to glue things down.)
Lift the upstairs dividing wall back up and attach it to the front ceiling (not the top/roof).
Attach the three tabs on the right side of the house.
Attach the top section of the roof and also attach the top tabs of the upstairs dividing wall to the ceiling.
Fold the chimney and glue it down.
Making the Pelmets and Curtains
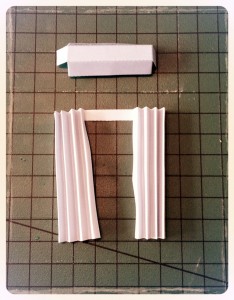
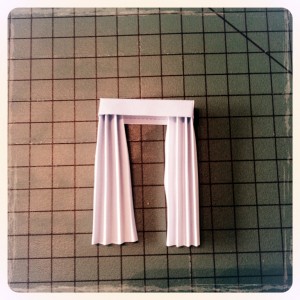
Cut out the pelmets and the curtains.
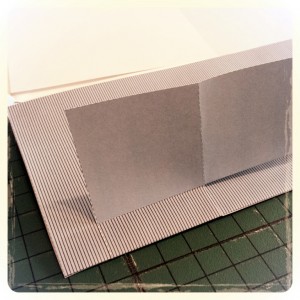
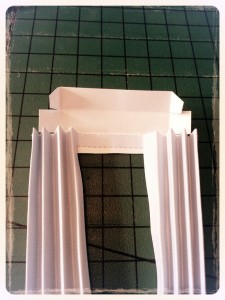
Concertina-fold the curtains along the dotted lines.
Fold the pelmet along the dotted lines.
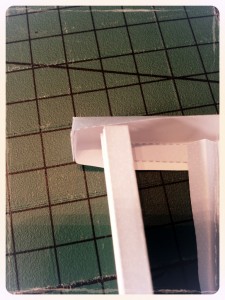
Glue the middle divider of the curtains onto the inside of the back part of the pelmet.
Glue the sides of the pelmet together.
Glue both sides of the curtain to the insides of the ends of the pelmet.
Glue the whole thing to the wall above your window of choice.
And there you have it :)
You may download my PDF Blue Paper Dollhouse to do with as you wish, provided you don’t sell the PDF AND you link back to this post as and when applicable.
Look out for the furniture and garden bits that will be available soon.


Anastasia says
Thank you so much for sharing, the kids love it:)