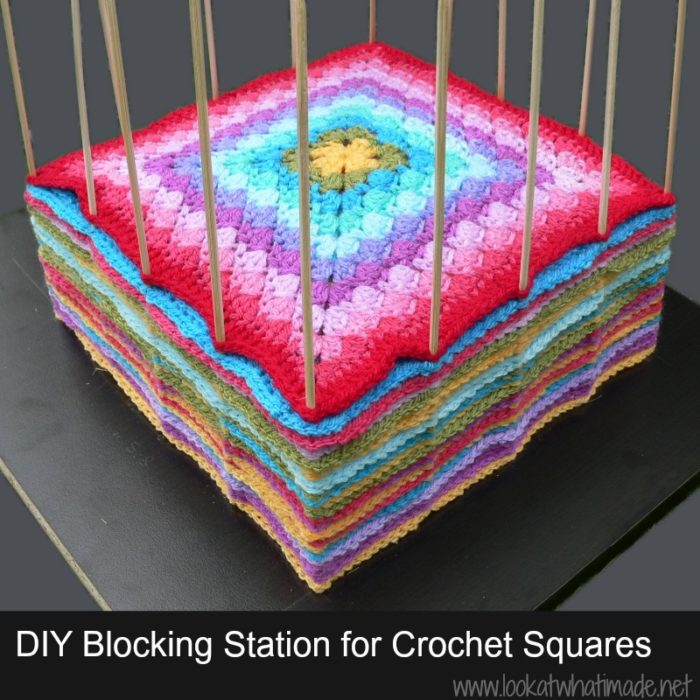
To help me block the squares from the Block a Week CAL 2014, I have made myself a DIY Blocking Station. It is perfect for people who hate pinning crochet blocks down (or are too lazy to block them as they make them – like me). It works really well for squares that are the same size and just need a bit of encouragement and TLC. You will see, lower down, that this method does not work well when you are trying to stretch a square far beyond it’s actual size.
Before I go into the details of how to make a blocking station for your crochet squares, I should probably answer the question of what blocking is, for those of you who have never done it. And I am going to answer it by referring you to this excellent tutorial by Tamara Kelly from Moogly. She walks you through why you should block and HOW to wet block. She’s also got some excellent links to steam blocking and “killing” squares (which is not recommended for afghan blocks). So read that post first and then head back here to find out how you can mass-block with a blocking station.
If you are going to use foam squares to block on, consider buying these Interlocking Foam Exercise Mats. They are similar to these Knitter’s Pride Lace Blocking Mats, but cheaper. You will also need some of these Clover Fork Blocking Pins
.
DIY Blocking Station for Crochet Squares
Things you will need
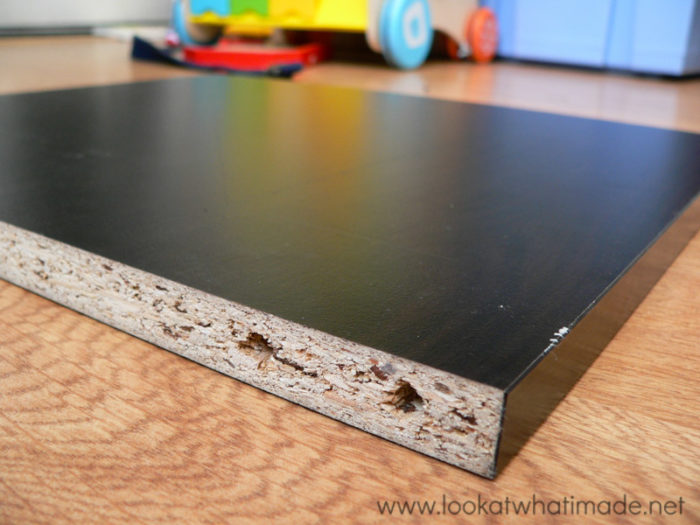
- Wooden plank, at least 1/2″ thick (1.25 cm) and at least an inch bigger than the size of the squares you want to block
- 8 – 16 3 mm double pointed metal knitting needles (2 mm/4 mm will work as well) OR wooden kebab sticks
- Black & Decker Drill
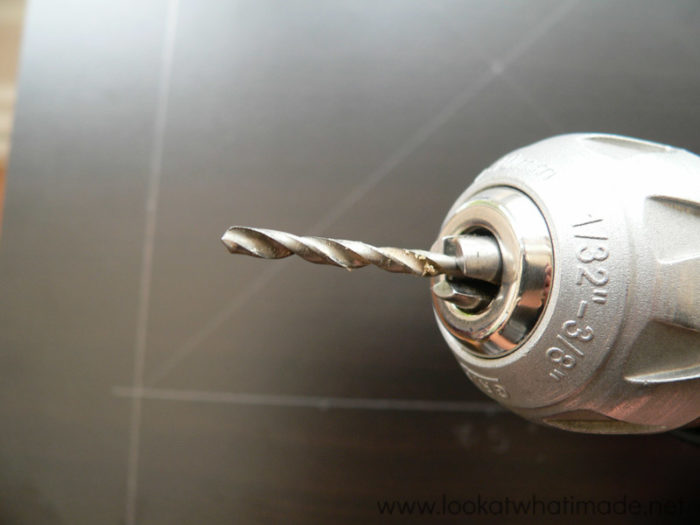
- A drill bit that is slightly bigger than your needles/sticks
- Duct tape (just a scrap)
- Pencil
- Ruler
- Optional: Paraffin wax if using wooden kebab sticks
Instructions
I started off with a piece of wood I “borrowed” from our Ikea Expedit shelving unit. You can use any wooden plank as long as it is at least half an inch thick (preferably more). Make sure that the plank is at least an inch bigger than the biggest square you want to block.
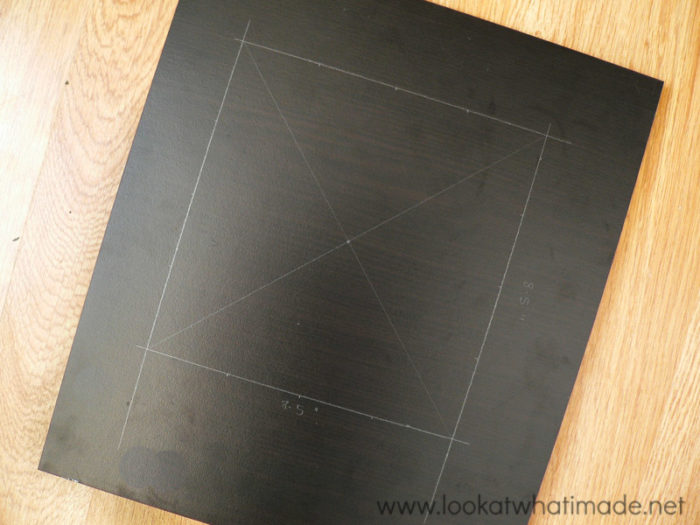
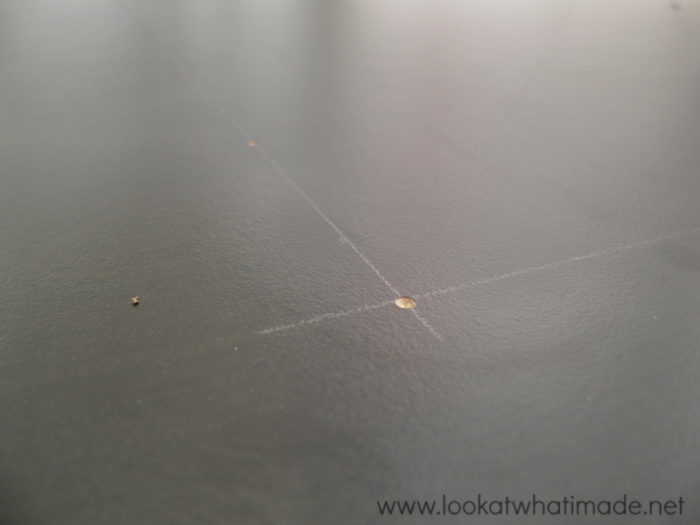
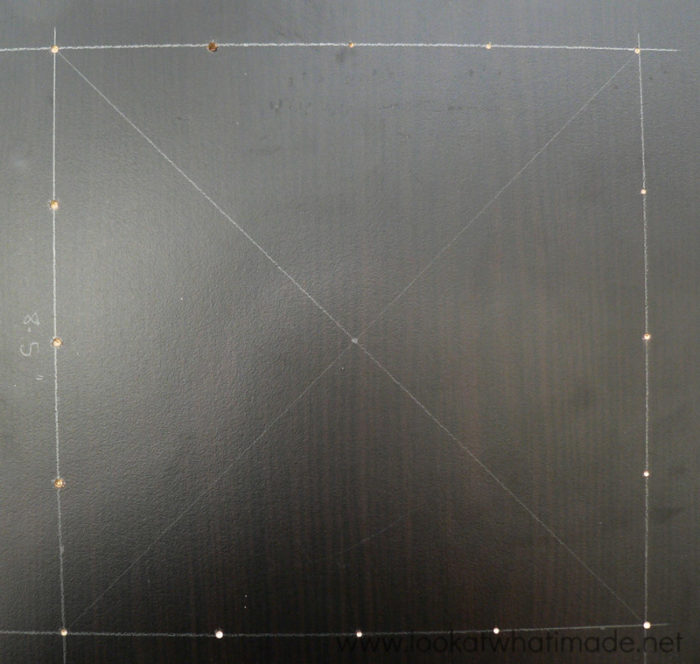
My squares are all 8.5″, so I drew an 8.5″ square in the center of my plank and divided each side into quarters (see the little marks below). Please note that this is not the measurement of your square “at rest”, but rather the measurement you are aiming for (within reason). If you are unsure, stretch one of your squares out a bit, until you feel it looks like you want it to look, and measure it then.
If you want to be able to block different sizes, for instance 12″, 10″, and 8″, you can mark a grid of 1″ squares instead, using a ruler and a pencil, and drill holes accordingly (sort of like a giant peg board). You can then change the size of your blocking station by moving the “pegs”.
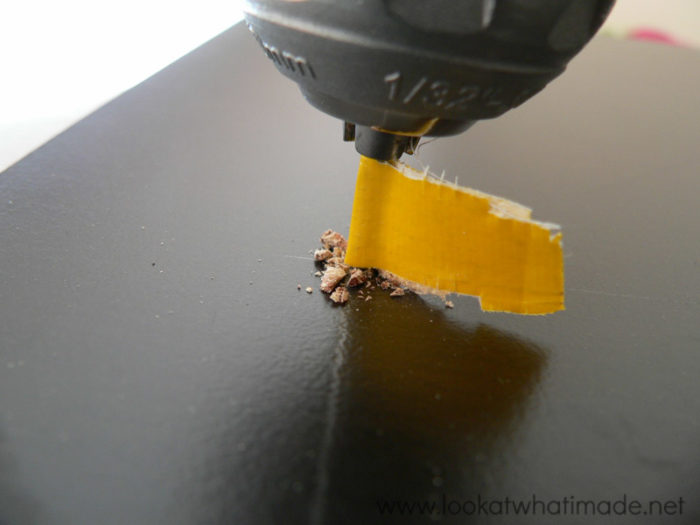
Fit your drill with a drill bit that is ever so slightly bigger than the kebab stick/ knitting needles you will be using as pegs.
Drill a pilot hole for each hole you wish to make.
I drilled 16 holes because I only needed one square size, but if you have marked a grid, you will obviously need to drill a whole bunch of pilot holes.
Here’s a handy little tip when drilling. Hold your drill bit against the side of the plank you are going to use so that you can measure the “depth” at which you want to stop drilling. Don’t drill all the way through, because your “pegs” will fall straight through. Once you know how deep you want to drill your holes, take a piece of duct tape and tape it around your drill bit at that level so that you will know when you have drilled deep enough.
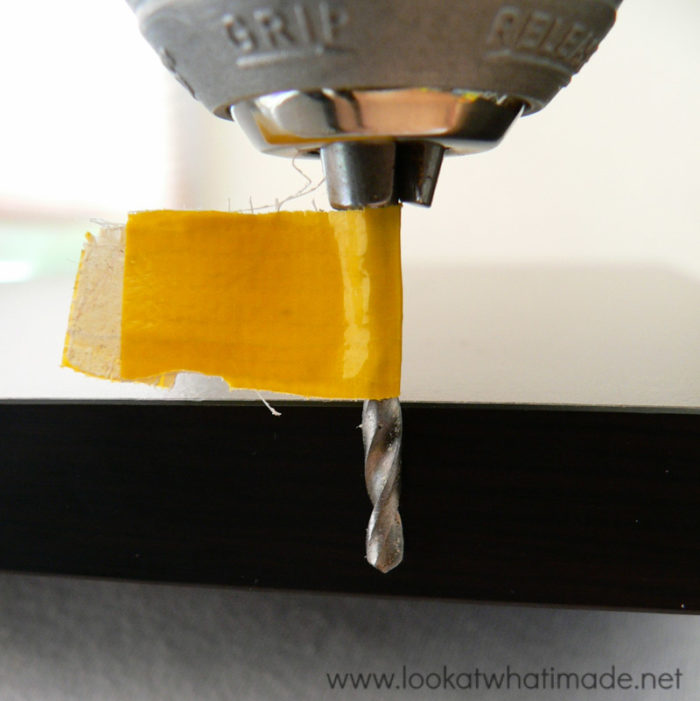
Drill your holes, stopping when the duct tape touches the wood.
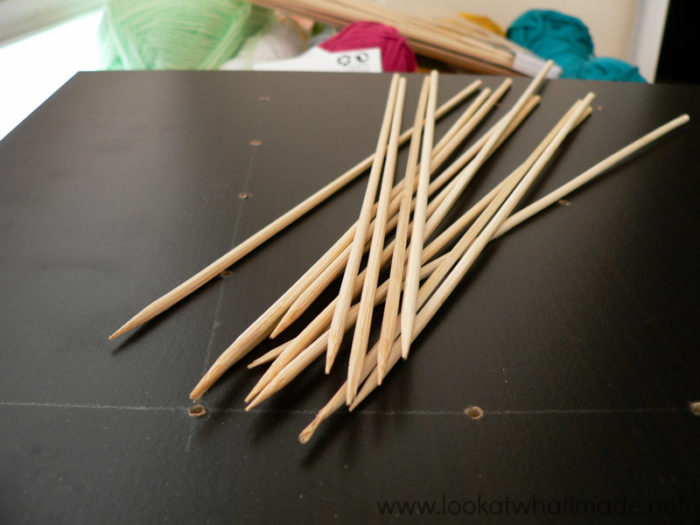
Once you have drilled your holes, fetch your pegs of choice. I used kebab sticks because I didn’t have a ready stash of 3 mm double pointed knitting needles and the charity shop (for the first time in forever) didn’t have any either.
I strongly suggest that you buy a bunch of knitting needles from a second hand shop if you can. The kebab sticks make tiny splinters, which makes sliding the squares onto them extremely awkward. One way to get around this is to dip the kebab sticks in melted paraffin wax before you use them. The paraffin wax will coat the kebab sticks and thus prevent splintering.
But that is not the only hurdle, unfortunately. Wooden kebab sticks are not wonderfully sturdy. They tend to buckle, which can be a problem if you are trying to “hardcore block” a square. The odds are that the kebab sticks will bend more than the square will stretch, if that makes sense. I have a photo of it lower down.
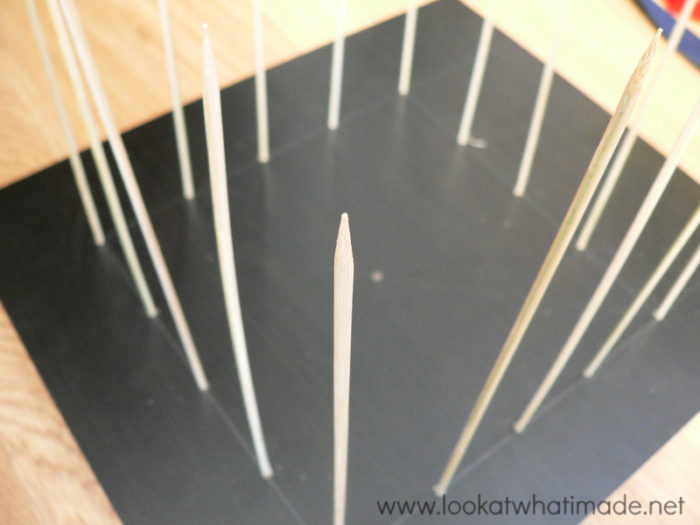
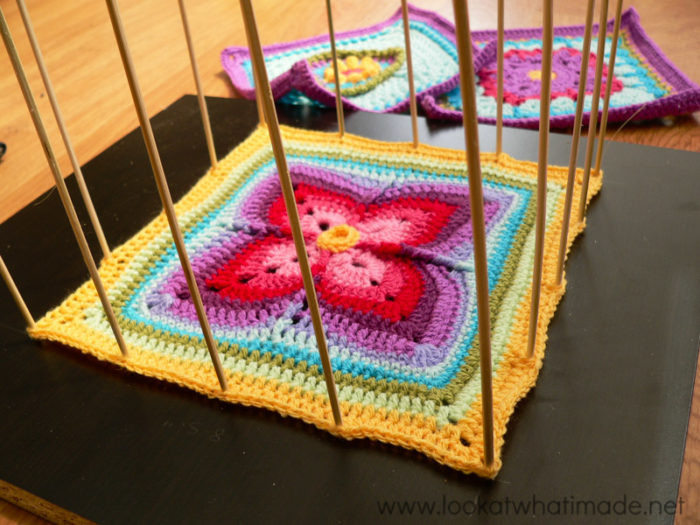
Once you’ve got your pegs, stick them into the holes so that the sharp end is pointing up. If you are using double pointed knitting needles this won’t be a problem as both sides are pointy.
Doesn’t this look like a tiny crochet square jail?
Make sure that your square is good and wet as per Tamara’s tutorial. Then slide it onto the pegs. Make sure that the pegs go into the spaces between stitches, not into the actual stitches.
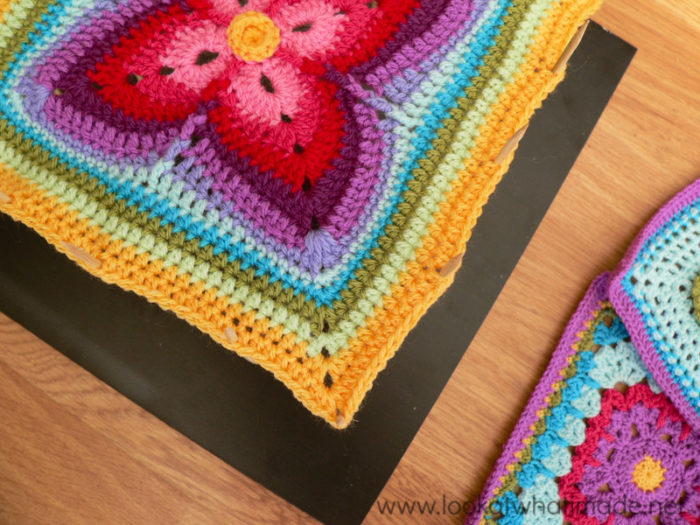
Slide your square all the way down to the bottom so that you can add the next square. Isn’t this Firenze Square by Julie Yeager amazing?
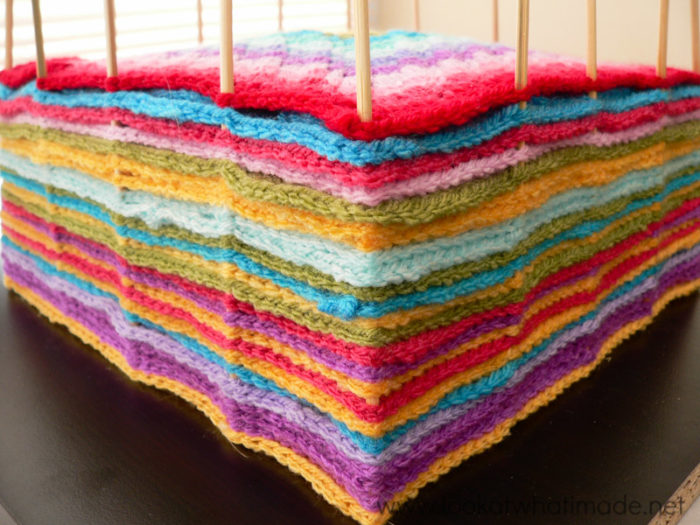
Look at that luscious pile waiting to be blocked…
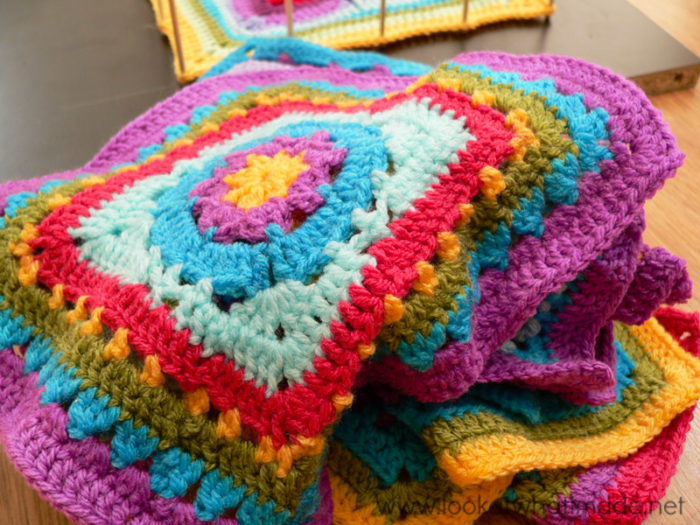
Keep adding squares to your stack until you have added all your squares. This is Donna Mason-Svara’s Lemony Lime Citrus Square.

Isn’t that pretty?
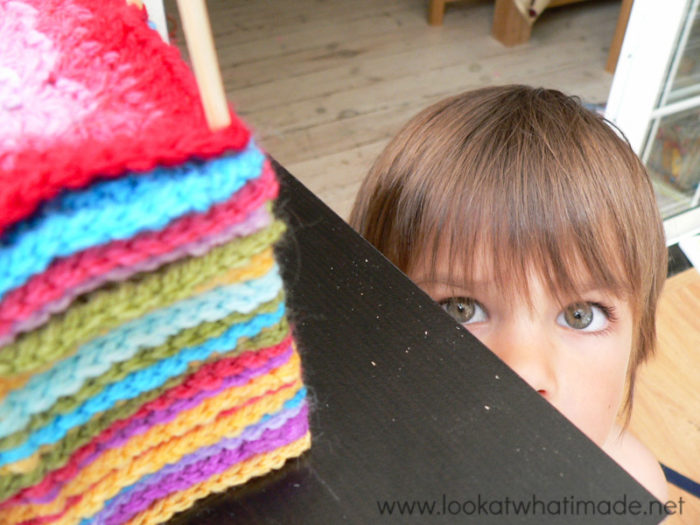
And of course this tutorial wouldn’t be complete without a little boy lurking…
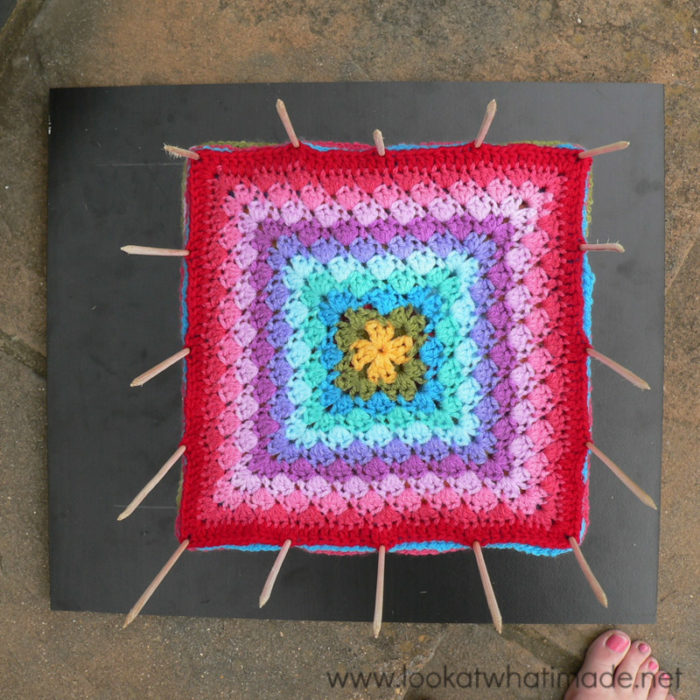
Now remember what I said about this method not being suitable for squares that need hardcore blocking? And the bit about the kebab sticks bending rather than the square stretching? Well Harlequin Shells (designed by the talented Carolyn Christmas from Pink Mambo) is a prime example. This square needs to be severely blocked.
Can you see that the kebab sticks are no longer in a straight line? That’s why double pointed knitting needles work better. You can also see that the sides of the square pull in between the pegs. I ended up blocking this square with lots and lots of pins on a foam block instead. And now it, too, has straight sides and crisp corners :)
Once all the squares have been added to your blocking station, put them somewhere warm and preferably windy. As the top squares dry, take them off the stack to allow the squares below them to dry.
When you have finished blocking, pull out the pegs and store everything until you need to use it again.
This is NOT the kind of thing you leave lying around assembled, especially not if you have children lurking. Lots of pointy ends? That’s just asking for trouble.
I hope you have enjoyed this tutorial and that you have found it useful. I would love to hear what your favourite blocking method is!

This blog post contains affiliate links. I only link to products I personally use or would use. All opinions are my own.


jennifer kauffman says
I think I will make one that looks like yours, but instead of wooden skewers, I will drill all the way through and use knitting needles to stick through the bottom of the board to skewer the afghan squares.
Dedri Uys says
That would work really well!
Tamara says
This is wonderful. I love doing squares for afghans. But have always disliked blocking them. I’m going to see if my wonderful hubby will make me one of these.
Jo says
Thank you so much for sharing this ! It’s just perfect :-) I’ve just collected a huge bunch of unwanted 2mm DPNs from work (and there’s still plenty left lol).
I think this is great, and not just about a space saving point of view but it’s just such a time saving option : all blocks blocked at the exact same size in one go rather than fiddling one block at the time
Jackie says
I made one of these and it’s so easy. Thanks for the idea. Using knitting needles is a good idea but all I had at the time was wooden skewers so in order to make them stand up straight under the strain I made a “lid”. Using a lightweight piece of balsa I made the same holes and after putting the squares on I put the lid on the top of the skewers. It holds them straight up. A little pia to put on and take off but it works until I can get my hands on a bunch of cheap knitting needles. Thanks again!
Colleen Looby says
Thank you so much! Does this also work for knitted blocks? Should the pegs be closer together if the stitches are bigger?
My 10 year old daughter has been collecting knitted squares to sew together as lap blankets for a local nursing home and we want to make the process as easy as possible for her to do (mostly) on her own. Any advice?
Jenny says
Yes, Colleen. I would say this would work well for knitted squares. I do know many knitters that block their work using wires, but I would have to google that method to explain it to you, as it is not something I have done myself.
I have a pin board type system where I pin my squares out flat following a template I have drawn on some interlocking cheap exercise mats.
Jenny :)
Becky says
You are awesome, thank you, thank you for sharing your talents!! Happy Thanksgiving to you and your family.
Dedri Uys says
Thank you, Becky! Merry Christmas to you and yours!
Nancy says
You have truly inspired me to give it a go again and how could one fail with all the help you give to us?!! I love this blocking station. Thank you so much for all you do to empower women around the planet!
Jenny says
I have to say, I want a blocking station like this too Nancy :)
Jenny
Peggy says
where can one get a Blocker?
Dedri Uys says
Hi Peggy. You can buy similar blocking stations from Wool Warehouse in the UK.
Joanne Sears says
Just curious, why would you need a blocking station, I have just never heard of one. Thank you in advance for your reply
Dedri Uys says
Hi Joanne. Blocking stations are useful for when you have limited space and lots of squares of the same size. I only use mine when I have to block multiple blocks of the same size (eps. since we no longer have any floor space to block on).
Judy says
I just created a blocking station. I have limited space and two small dogs. I didn’t want them to be near the pins. I got some nice boards from walmart. They are white with a finish. Very inexpensive and affordable. I taped them together with see thru shipping tape on both sides. I hung it on my wall.I just finished blocking a med size tablecloth. I have a big round one I will do next. I have been wanting to do this one for years. I am so excited.I would love to send a picture. But don’t see where I can. Good luck on all your projects.
Dedri Uys says
I would love to see a picture, Judy. You can email one to dedri(at)lookatwhatimade.net.
Gary M. Reese says
Making modified version for my wife. Start holes with 1/8th bit all the way through, 3/16 bit not as deep. That way if you happen to break off a peg, you can knock out the stub from the back. :-)
GaryR Marion, IN
Dawn says
I really love this! I am just curious though, I am making a Autism afghan with consist of ” puzzle pieces” that some require 5 squares sewn together at a time. If you place your squares in the right order as you are blocking them, and after making sure they are dry, could you sew them right on the blocker?
Dedri Uys says
Dawn, if your pegs are short enough, you can, but if they are long it will be very tricky to sew in between them.
Michele Russell says
Thank you so much, I am busy with Sophia’s garden now just have to block them. I never even knew about all this before, having such fun. Thanks so much. Love from South Africa
Dedri Uys says
Good luck with your Garden, Michele, en dankie vir die comment,
Dedri
Nora says
What am awesome idea!! Will get hubby to help me make this for me. Thanks
Dawn Phipps says
Do you have a photo of your finished project??? I would love to see it! I’m sure its amazing, your squares are beautiful!!!
Jenny says
It is the block a week cal blanket Dawn :)
https://lookatwhatimade.net/crafts/yarn/crochet/block-a-week-cal-2014/block-week-cal-2014/