Wake up, sleepy-head! It’s the day of the Wedding! Have you made your Gum Paste Roses? Have you baked, iced and decorated your cakes (as much as is possible before assembly)? Do you have all your tools and equipment?
Right. Then you are now ready for Assembly and Transportation – in whichever order you prefer – before putting on the finishing touches.
Applying the Lustre Dust
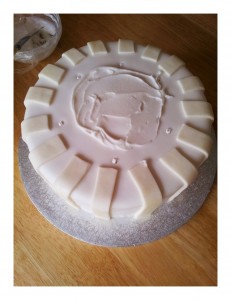
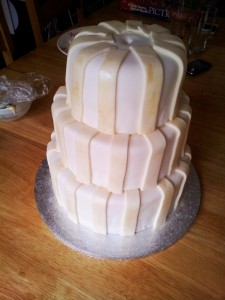
Now that your fondant has had time to dry, take your lustre dust and brush it onto the ivory stripes. You DO NOT want to do this while the fondant is wet/tacky, because you will get ugly streaks of lustre dust instead of beautiful shimmering stripes.
If you take a really close look at my top tier you will see what I mean. I ended up taking all the fondant off the top tier and re-doing it at 11’o’clock the night before the wedding because I hadn’t made my lemon curd butter cream icing firm enough. The whole cake started bulging and the fondant started to split.
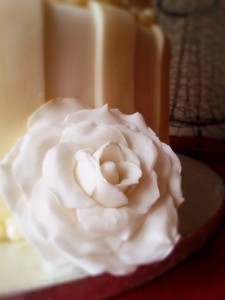
This would be a good time to give the roses a bit of lustre too. And while you’ve got the lustre dust out, put a tiny bit into a ziplock and chuck your edible pearls in there. Shake it about a bit to get them nice and lustre-dusted.
I should mention that I bought my edible pearls, but if you intend to make your own – and they seem pretty straight-forward – they should be made at least 4 days before the wedding. You can find a comprehensive tutorial HERE. At about £12 per 150 g it is probably more prudent to make them yourself, but it’s going to take a while…
Make your Royal Icing
Take a large egg white and beat it a little bit.
Stir in your 3/4 cup of icing sugar a tablespoon full at a time. You might not need all the icing sugar. The royal icing is ready when it reaches the consistency of toothpaste. Put it in a squeezy piping bottle or a piping bag (the concertina icing bottles are by far the nicest and easiest to use – although not to clean, grrr).
Preparing the Cakes for Stacking
Get your 8″ cake and 8″ dowels out. These dowels will support the top tier with it’s 6″ cake board (you will be removing the 8″ cake board from underneath the 6″ cake before assembly). You will need to put at least 4 dowels into the 8″ cake, so take your ruler and mark north, east, south and west about 2″ in from the sides of the 8″ cake. Stick one of the dowels into the centre of the cake and use a pencil to make a mark level with the cake. Cut this dowel (and 3 more) to size and stick them into the marked spots on the cake.
Get the 10″ cake and repeat the process, inserting 5 dowels, each 2″ in from the side of the cake.
For a cool video tutorial by epicuriousdotcom, click HERE.
If you can’t be bothered with all this doweling and staking, watch THIS tutorial on using plates and pillars instead. They are quite pricey, though…
Assembling the Tiers
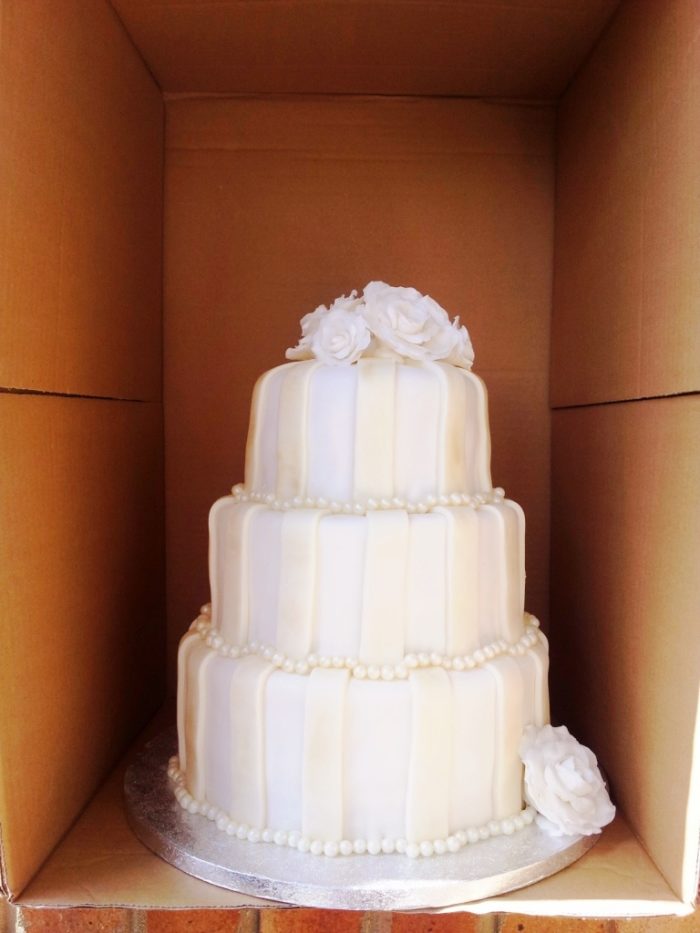
Now for the scary part. You can either assemble the cake at home and transport it already assembled, or – and this is by far the less stressful choice – you can transport the three tiers separately and assemble them at the venue. Whichever way you choose, make sure to pack everything really well and drive carefully.
If you are assembling at the venue, remember to pack:
- 6″ Cake on 6″ and 8″ cake boards in 8″ box
- 8″ Cake on 8″ and 10″ cake boards in 10″ box
- 10″ Cake on 10″ and 12″ cake boards in 12″ box
- 14″ Cake drum
- Roses (in a box between layers of tissue paper)
- Pearls in their little ziploc bag
- Royal Icing in Bottle/Bag
- Some Butter cream icing in a little container
- Lustre dust
- Butter knife
- Offset spatula
If you are assembling at home:
Remember to pack a little emergency bag with the following items:
- Royal Icing in an Icing Bottle – this can afix a fallen pearl or flower OR help hide a crack in the fondant.
- Extra flowers (if you have any and just for in case)
- Left-over pearls
Again, this whole procedure is covered by the link to epicuriousdotcom found above.
Assembly
Spread some butter cream icing in the middle of the 14″ cake drum.
Slip your offset spatula/palette knife between the 10″ and the 12″ cake boards underneath the 10″ cake. The idea is to lift the 10″ cake and its 10″ board off the 12″ board and place it on the 14″ drum.
Spread some butter cream or royal icing (I prefer royal icing here) in the middle of the 10″ cake. Lift the 8″ cake and its 8″ board off the 10″ board and place it on top of the 10″ cake, taking great care to place it in the middle of the 10″ cake. Use your offset spatula as much as possible.
Spread some icing in the middle of the 8″ cake. Remove the 8″ board from underneath the 6″ cake and place the 6″ cake on top of the 8″ cake.
The cake boards between the tiers will keep the tiers supported by resting on the dowels in the tiers below. They will also come in handy when the cake is dissassembled and cut.
If you are assembling before transportation, you will now need to hammer the 12″ dowel through all 3 tiers. Do this by sharpening the dowel with a pencil sharpener before pushing it into the middle of the 6″ cake. When it meets the resistance of the 6″ cake board, take your hammer and tap the dowel quite firmly 2 or 3 times, just until it pushes through the cardboard. Push and hammer until the dowel bites into the cake drum at the bottom. If your dowel is too short to reach all the way, abutt another dowel to it and hammer that one gently until your dowel is where it wants to be.
This sounds wrong, I know. There are a bunch of forum posts where people ask: “can this really work?” I know it feels wrong and counter-intuitive to bash at your cake with a hammer, but trust me. The first time you do it, the first time the dowel bites through the cardboard and slips into the next cake, you know – as if you’ve always known – that it will work.
Finishing touches
Repair any cracks in the fondant by applying a bit of royal icing to the area and smearing it in as if you’re plastering a wall. Then take a damp brush – not wet – and brush over the area lightly to blend the icing in. You can also use a piece of damp kitchen towel to blend the royal icing.
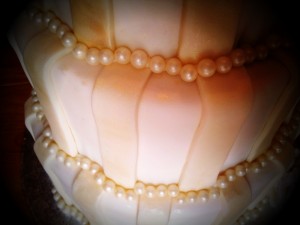
Pipe some royal icing around the bottom of each tier and adorn with the edible pearls. Apply the royal icing as you go, otherwise it might dry before you get to it.
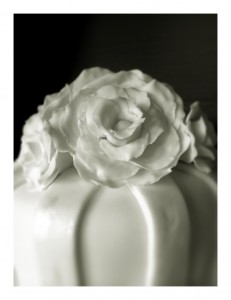
Attach the roses to the top and side of the cake with buttercream, royal icing, or both. Place the three small roses into the gaps between the large ones. I stuck a piece of fondant in the middle of the flowers on top of the cake as there was a massive gap.
And….
That….
Is…..
It…..
I hope you have found this Wedding Cake Series useful. If you have any questions, please leave a comment and I will answer it as soon as possible.
Happy Baking!!
xxx Dedri


Bisma says
Thanks for such a detailed tutorial. Luckily I’m planning to bake a 8″ & 10″ cake for my daughter’s 1st birthday. And the party is on Saturday(today is tuesday) I’m glad I came across your tutorial. I plan to use it as a guide. As it has the exact measurements I will be needing. I do have a question though. It would be great if can help. I plan to use bubble tea straws as dowels and a wooden skewer as the centre dowel. Do I need to make a hole in the cake boards before putting the cakes on them?As I’m not sure if the wooden skewer will be able to pierce through the cake board. Also beneath the bottom tier(10″) do I put a cake board AND drum?
Thank you =)
Dedri Uys says
Bisma, when I make 2-tier cakes I don’t usually put a dowel through both tiers. I only did it because the 3-tier cake needed it. So don’t bother with it. Just use the bubble straws in the bottom tier to support the top tier. Also, it is your choice if you want to use both a cake board and a drum for the bottom layer. I did, because the cake weighted a tonne, but when I have made 2-tier cakes that didn’t need transportation, I just put them on a board. I hope that helps and happy birthday to your little one!
kate says
I always refer to the “cake tier stacker” calculator on http://www.bakingit.com to know where to place the dowels and how many on different tiered cakes. I find this a useful tool so I get the best support.