 This is a list of the tools and ingredients you will need to make a 3-tier Ivory Striped Wedding Cake with gum paste roses and edible pearls.
It is the first in a 6-part series on Making Your Own Wedding Cake.
Printable List – Tools and Ingredients for a 3-tier Ivory Striped Wedding Cake
Editable Spreadsheet for working out costs (labour and utilities not included) – Shopping list with cost price calculator
Tools and Ingredients
General Tools
- Fan – if it’s hot and humid
- Large Rolling Pin
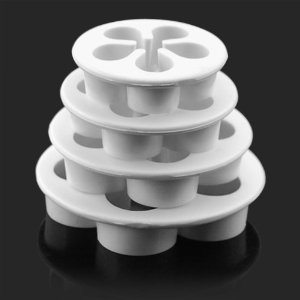
- Wilton Flower Shaping Foam Set

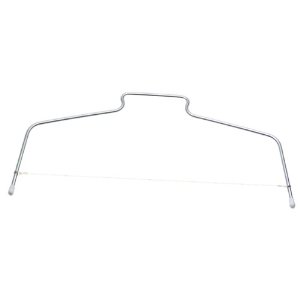
- Spirit level
- Pencil Sharpener that has never been used to sharpen a pencil (lead, don’t you know!)
- 2 x Cake/Fondant Smoothers (this is optional. I used my hands, but smoothers might have been smoother?)
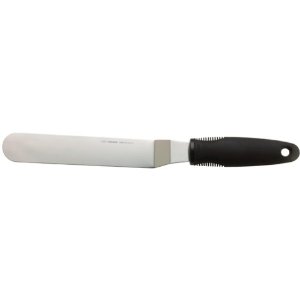
- Knife
- Metal Ruler
- Hammer
- Small brush for luster dust
- Baking spray
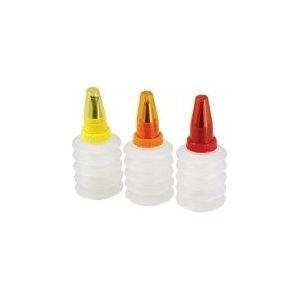
- Concertina Icing Bottle/Piping bag
- Cake Turntable (I don’t have one, but it would make life so much easier!)
- Bench scraper (Again, I don’t have one, but I want one)
- 2 x 6″ cake pans (I prefer loose bottom, but springform works as well)
- 2 x 8″ cake pans
- 2 x 10″ cake pans
* You can get away with only using 1 each of the 8″ and 10″ pans, as I did, but you should really have 2 x 6″ pans to save yourself a lot of hassle.
For Assembly and Transportation
- 6″ cake board (1.5 mm thick)
- 2 x 8″ cake boards (1.5 mm thick)
- 2 x 10″ cake boards (1.5 mm thick)
- 1 x 12″ cake board (1.5 mm thick)
- 1 x 14″ cake drum (15 mm thick)
- 1 x 8″ cake box
- 1 x 10″ cake box
- 1 x 12″ cake box
- 5 x 8″ cake dowels
- 1 x 12″ wooden cake dowel (6 mm diameter) – if you’re going to transport your cake already assembled
If you are going to transport the cake already assembled, you will need 1 box that is 14″ wide x 14″ high, by 18″ long. Yes, you heard right. The dimentions seem wrong, but you’ll not want to put your cake in from the top of the box. You want to put the cake in from the side, so trust me, these are the dimentions. This box needs to be very sturdy.
For Decoration
- Gumpaste (or fondant mixed with either gum tragacanth or tylose powder as per directions)
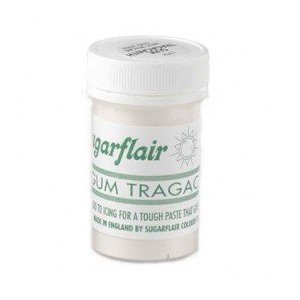

- Florist wire
- Ivory luster dust
- 150 g Ivory edible pearls (8mm)
- 1.5 kg White Fondant
- 1 kg Ivory Fondant
- Shortening
- Glycerine
- Icing sugar to dust work surface
- Royal Icing
For the Royal Icing
- 1 large egg white
- 3/4 cup of icing sugar
- A few drops of lemon juice
For the Icing
- 1 kg butter
- 2 kg icing sugar
- 2 tbsp vanilla
For the Cake
- 25 free range eggs
- 1.4 kg butter
- 1.4 kg sugar
- 1.4 kg self-raising flour
- 50 ml baking powder (10 tsp)
- 50 ml vanilla (10 tsp)
- 225 ml milk
Now that you have all your ingredients, you will need to make the Gum Paste Roses, which will be covered in Part 2 of my Tutorial. If you don’t want to make Gum Paste Roses, you can skip to Part 3, where I talk about Baking the Cakes .
xxx Dedri



praise says
Hi. May I know how much I will need to buy all the equipment. Is it also possible to learn how to decorate by myself
Jenny says
i am self taught, Praise. There are hundreds of tutorials out there to learn from. You will have to work out how much things will cost from your local cake decorating stores :)