Good morning!
It’s two days before the wedding and by now you have bought all your Tools and Ingredients, made your Gum Paste Roses and Baked Your Cakes. You might also have a few more grey hairs. I know I do.
Your cakes have spent the night resting on the table (well covered, of course) and are as ready to go as you are. Now what?
Make the Icing
Make your icing in two batches if you’re using a mixer, or four if you’re using your arms, you crazy animal.
Good old-fashioned butter cream is made with butter and icing sugar in a ratio of 1:2 by weight. Add 1 tsp of vanilla for every 250 g of butter used.
To make enough butter cream for a 3-tier cake, use:
- 1 kg butter
- 2 kg icing sugar
- 4 tsp vanilla
Method
- Whisk your butter until pale and fluffy.
- Add vanilla.
- Add half of the icing sugar and whisk slowly until combined. Don’t whisk on max, you’ll be covered in icing sugar!
- Add the rest of the icing sugar and repeat.
- Once combined, whisk on high for 3-5 minutes.
If your icing is too stiff, add some water. If it’s too runny, add more icing sugar. Just bear in mind that you want it to set up quite firm, so don’t make it too runny.
Torte or level your cake
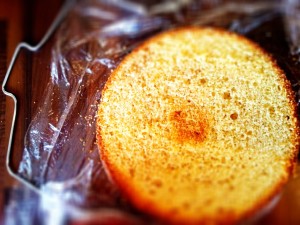
If you are using a cake leveller, like I did, set it to a height of 2″ by adjusting the wire at the sides. Slowly cut through your cake using a sawing motion. Make sure you keep the little legs of the leveller on the work surface, otherwise you’ll get a wonky top.
If you are using a knife instead, use a large, clean, serrated knife and keep it as level to the work surface as possible. When I use a knife, I make about four tiny cuts around the cake at the height I require. I then make sure my knife slots into these cuts as I go, because I am useless at cutting cake straight.
You can also use the edges of you cake pan to help guide the knife across the cake, but that only works if your cake is sticking up above the pan.
Fill and Crumb Coat Your Cake
Make sure you have plenty of space in your fridge as these cakes will have to spend the next day or so in there. And make VERY sure that you don’t have any stinky things in there before you start icing the cakes. No-one wants garlicky wedding cake…do they?
Before you start crumb coating, do a bit of preparation.
Take your 6″ cake board and smear a bit of butter cream icing on it.
Place one of the 6″ cakes on the cake board with the torted/cut side down. This will minimize the amount of crumbs flying around.
Put some icing on top of the cake and push it all the way out to the edges. Don’t go crazy, but don’t be skimpy either.
Place the second 6″ cake on top of the icing, again with the cut side down.
Now take an 8″ cake board and smear a bit of butter cream on it. Place the 6″ cake board (cake and all) onto the 8″ cake board to give you a bit more room to manoeuvre.
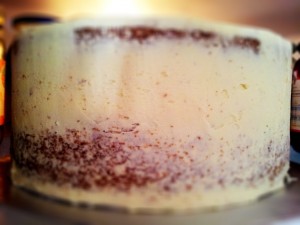
Place your cake on your turn table – if you’re lucky enough to have one – and crumb coat it by spreading a thin layer of icing all over the top and sides of the cake, pushing the icing into the cake as you go and smoothing it as much as possible. Use your offset spatula for this.
By doing this you are locking the crumbs into a layer of icing which means you can get a very smooth outcome when you go to ice your cake later.
See this video by Jasmine Frank if you need a visual explanation.
Now place your cake in the fridge for an hour or so while you crumb coat the other two tiers.
Repeat the steps above for each tier, using an 8″ and a 10″ cake board for the 8″ cake and a 10″ and 12″ cake board for the 10″ cake.
Icing The Cakes
Remove your 6″ cake from the fridge.
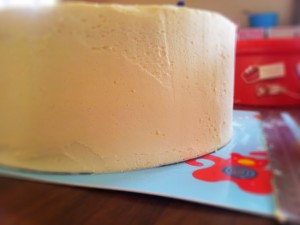
Place a big dollop of icing on top of the cake and smooth it all over the top, pushing the icing towards the edges and slightly over them. Take some more icing and start spreading it all around the sides, making sure to go all the way to the bottom. You can spread it nice and thick, as you will use either a bench scraper or your offset spatula to remove the excess icing and smooth your cake later on.
When your cake is completely covered, place your bench scraper against the 8″ cake board (parallel to the cake) and pull it towards you, keeping it nice and level. Scrape off the excess icing against the side of your icing container as you go.
Click HERE for the video demonstration I used.
You do not need to use a bench scraper, but it does help. The offset spatula is a bit bendy and you might get a rounded side if you use it to smooth your cake.
I used my metal ruler (with the end flush with the 8″ board) to smooth my cake. It gave me a slightly jagged result, so I just used my off set spatula to smooth it afterwards.
When you have finished smoothing your icing, place the cake back in the fridge – where it will stay until the next day – and repeat the whole process with the other two cakes.
After about an hour in the fridge, the icing should have set. You can test this by touching the cake lightly. If the icing feels dry, it is set.
If you feel the cake needs an extra bit of smoothing, you can use a damp paper towel to smooth it out even more. I’m not even going to try and explain that one, so have a look at THIS tutorial.
Pop your cakes in the fridge and bid them good night!
In the next part of the Wedding Cake Series we will cover Decorating the Cakes.
Happy Baking!!
xx Dedri


