I thought it was time for a bit of sewing. So I carted my machine and all the various necessities downstairs. I had to walk up and down the stairs about 5 times to get everything set up. Every time I sat down in front of the machine, I remembered something else I had forgotten. And every time I got upstairs, I had forgotten some of the things I had remembered.
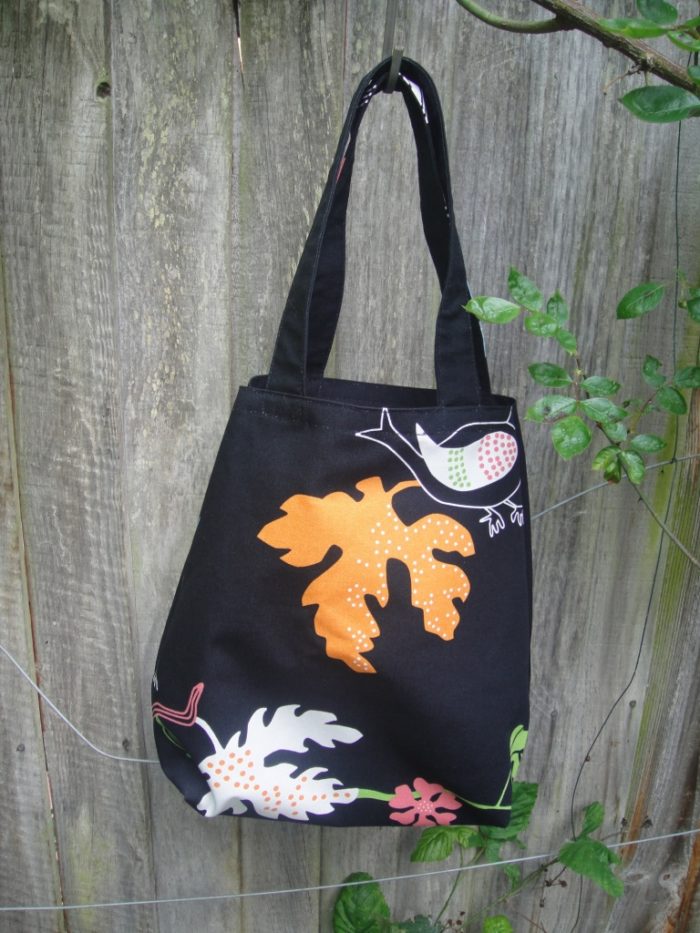
This tutorial is for an extremely simple bag with the following dimensions: 10cm deep x 26cm wide x 32cm long.
Simple Fabric Bag Pattern
You will need
- Just over 50 cm of fabric (must be a minimum of 1 meter wide)
- Bias binding (I use this Monkeybrother Bias Binding Tool Set
to make my own bias binding)
- Thread
- Needles
- Sewing machine
- Iron
- Pins
- Scissors
- Cutting mat/ruler/measuring tape
- Cup of TEA
You will need to cut
- 2x straps: 60cm long by 6cm wide
- 2x body: 42cm long by 40cm wide
- 1x pocket insert: 32cm long by 20cm wide
Instructions
1. Cut your pieces out
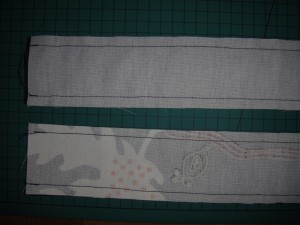
2. Put 2 strap pieces together (right sides facing each other) and sew 0.5cm seams down either end. Turn inside out and press flat. The easiest way to turn the fabric inside out is to leave VERY long tails of thread on one side of the tube. Feed these through the inside of the tube with a yarn needle. Now take hold of them and pull. This will pull the fabric at the opposite end into the tube. Pull until the whole tube is right-side-out.
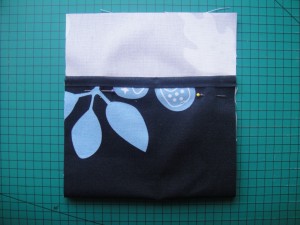
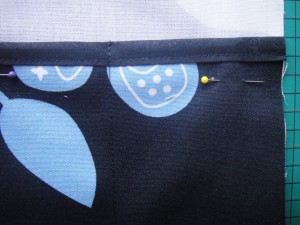
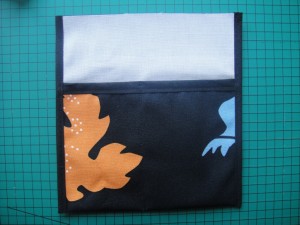
3. Sew bias binding around the top of the 35 x 20cm pocket insert. Now lay the insert down with the wrong side facing you and the bias binding at the bottom. Fold the edge up 14cm and pin into place.
Stitch a line 9cm from the right side of the insert from the top of the bias binding to the bottom of the insert. This will give you two pockets.
Sew bias binding along both edges.
4. Now move on to the body of the bag. Fold the top seam over by 1cm and press. Fold it over again by 2cm and press.
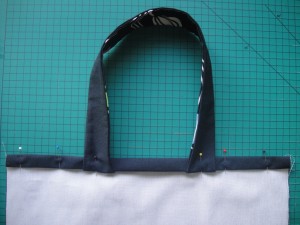
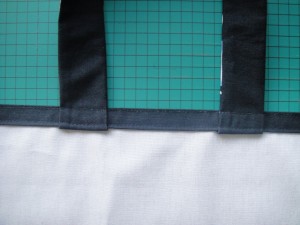
5. Push the ends of the straps into the seam with the outsides of the straps facing you. (Just pick the side that looks the nicest if you have a patterned fabric)
You should position the straps so that their inside edges are 15cm away from the respective edges. Fold the straps up over the seam and pin into place.
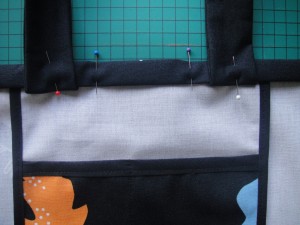
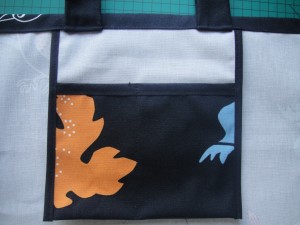
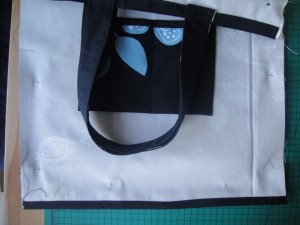
You will need to add the pocket insert to the inside of one of the sides. Do this by slipping this, too, under the seam with the right side facing you. Position it so that it is smack bang in the middle of the bag.
6. Top stitch along the bottom of the seam and through all the layers.
Top stitch along the top of the seam.
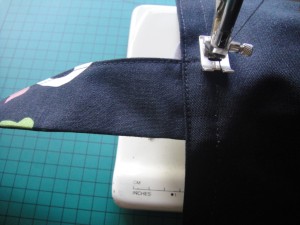
7. Top stitch all around the straps, turning along the bottom row of top stitching and working your way back up the other side of the strap.
8. Pin the bag together with the right sides facing each other.
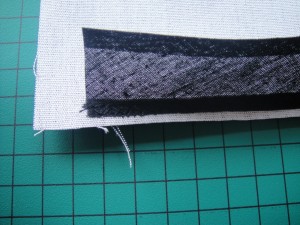
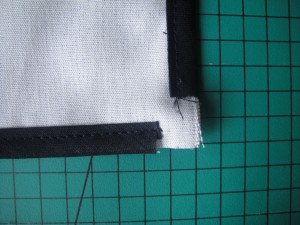
9. Sew the bottom of the bag together and add bias binding. Do not go all the way to the corners like I did in this photo. You will be cutting off the corners, which is easier if you haven’t gone all the way to the ends. You will also be wasting a little bit of bias binding if you do sew all the way to the corners. I only realized this after taking this photo…apologies.
SO: Leave a gap of 2cm on either end.
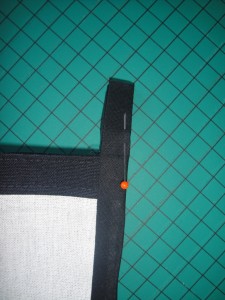
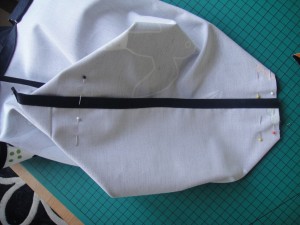
10. Sew along the sides of the bag and add your bias binding, again leaving a 2cm gap at the end.
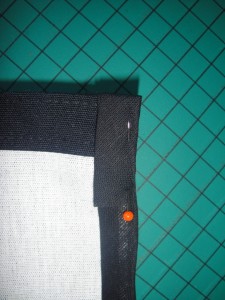
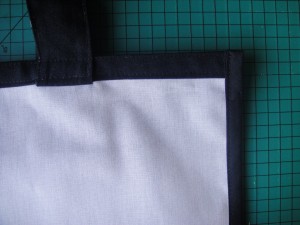
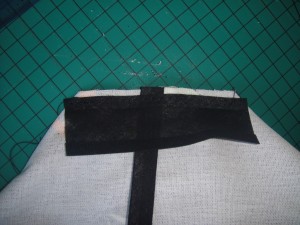
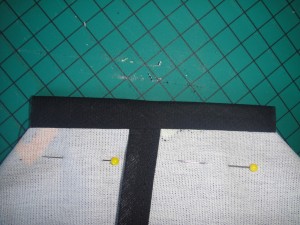
Leave a 3cm tail of bias binding at the top op the bag on both sides.
Fold this bit over onto itself when adding the bias binding to form a neat edge.
Top stitch the bias binding into place.
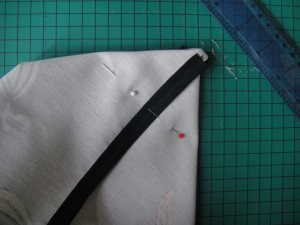
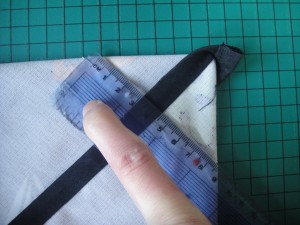
11. Pull the corners of the bag open by laying the seam at the bottom of the bag on top of the seam at the side of the bag. Make sure the seams are lined up. You should now have a 90 degree triangle with the bias binding running down the middle. Mark a point 6cm away from the corner on both sides.
Cut a diagonal line between these two points.
Sew the seam and add bias binding.
Repeat for the other corner.
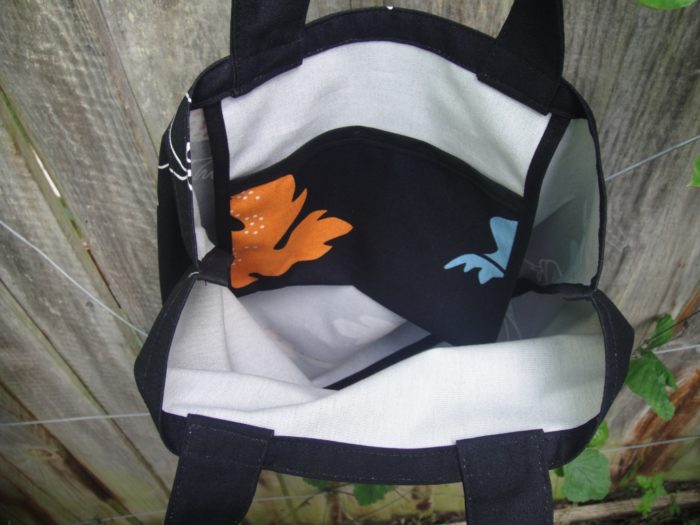
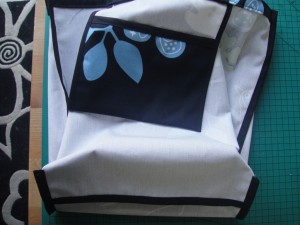
This is what the inside of your bag will look like.
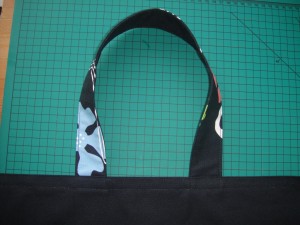
Now turn it right side out and USE IT :)
Remember to subscribe to my Weekly Newsletter if you would like to be kept in the loop. You can also like my Facebook Page or follow me on Bloglovin, Google+, Pinterest, Twitter, or Instagram.
Happy Sewing!

